Beginning, Dust port and handles, Assembly – Woodstock SHOP FOX W1678 User Manual
Page 14
ASSEMBLY
-12-
Get moving assistance
before starting assembly.
The Model W1678 Double
Drum Sander is a heavy
load at 435 pounds.
Wear safety glasses during
assembly. Serious injury
may occur if this warning is
ignored!
Beginning
The main components of the Model W1678 are
assembled at the factory; however, some
assembly is required. We recommend the
following sequence in this section for assembly.
Keep your drum sander
unplugged during all
assembly, maintenance,
and adjustment tasks.
Ignoring this warning can
cause serious personal
injury to you or others!
When connected to a dust collection system, the
dust ports direct suction to remove harmful
wood and abrasive dust from the workpiece and
your work area.
Make sure the dust collection system draws at
least 600 CFM at the drum sander; however,
there will still be a normal layer of dust on the
workpiece when it exits the sander unless a
larger capacity dust collector is used.
Make sure you connect flexible ducting to the
dust ports. This ducting allows you to open the
dust hood, change sandpaper, and service your
sander without having to disconnect the ducting.
For additional information on the correct dust
collection system, additions, or modifications;
contact your Woodstock International dealer for
your copy of the Dust Collection Basics
handbook and available accessories.
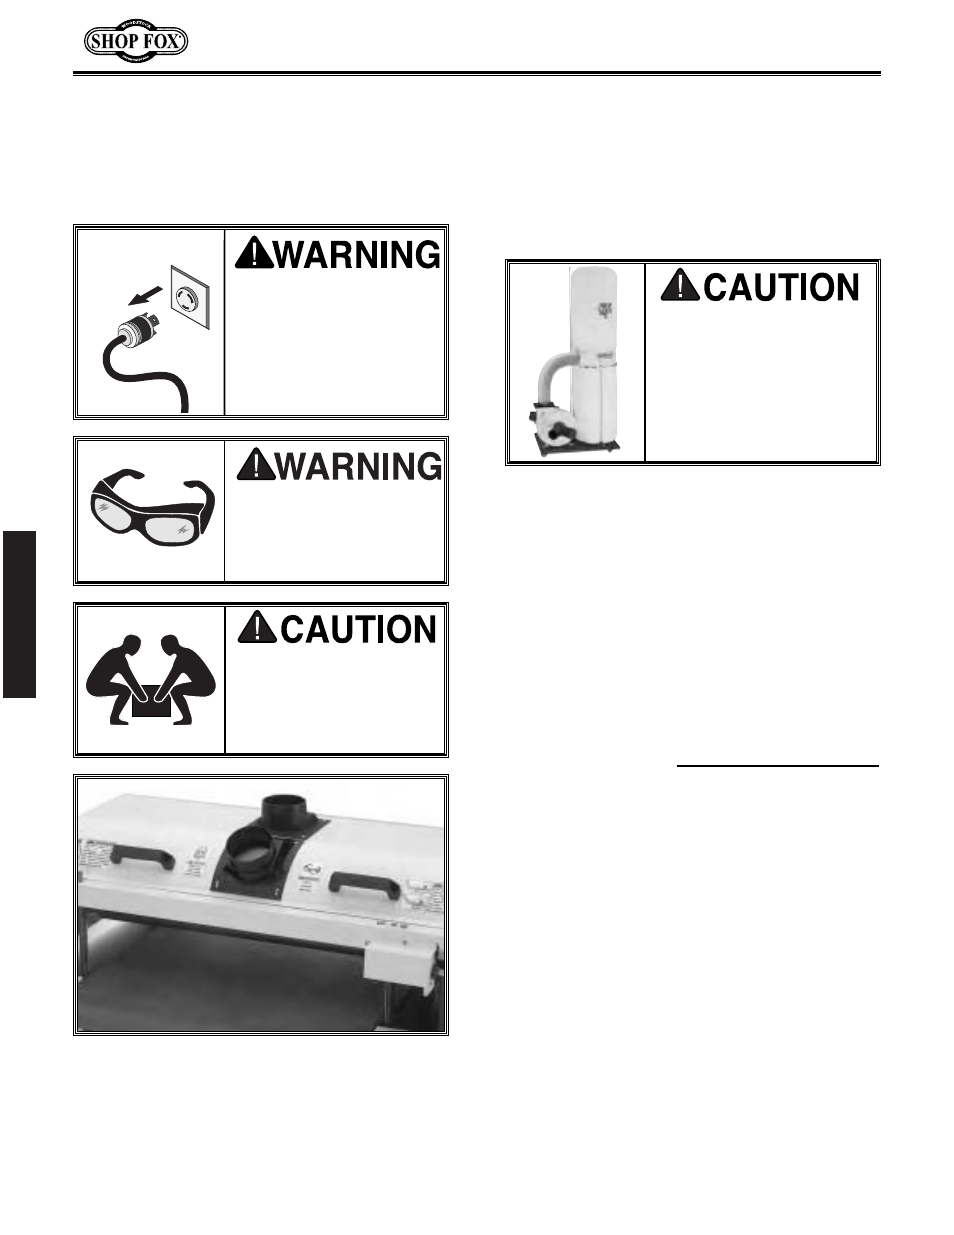
To install dust ports and handles, do these steps:
1. Position the dust ports on the dust hood so
the screw holes line up. See Figure 12.
2. With the dust ports held in position on the
dust hood, install the #10 flat washers on the
#8-
1
⁄
2
" self tapping screws and secure the dust
ports to the dust hood.
3. Connect your dust collection suction hose to
the dust ports, so when you open the dust
hood the suction hoses will not bind, leak, or
disconnect the dust-collector ducting ground.
4. Position the handles on the dust hood and
install the
5
⁄
16
"-18 x 1" cap screws, the
5
⁄
16
" lock
washers, the
5
⁄
16
" nuts, and tighten the cap
screws. See Figure 12.
DO NOT operate this
machine without the
correct dust collection
system. Failure to use a
dust collection system can
result in short and long-
term respiratory illness.
Dust Port and
Handles
Figure 12. Dust ports and handles installed.