Removing the kvm module, Installing the kvm module, Removing – IBM BladeCenter T Type 8720 User Manual
Page 67: Module, Installing
Removing
the
KVM
module
Complete
the
following
steps
to
remove
the
KVM
module
at
the
rear
of
the
BladeCenter
T
unit.
1.
Remove
the
keyboard,
mouse,
and
video
cables
if
any
are
connected.
2.
Fully
loosen
each
thumbscrew
counterclockwise.
3.
Hold
the
KVM
module
by
both
thumbscrews.
4.
Carefully
pull
the
KVM
module
outward
from
the
KVM
module
bay
until
you
feel
it
release.
5.
Remove
the
KVM
module
from
the
bay
and
set
it
aside.
6.
Within
1
minute,
install
a
new
KVM
module.
Installing
the
KVM
module
Complete
the
following
steps
to
install
the
KVM
module
at
the
rear
of
the
BladeCenter
T
unit
1.
Hold
the
KVM
module
by
both
thumbscrews.
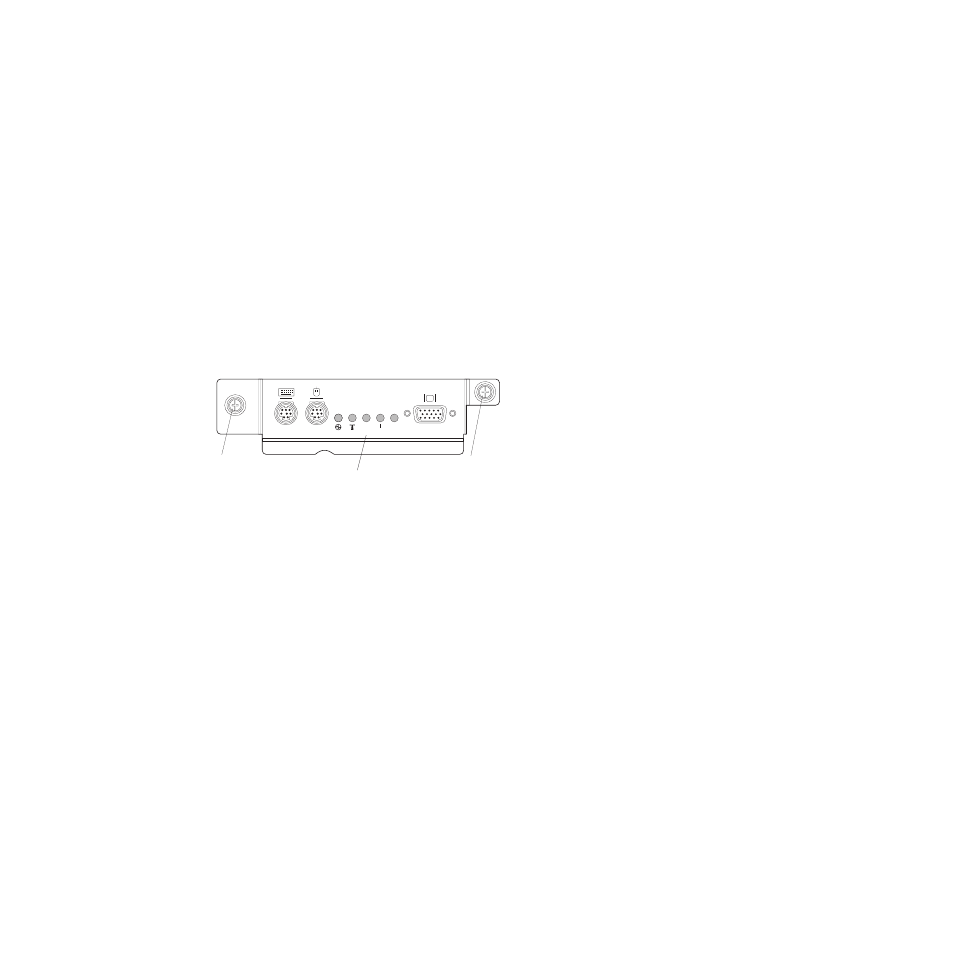
Thumbscrew
Thumbscrew
CRT
MJR
MNR
System-status panel
2.
Position
the
KVM
module
into
the
rails
inside
the
KVM-module
bay.
3.
Push
the
KVM
module
into
the
bay
until
you
feel
it
stop.
Make
sure
that
it
is
snug.
4.
Turn
each
thumbscrew
clockwise
until
it
is
finger
tight.
If
you
use
a
screwdriver,
make
sure
that
you
do
not
overtighten
the
thumbscrews.
5.
Make
sure
that
the
power
LED
on
the
front
of
the
KVM
module
is
lit.
6.
Connect
any
peripheral
devices
that
you
want
to
use
at
this
time
(for
example,
keyboard,
mouse,
and
video
monitor).
Chapter
4.
Setting
up
the
BladeCenter
T
hardware
57