Grizzly G0694 User Manual
Page 31
Model G0694 (Mfg. Since 10/09)
-29-
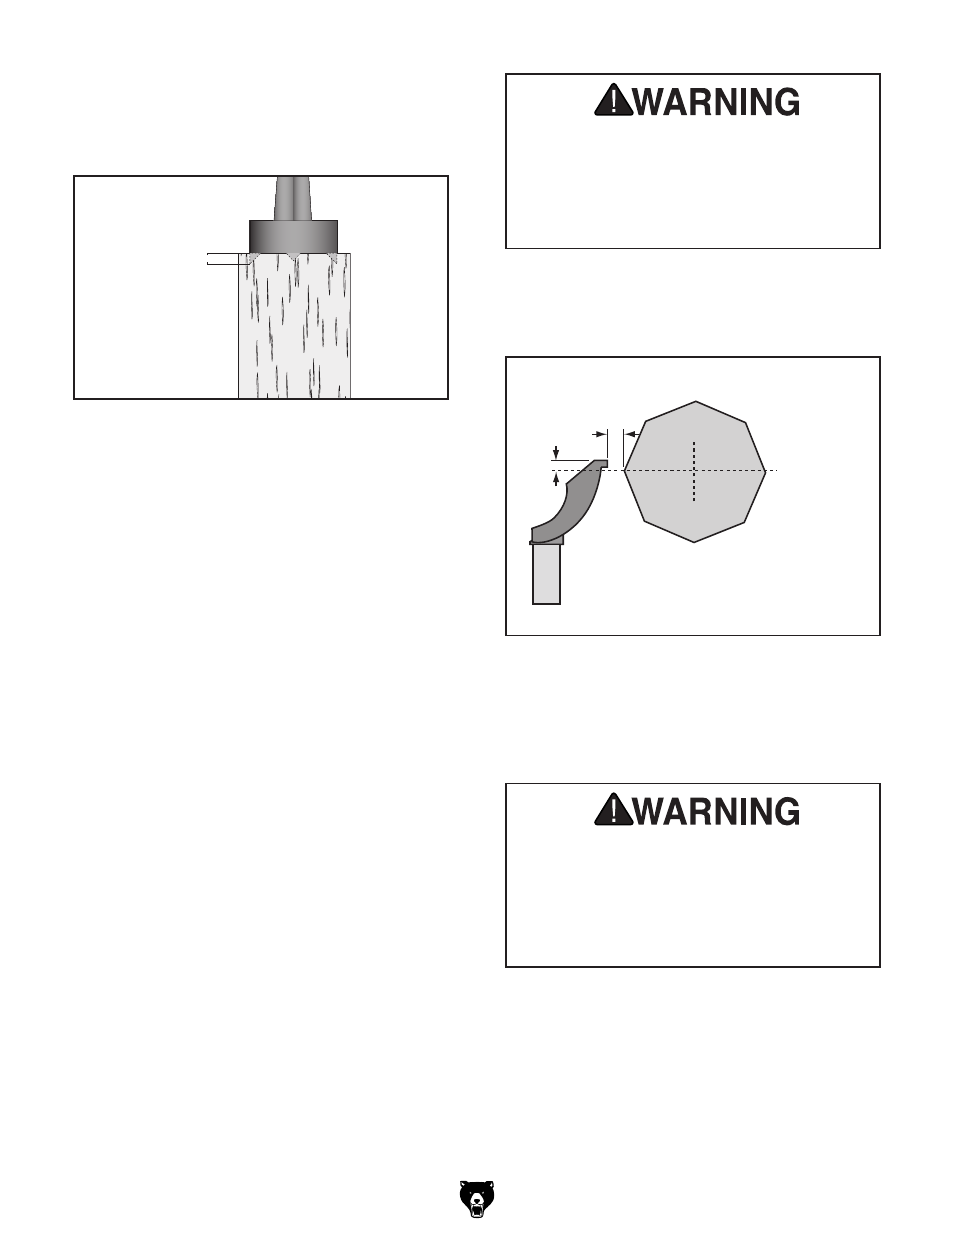
1/4"
figure 32. spur center properly embedded.
6. With the workpiece still attached, insert the
spur center into the headstock spindle (refer
to
Installing/Removing Headstock center
on
Page 22 for additional instructions).
Note: Use the tool rest to support the opposite
end of the workpiece so that the workpiece
and spur center do not separate.
7. install the live center into the tailstock quill
and tighten the quill lock handle to lock the
quill in position (refer to
Page 23 for addi-
tional instructions).
8. slide the tailstock toward the workpiece
until the point of the live center touches the
workpiece center mark, then lock the tailstock
in this position.
9. Loosen the quill lock handle and rotate the
tailstock handwheel to push the live center
into the workpiece at least a
1
⁄
4
".
5. Making sure the spur center is aligned with
the workpiece center you marked earlier,
drive the spur center least
1
⁄
4
" into the end of
the workpiece (
figure 32).
Do not press the workpiece too firmly with
the tailstock or the bearings will bind and
overheat. Likewise, do not adjust too loosely
or the workpiece will spin off the lathe. Use
good reason and care, otherwise, serious
personal injury could result.
11. Before beginning lathe operation, rotate the
workpiece by hand to ensure that there is
safe clearance through the full rotation.
Workpiece
Center Line
Distances
Tool Rest
1/8"
1/4"
figure 33. tool rest position relative to
workpiece.
1
⁄
4
"
1
⁄
8
"
10. position the tool rest approximately
1
⁄
4
" away
from the workpiece and approximately
1
⁄
8
"
above the workpiece center line (
figure 33).
Keep the turning tool on the tool rest
the ENTIRE time that it is in contact with
the workpiece. Otherwise, the spinning
workpiece could force the lathe tool out of
your hands or entangle your hands with the
workpiece.