Adding or replacing an optional diskette drive, To add or replace a diskette drive – Gateway MAN FX510 User Manual
Page 56
CHAPTER 4: Upgrading Your Computer
50
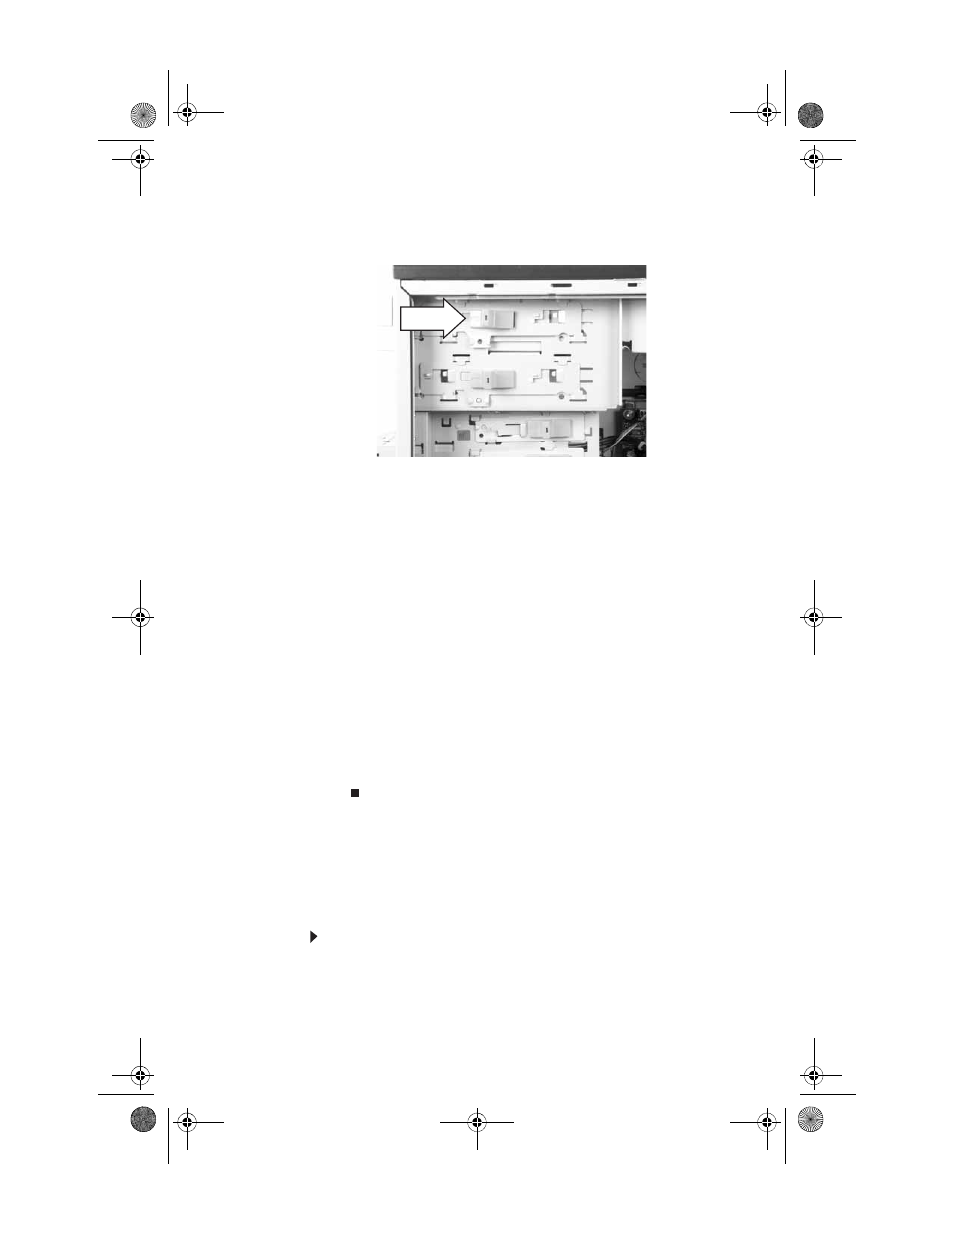
5
Slide the drive release latch toward the back of the
computer to release the drive.
6
Slide the drive forward and out of the drive bay.
7
If you are replacing a drive, note any jumper settings
on the old drive and set the jumpers on the new drive
to be the same. If you are installing a new drive, follow
the manufacturer’s instructions.
8
Slide the new drive into the drive bay, line up the
thumbscrew hole on the drive bay with the screw hole
on the drive, then slide the drive release latch toward
the front of the computer to lock the drive into place.
You do not need to replace the thumbscrew because it
was originally installed for shipping purposes.
9
Connect the drive cables using your notes from
If you are installing a new drive, follow the
manufacturer’s instructions.
10
Replace the front bezel by following the instructions in
“Replacing the front bezel” on page 44
11
Replace the side panel by following the instructions in
“Replacing the side panel” on page 44
.
Adding or replacing an
optional diskette drive
To add or replace a diskette drive:
1
Remove the side panel by following the instructions in
“Removing the side panel” on page 41
.
2
Remove the front bezel by following the instructions in
“Removing the front bezel” on page 43
8512066.book Page 50 Tuesday, January 16, 2007 11:02 AM