Installation, Vent requirements – FireplaceXtrordinair Revolution 36CF User Manual
Page 19
Installation
(for qualified installers only)
19
© Travis Industries
4090102
100-01212_000
Vent Requirements
•
The gas appliance and vent system must be vented directly to the outside of the building, and
never be attached to a chimney serving a separate solid fuel or gas-burning appliance. Each
direct vent gas appliance must use it's own separate vent system.
•
In addition to the requirements listed here, follow the requirements provided with the vent.
•
A firestop is required whenever the vent penetrates a floor or ceiling (or passes through
horizontal framing members). A thimble is required whenever the vent passes through a wall (or
horizontal framing members).
•
Venting installation instructions may be found at
www.duravent.com
. Keep the vent
instructions, along with this manual, with the appliance for future reference.
Approved Vent
•
This fireplace may only use the following vent components (8-5/8” / 6” external diameter co-
axial vent). These parts are available from Travis Dealers.
Simpson Part #
Travis Part #
6” Length
68GSS-06
98900024
12” Length
68GSS-12
98900023
24” Length
68GSS-24
98900022
36” Length
68GSS-36
98900021
48” Length
68GSS-48
98900020
4” to 8” Adjustable Length (Slip Connector)68GSS-12A
98900025
45
°
Elbow
68GSS-L45
98900026
90
°
Elbow
68GSS-L90
98900027
Wall Thimble
68G-SS-WT
98900030
Fire Stop
68G-SS-FS
98900029
Elbow Strap
68G-SS-ES
98900028
Wall Strap
68G-SS-WS
98900031
Adjustable Roof Flashing (0/12 to 6/12)68G-SS-F
98900035
Adjustable Roof Flashing (7/12 to 12/12)68G-SS-SF
98900036
Storm Collar
68G-SS-SC
98900032
Vinyl Siding Stand-off
68GSS-VSS
98900037
Horizontal Termination
68G-SS-HC
98900033
Vertical Termination
68G-SS-VC
98900034
Altitude Considerations
•
This heater has been tested at altitudes ranging from sea level to 6,000 feet. In this testing we have found
that the heater, with its standard orifice, burns correctly with just an air shutter adjustment.
•
Failure to adjust the air shutter properly may lead to improper combustion which can create a safety hazard.
Consult your dealer or installer if you suspect an improperly adjusted air shutter.
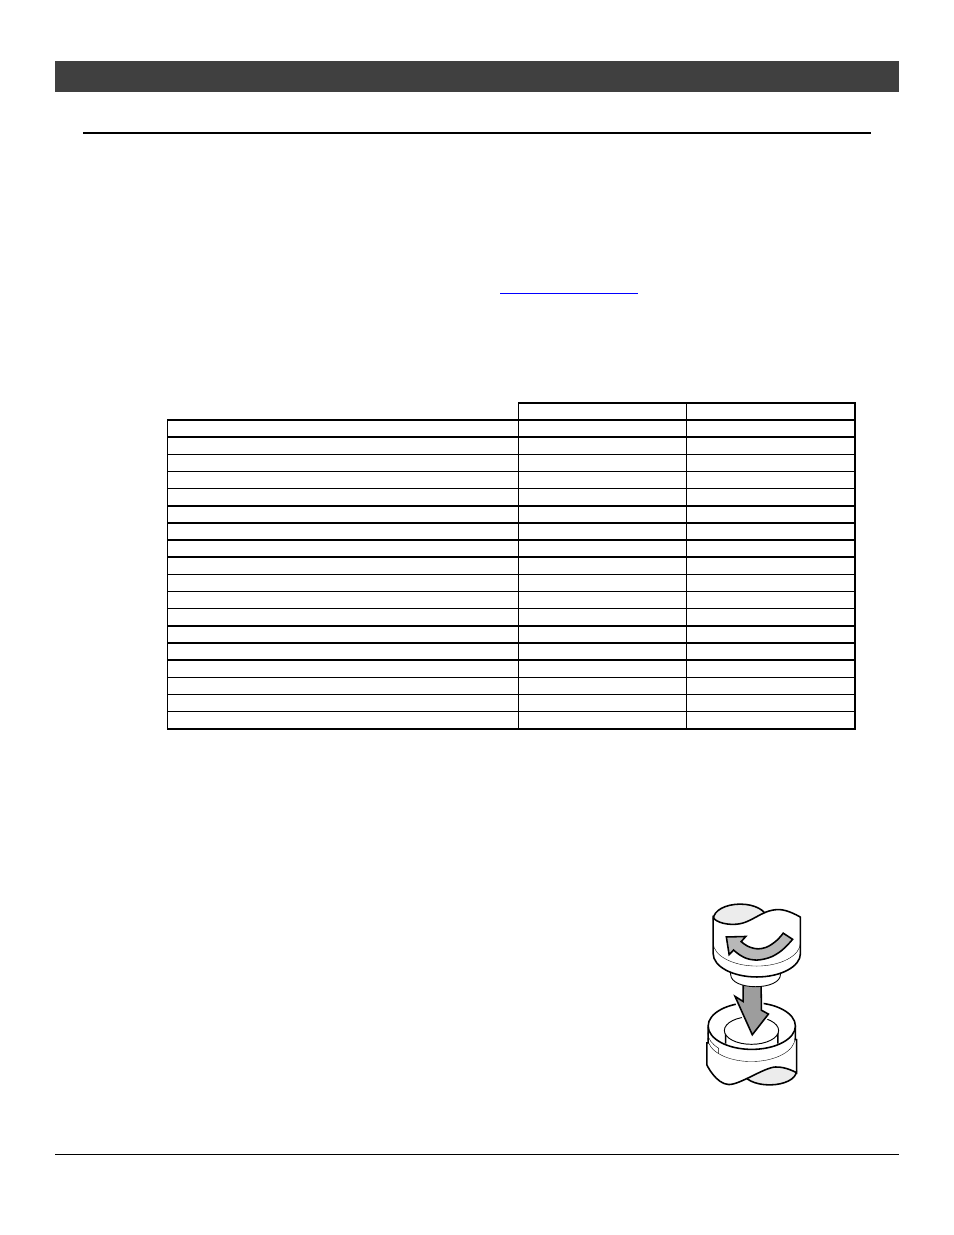
Vent Installation
•
Slide the vent sections together and turn 1/4 turn until the sections lock
in place.
•
Screws are not required to secure the vent. However, three screws may
be used to secure vent sections together if desired.
•
High temperature sealant is recommended at the appliance starter
section connection (use high-temperature silicone or Mill-Pac®).
•
If disassembly is required, at time of re-assembly check to see if the vent
creates a tight fit. If it does not, apply high temperature sealant to the
joints of the affected sections.
•
Horizontal sections require a 1/4" rise every 12" of travel
•
Horizontal sections require non-combustible support every three feet (e.g.: plumbing tape)