Checking the full computer name and workgroup, Sharing – FUJITSU LT800P User Manual
Page 86
84
S t y l i s t i c L T 8 0 0 P T a b l e t
6. Close [Network Connection].
Checking the Full Computer Name and Workgroup
9
1. Click [Start] -> [Control Panel]. Make sure the Classic View is selected.
2. Double-click the [System] icon. [System Properties] appears.
3. Click the [Computer Name] tab.
4. Check [Full computer name] and [Workgroup]. Ask your network administrator and
check the setting.
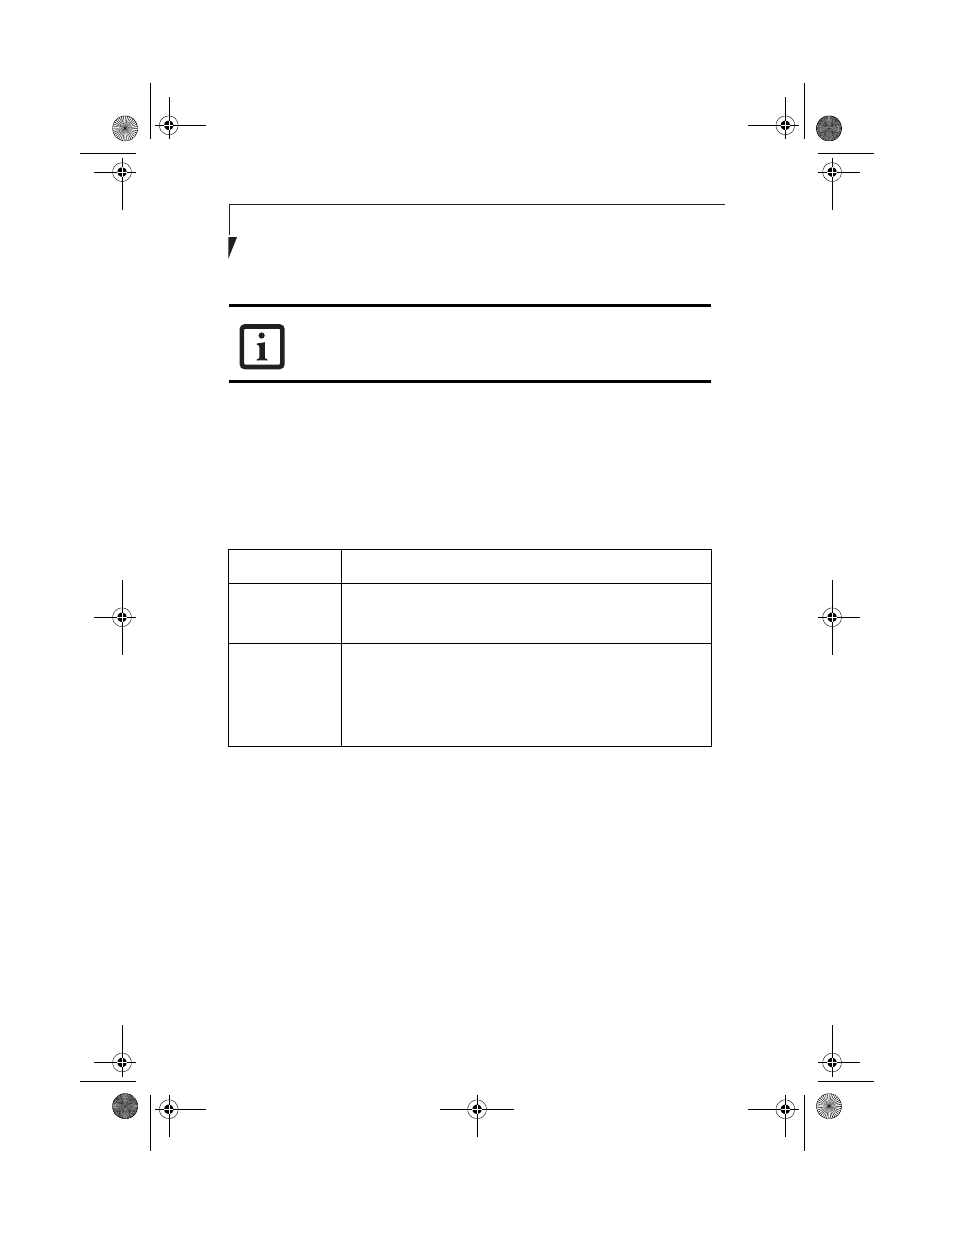
Table A-10 Setting computer name and workgroup
To change the setting, click [Change], and follow the instructions on the screen. [System
Properties] appears again.
5. Click [OK]. When a message appears prompting you to restart the computer, click
[Yes].
Sharing
10
In this section, you set sharing of the drive, folder, and printer.
You need to set this only when you are sharing files or a printer with other computers on
the network.
When you share a drive, folder, or printer, you can use these from any computer on the
network.
If you have changed the setting, [Close] is shown instead. Click [Close].
Item
Description
Computer Name
A name to identify the computer on the network. You can specify
any name to each computer. Use up to 15 single-byte characters.
For easier identification, use the model name or user name.
Workgroup
A name of the network group. Use up to 15 single-byte
characters.
AdHoc Network:
Specify the same name to all computers within
the same network.
Infrastructure Network:
Specify workgroup name to connect to.
58-0867-01.book Page 84 Thursday, February 13, 2003 1:18 PM