Adding bridge forwarding, Deleting bridge forwarding, Viewing redundancy groups – HP 377707-002 User Manual
Page 73: Add bridge forwarding, Delete bridge forwarding, View redundancy groups
65
Adding Bridge Forwarding
To add a bridge subnet:
1. Expand the Ethernet icon in the Tree frame.
2. Click the Bridge Forwarding branch.
3. Click the Add button. The Add Ethernet Bridge Group Forwarding window opens.
4. Enter the ID of the bridge group in the ID field.
5. Click the eth or ib radio button to specify IP or IPoIB respectively.
6. Enter an IP address in the Destination Address field.
7. Enter the destination length in the Dest Length field.
8. Enter the IP address of the next hop in the Next Hop field.
9. Inter the subnet prefix in the Subnet Prefix field.
10. Enter the subnet prefix length, in bits, in the Prefix Length field.
11. Click the Apply button.
Deleting Bridge Forwarding
To delete a bridge subnet:
1. Expand the Ethernet icon in the Tree frame.
2. Click the Bridge Forwarding branch.
3. Click the radio button next to the forwarding group that you want to delete, then click the Delete
button.
Viewing Redundancy Groups
To view the redundancy groups on your Server Switch:
1. Expand the Ethernet icon in the Tree frame.
2. Click the Redundancy Group branch. The Redundancy Group display appears in the View
lists and describes the fields in this display.
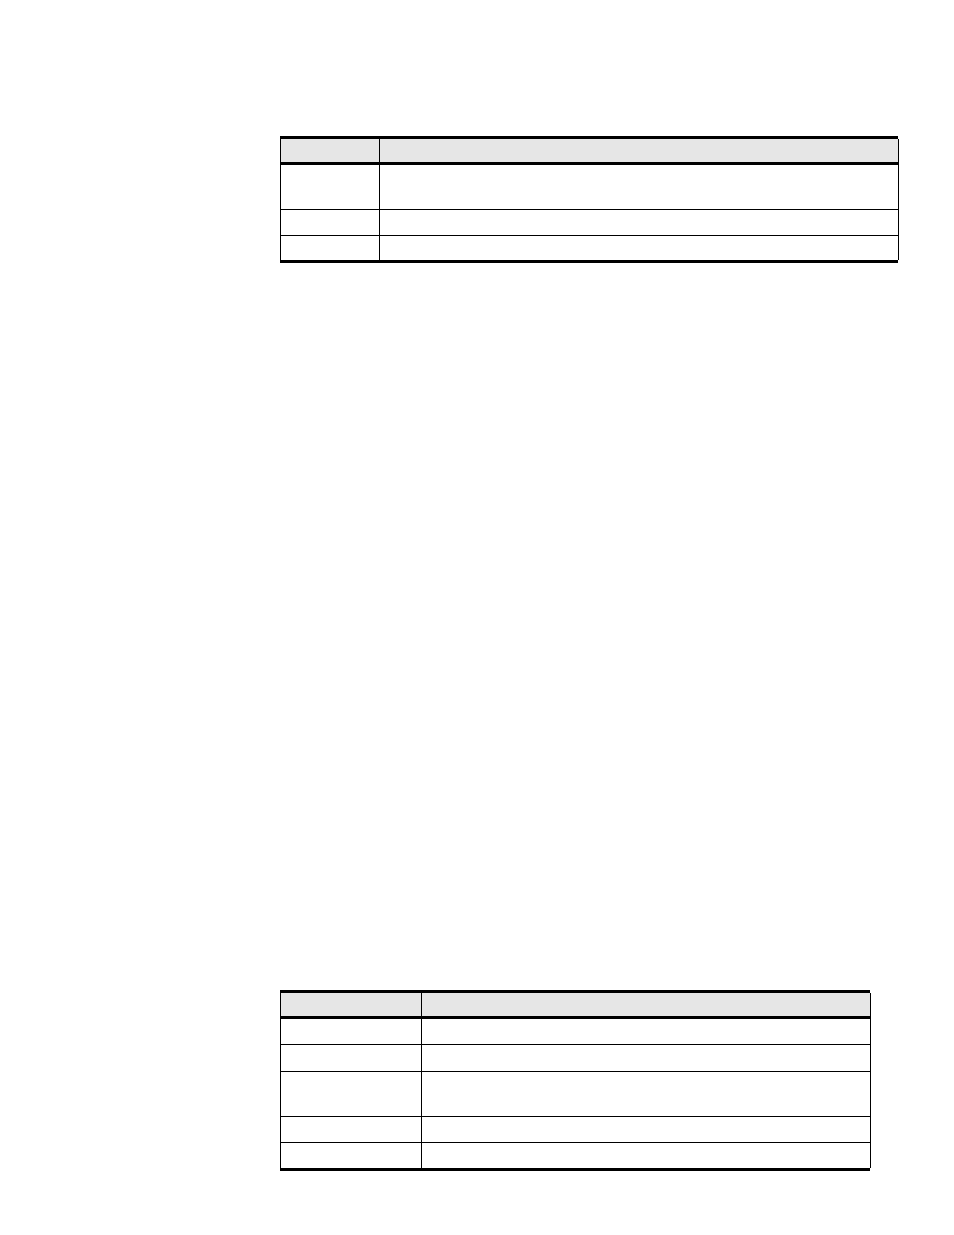
Next Hop
First hop out of the Server Switch to forward packets that you ultimately want to
arrive at the destination.
Subnet Prefix Subnet prefix of the bridge group.
Prefix Length Subnet prefix length, in bits, of the bridge group.
Table 6-4: Bridge Forwarding Fields (Continued)
Field
Description
Table 6-5: Redundancy Group Fields
Field
Description
ID
ID number of the redundancy group.
Name
Name of the redundancy group.
Multicast PKey
Partition key of the multicast group to which the redundancy group
belongs.
Load balancing
Displays enabled if load balancing runs, otherwise displays disabled.
Members
Number of members in the redundancy group.