Viewing bridge subnets, Adding bridge subnet, Deleting bridge subnet – HP 377707-002 User Manual
Page 72: Viewing bridge forwarding, View bridge subnets, Add bridge subnet delete bridge subnet, View bridge forwarding
64
Viewing Bridge Subnets
To view bridge subnets:
1. Expand the Ethernet icon in the Tree frame.
2. Click the Bridge Subnet branch. The Bridge Subnet display appears in the View frame.
Table 6-3
lists and describes the fields in this display.
Adding Bridge Subnet
To add a bridge subnet:
1. Expand the Ethernet icon in the Tree frame.
2. Click the Bridge Subnet branch.
3. Click the Add button. The Add Ethernet Bridge Group Subnet window opens.
4. Enter an integer value in the ID field to assign an ID number to the subnet.
5. Enter the subnet prefix in the Subnet Prefix field, in A.B.C.D format.
6. Enter an integer value in the Subnet Prefix Len field to configure a length for the subnet prefix.
7. Click the Apply button.
Deleting Bridge Subnet
To delete a bridge subnet:
1. Expand the Ethernet icon in the Tree frame.
2. Click the Bridge Subnet branch.
3. Click the radio button next to the subnet that you want to delete, then click the Delete button.
Viewing Bridge Forwarding
To view bridge forwarding:
1. Expand the Ethernet icon in the Tree frame.
2. Click the Bridge Forwarding branch. The Bridge Forwarding display appears in the View frame.
lists and describes the fields in this display.
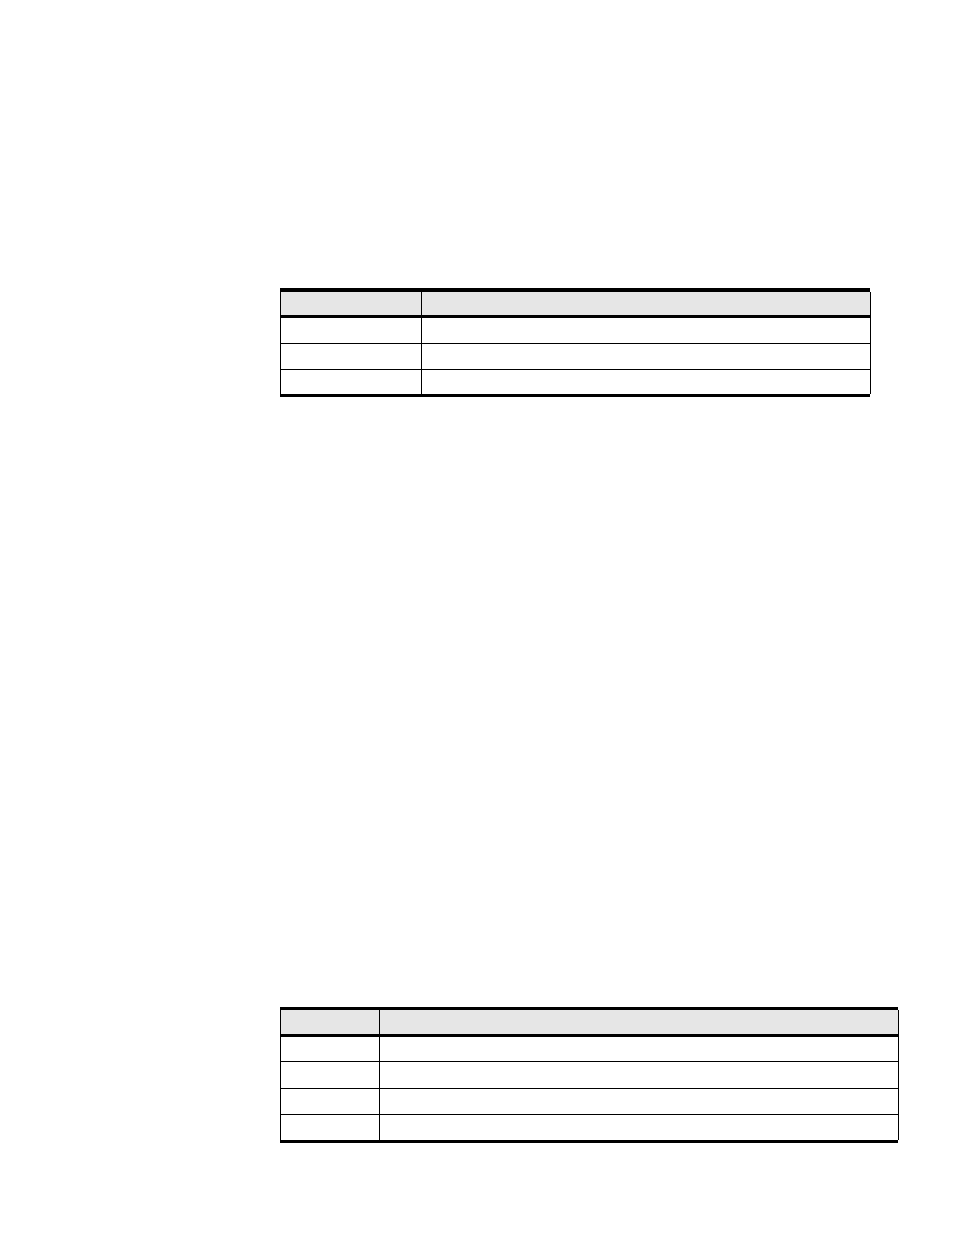
Table 6-3: Bridge Subnets Fields
Field
Descriptions
ID
Subnet ID number.
Subnet Prefix
Subnet prefix, in A.B.C.D format.
Subnet Prefix Len
Length of the subnet prefix.
Table 6-4: Bridge Forwarding Fields
Field
Description
ID
Displays the integer-value identifier of the bridge group.
Port Type
Displays eth for IP and ib for IPoIB.
Dest Address Final destination of the packets.
Dest Length
Number of hops to the destination.