HP 7600 User Manual
Page 36
hp photosmart 7600 series
chapter 3
32
3
When you connect the digital camera to the printer, a Print Setup menu
appears on the camera’s LCD screen. Use this menu to:
– Change which photos you have selected for printing
– Select the paper type
– Select the paper size
4
When you are ready to print, follow the instructions on your camera’s LCD
screen.
Note: For more information about using camera-selected photos, see the
documentation that came with your digital camera.
For more information, see print from a memory card on page 29.
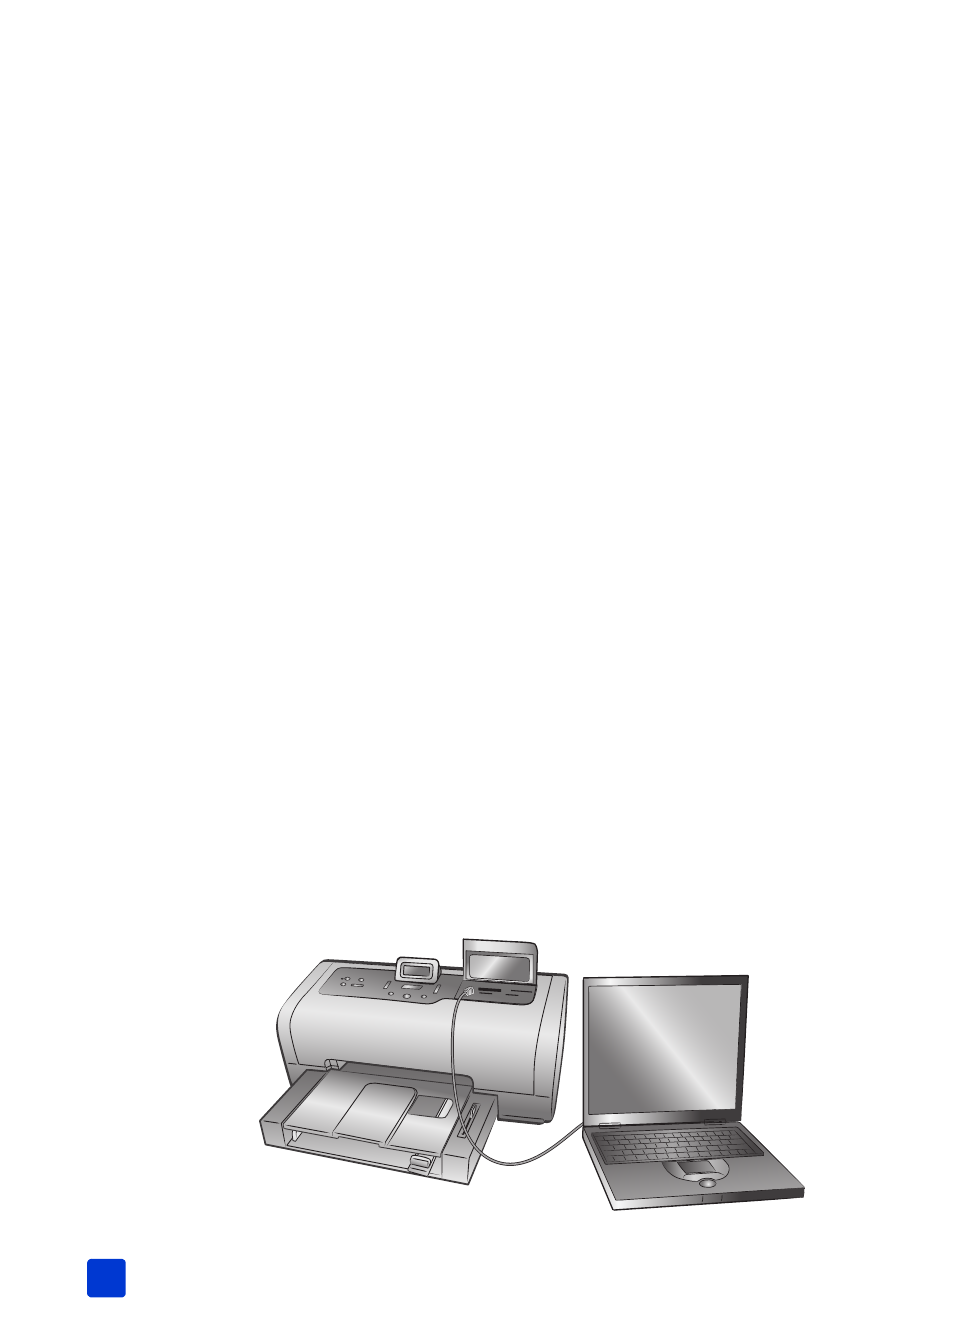
connect your notebook computer to the direct-printing port
For quick and easy printing, your printer allows you to connect a notebook
computer to the direct-printing port located in the front of the printer.
Note: To print using the direct-printing port, you must first install the HP
Photosmart printer software on your notebook computer using the USB port
located in the back of your printer. The first time you connect your notebook
computer to the direct-printing port, your operating system will automatically
reconfigure the software so you can print using that port. For information
about installing the software on your notebook computer, see the HP
Photosmart Setup Guide that came with your printer.
Note: To print photos or files from your notebook computer using the direct-
printing port, the files must already be saved on your notebook computer.
To save photos and other files from a memory card to your notebook
computer, you must connect your notebook computer to the USB port
located on the back of your printer.
To print from your notebook computer:
1
Connect one end of a USB cable to the notebook computer, then connect
the other end of the cable to the direct-printing port located on the front of
the printer. The direct-printing port is located under the input bay door, to
the left of the memory card slots.