Hawaii2 ref. guide rev.b – Epson 400 User Manual
Page 39
7. Select your printer, click the Queue menu, then click Setup.
The Queue setup window opens.
8. Make sure the Use Print Manager for this port option is on;
it is on if the box contains a check mark. Then click OK.
Now you can use your printer on a network.
Installing in Windows 3.1
Follow these steps to install the software using Windows 3.1:
1. Make sure Windows 3.1 is running and the Program Manager
window is open.
2. Insert the printer software CD shipped with your printer in
the CD-ROM drive. (If you use the floppy disk version,
insert it in a disk drive.)
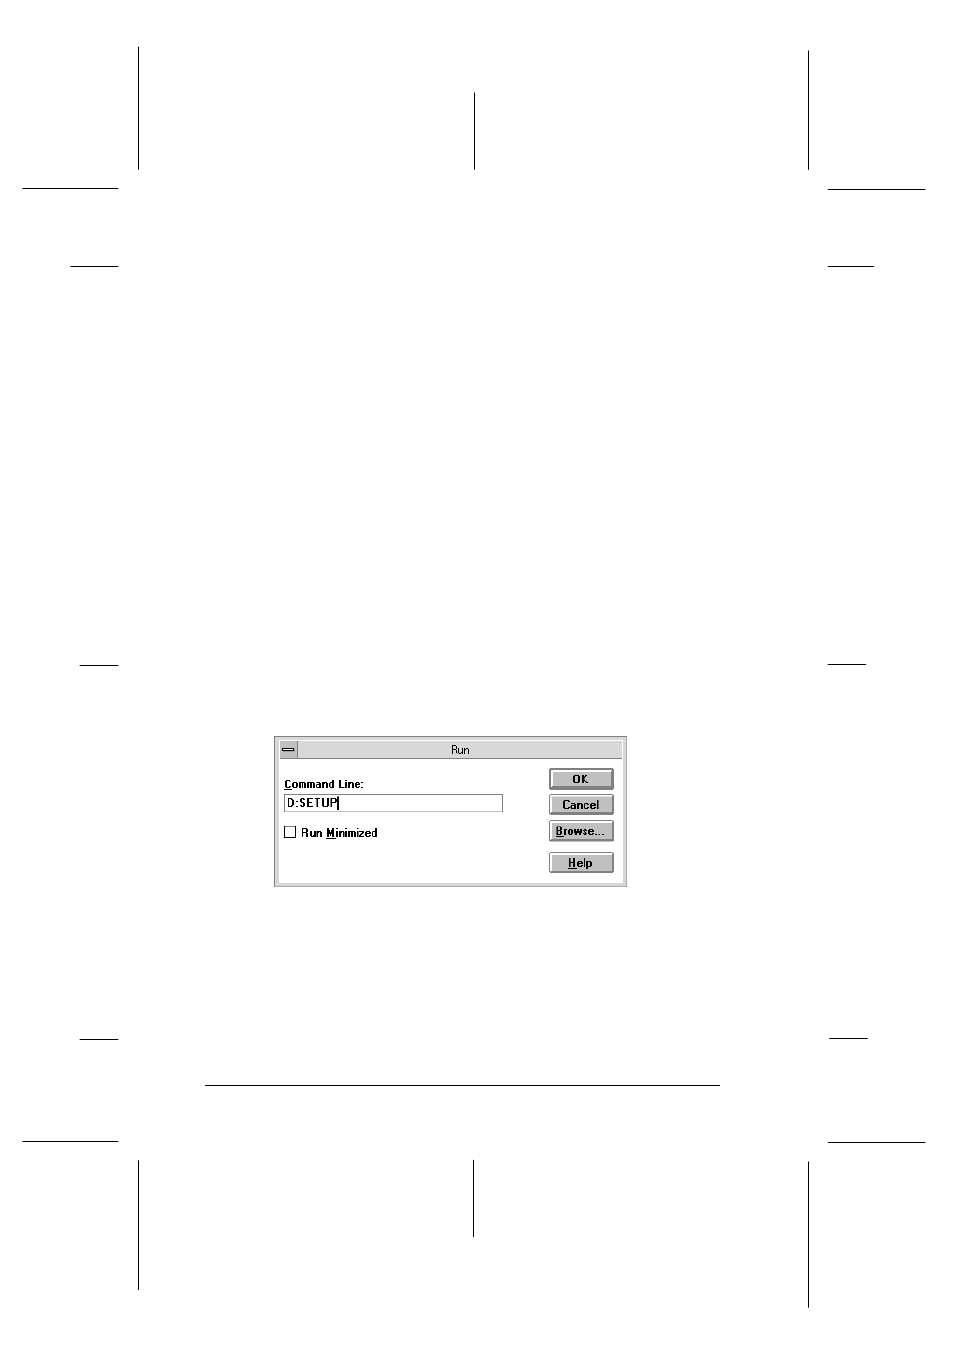
3. In the File menu, choose Run. You see the Run dialog box. In
the Command Line box, type D:SETUP (or A:SETUP if you
inserted the disk in drive A).
Note:
If you wish to make a floppy disk version of the printer software
included on your CD-ROM, type EPSETUP instead of SETUP. In
the dialog box that appears, click the Driver disk creation
utility button and follow the on-screen instructions.
setup-n
L
Hawaii2 Ref. Guide
Rev.b
A5 size
Chapter 2
06-02-97
DR, pass 0
2-18
Getting Started