Using an electronic viewfinder (sold separately), Using the hot shoe – Canon PowerShot G3 X User Manual
Page 173
173
Appendix
Index
Before Use
Basic Guide
Advanced Guide
Camera Basics
Auto Mode /
Hybrid Auto Mode
Other Shooting Modes
P Mode
Tv, Av, M, C1, and C2 Mode
Playback Mode
Wi-Fi Functions
Setting Menu
Accessories
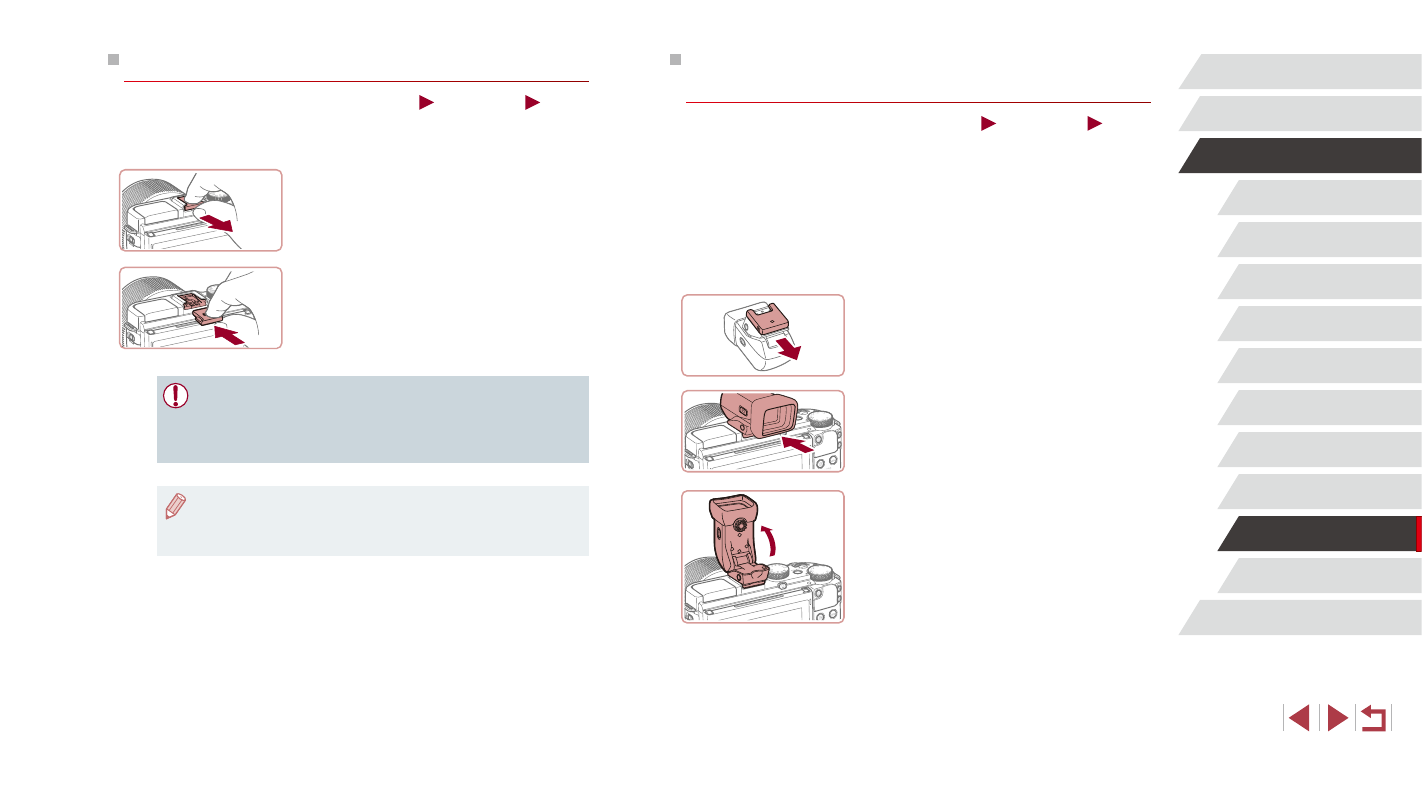
Using an Electronic Viewfinder
(Sold Separately)
Still Images
Movies
Shooting is easier with an optional electronic viewfinder, which helps you
concentrate on keeping subjects in focus.
Note that fewer shots and less recording time are available than when
using the screen (LCD monitor) on the back of the camera. For guidelines
on the number of shots and recording time available, see “Number of
Shots/Recording Time, Playback Time” (= 212).
1
Make sure the camera is off.
2
Attach the electronic viewfinder to
the hot shoe.
z
Remove the viewfinder cover.
z
Insert the viewfinder’s connection
component into the hot shoe (= 173) as
shown until it clicks into place.
3
Adjust the electronic viewfinder to
the desired angle.
z
You can adjust the angle of the viewfinder
up to about 90° to suit the scene or how
you are shooting.
Using the Hot Shoe
Still Images
Movies
Use the hot shoe to attach an optional electronic viewfinder or external
flash.
1
Remove the hot shoe cap.
z
Pull off the cap as shown.
z
To avoid losing the cap after removal,
store it in the viewfinder or flash case.
2
Attaching the Hot Shoe Cap
z
After removing a viewfinder or flash,
reattach the hot shoe cap to protect the
hot shoe.
z
Insert the cap as shown.
●
Prevent the built-in flash from rising when you attach accessories
other than an electronic viewfinder to the hot shoe. Otherwise,
the flash may strike the accessory. Note that the built-in flash will
not fire.
●
To avoid contact between the screen and any viewfinder or flash
on the hot shoe, do not tilt the screen up when these accessories
are attached.