Editing still images, Resizing images using the menu, 124), printing – Canon PowerShot G3 X User Manual
Page 124: Using the menu, Resizing images

124
Wi-Fi Functions
Setting Menu
Accessories
Appendix
Index
Before Use
Basic Guide
Advanced Guide
Camera Basics
Auto Mode /
Hybrid Auto Mode
Other Shooting Modes
P Mode
Tv, Av, M, C1, and C2 Mode
Playback Mode
3
Review the new image.
z
Press the [ ][ ] buttons or turn the [ ]
dial to choose [Yes], and then press the
[ ] button.
z
The saved image is now displayed.
●
Editing is not possible for images shot at a recording pixel setting
of [ ].
●
RAW images cannot be edited.
●
Images cannot be resized to a higher number of recording pixels.
●
You can also view saved images by touching [Yes] on the screen
in step 3.
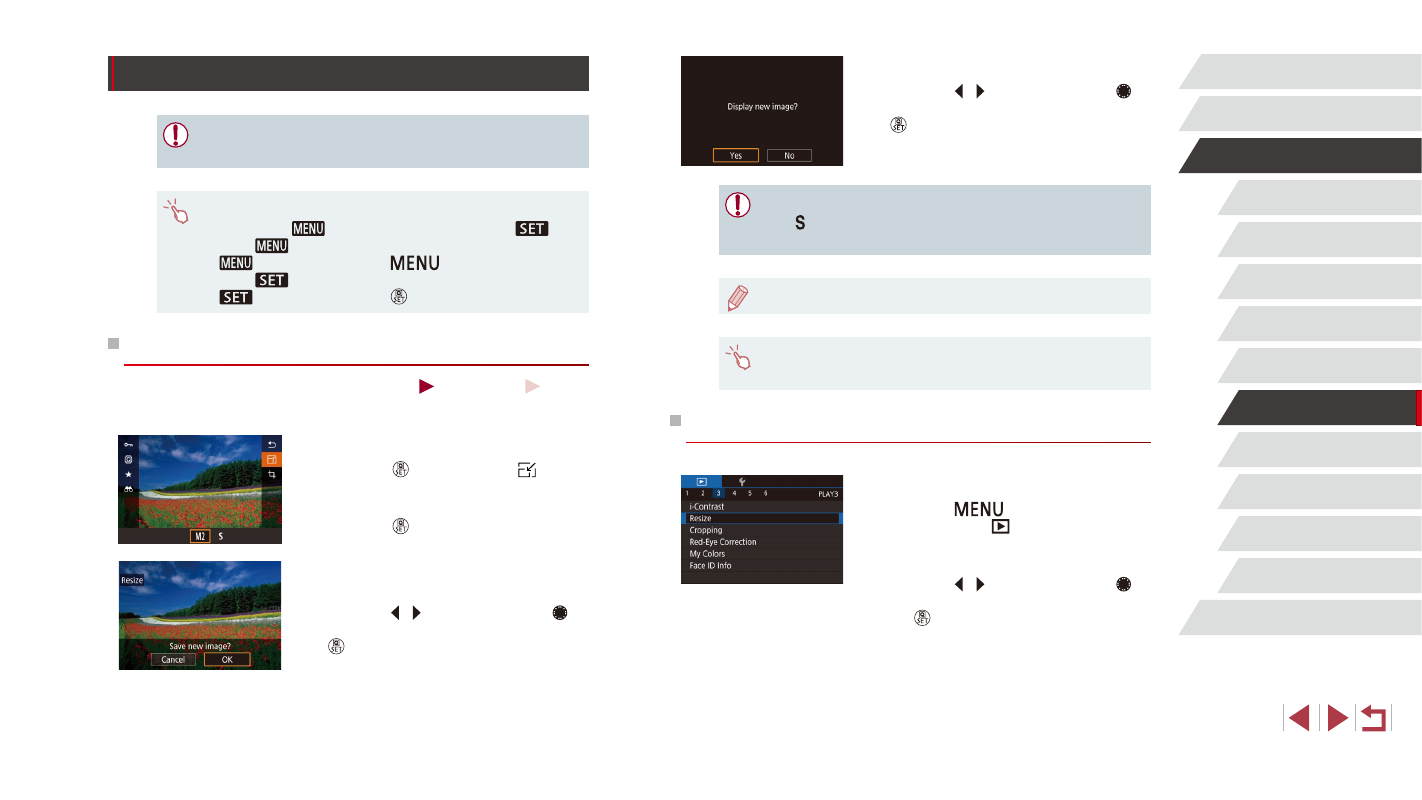
Using the Menu
1
Choose [Resize].
z
Press the [
] button and choose
[Resize] on the [
3] tab (= 31).
2
Choose an image.
z
Press the [ ][ ] buttons or turn the [ ]
dial to choose an image, and then press
the [ ] button.
Editing Still Images
●
Image editing (= 124 – = 127) is only available when the
memory card has sufficient free space.
●
To access the screen for each kind of editing, choose the editing
function with [
], touch an image, and then touch [
].
●
When [
] is shown on an editing screen, you can touch
[
] instead of pressing the [
] button, if you prefer.
●
When [
] is shown on an editing screen, you can touch
[
] instead of pressing the [ ] button, if you prefer.
Resizing Images
Still Images
Movies
Save a copy of images at a lower number of recording pixels.
1
Choose an image size.
z
Press the [ ] button, choose [ ] in
the menu, and choose an image size
z
Press the [ ] button.
2
Save the new image.
z
After [Save new image?] is displayed,
press the [ ][ ] buttons or turn the [ ]
dial to choose [OK], and then press the
[ ] button.
z
The image is now saved as a new file.
