8 frame and enclosure configurations, 1 internal mounting rails, 2 rear-mount rails-position – Emerson Liebert XDF User Manual
Page 30: 9 mounting hardware, Frame and enclosure configurations, Internal mounting rails, Rear-mount rails—position, Mounting hardware
Installation
24
4.8
Frame and Enclosure Configurations
4.8.1 Internal Mounting Rails
The XDF can accommodate rack-mounted or free-standing computer and network equipment. The
unit features 19-inch (483mm) rear-mount rack rails. These internal mounting rails are designed in
accordance with the EIA 310D rack standard. The rails are adjustable for equipment of different
sizes.
Liebert offers these optional mounting hardware kits: fixed shelf, fixed rails, pullout shelf, 19-inch
(483mm) rack rail adapters and keyboard trays. Each kit includes installation hardware.
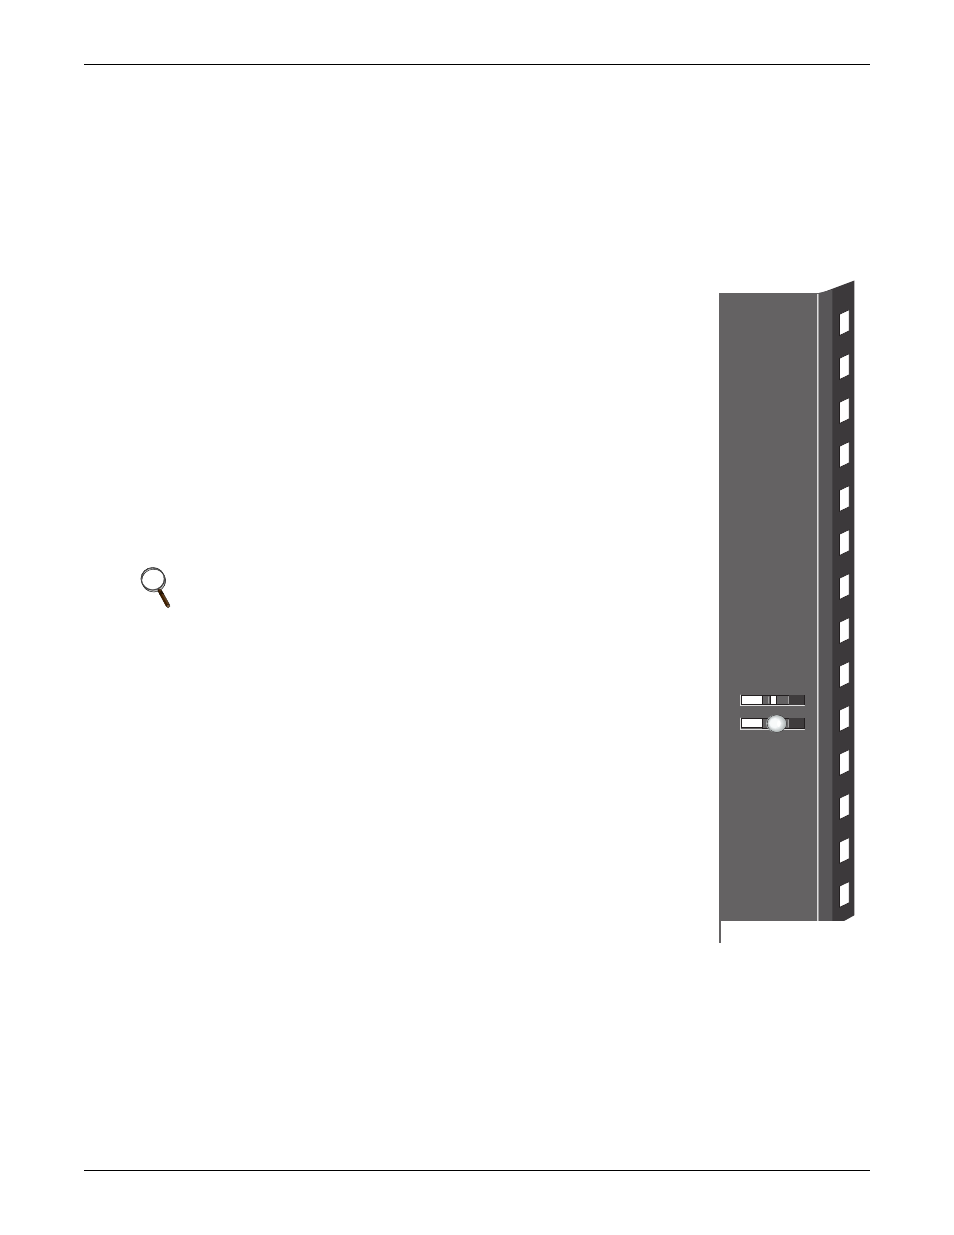
4.8.2 Rear-Mount Rails—Position
The XDF’s front rails are fixed into position, while rear-mount rails are
secured by carriage bolts that pass through horizontal slots in the frame.
These slots permit you to change the front-to-rear distance between the rails
as your application requires.
To position the rails:
1. Determine the proper location of the rails.
2. Loosen the bolts securing a rail to the frame.
3. Move the rail to the desired position (be sure to get the rail square).
4. Tighten the bolts securing the rails to the frame.
5. Repeat for the other rail.
6. Install your rack-mounted equipment or the shelves to hold your free-
standing equipment.
4.9
Mounting Hardware
Optional mounting clip nuts and screws are available for mounting equipment
to the mounting rails. Clip nuts are metal clips with captive nuts that fit over
vertical rack rail holes, allowing individual placement of the mounting hard-
ware. Each clip nut and screw package includes 10 clip nuts (Type 10/32 or
M6 threads) and screws.
NOTE
Before installing any electrical equipment, make sure that the
equipment is switched off.
Detail of Rack Rail