Ab b b b, Installation and assembly – MCZ Vivo 90 Pellet Comfort Air User Manual
Page 31
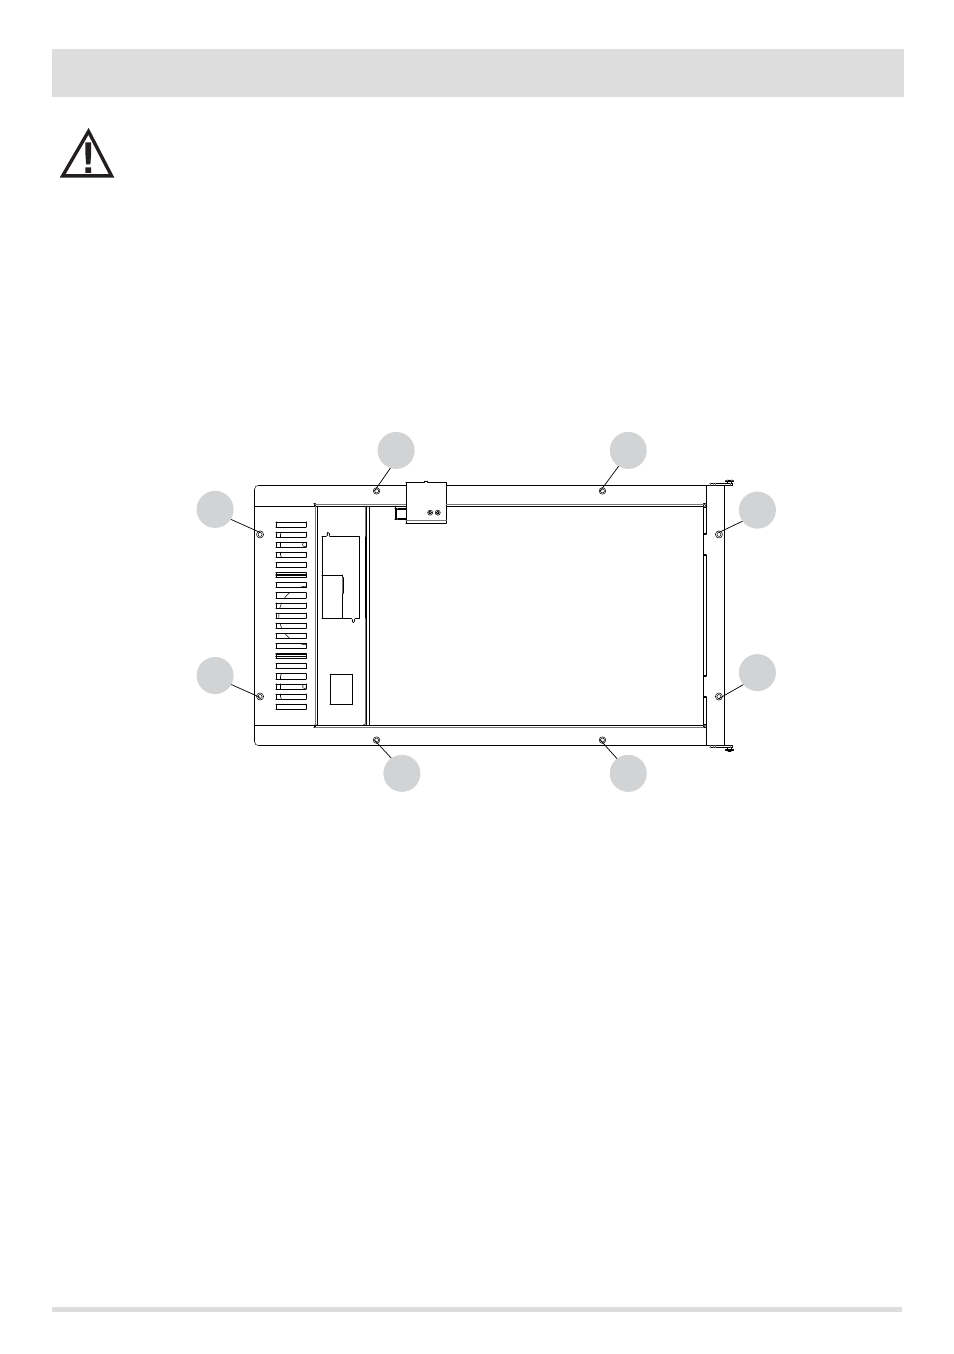
A
A
A
A
B
B
B
B
29
7-INSTALLATION AND ASSEMBLY
Technical Dept. - All rights reserved - Reproduction is prohibited
Pay the utmost attention when handling panels connected to the relevant cables.
The cables must remain in areas away from heat or in areas where they cannot be damaged by possible product
extraction.
For correct operation, run the flat cable and the switch cable away from each other, on different routes.
Do not in any case force insertion of the connector.
Do not bend and/or twist the cables.
Do not modify connectors or wiring or panel supports.
HATCH ASSEMBLY
After performing wiring, before permanently fastening the hatch to the hood, carry out an operation test.
If the test has been successful fasten the hatch to the hood with four screws, using the four holes on the hatch frame marked with letter
(B).
The holes marked on the hatch horizontal profiles (A) are used instead to fix the hatch frame to the chute frame, to permanently secure
the two elements and close the hood wall in between.
Prior to that, a rectangular hole must be drilled into the hood at a height established by how the optional support has been installed or
by how the masonry platform has been made.
PELLET HATCH OPENING/CLOSING
The hatch is fitted with pressure closure and therefore completely lacks any handles or handgrips.
To open or close the hatch, press it in the top left hand corner. It will hook on or unhook from the closure device on the side of the hatch
by simple pressure.