Not for commercial use - ericsson inc, More personalization options – Ericsson R300Z User Manual
Page 29
Not for Commercial Use - Ericsson Inc.
Some menus/features are operator dependent.
22
Personalizing Your Phone
mark by pressing and holding
#
. For more information on entering
phone book entries, see “Creating a Phone Book Entry” on page 26.
Specifying a Caller’s Number and Ring Signal
S
ETTINGS
>
Y E S
> Sounds & Alerts >
Y E S
> Ring Signals >
Y E S
>
Personal Rings >
Y E S
> Add new? >
Y E S
> enter the caller’s number >
Y E S
>
select the ring signal type you want >
Y E S
.
Deleting a Caller’s Number
S
ETTINGS
>
Y E S
> Sounds & Alerts >
Y E S
> Ring Signals >
Y E S
>
Personal Rings >
Y E S
> scroll to the number you wish to delete >
Y E S
> Delete >
Y E S
.
Composing and Editing Your Own Ring Signals
You can compose four different ring signals.
1 S
ETTINGS
>
Y E S
> Sounds & Alerts >
Y E S
> My
Melodies >
Y E S
> Select My Melody 1, My Melody 2,
My Melody 3 or My Melody 4 > press
C L R
to clear the
display.
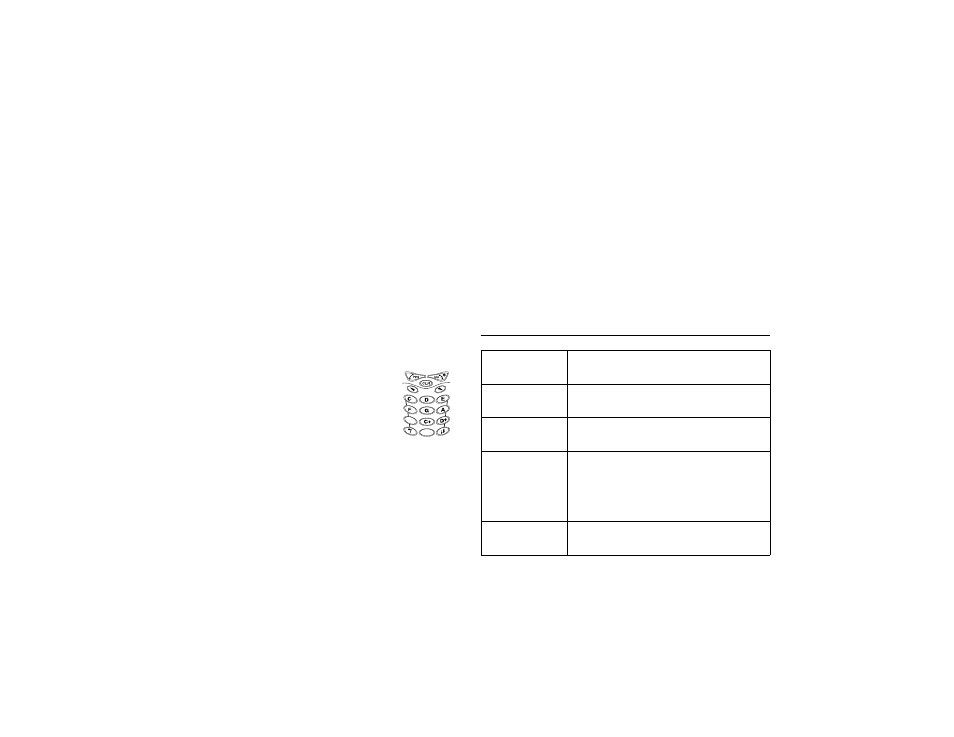
2 The keypad now works as a keyboard (see figure in
margin above).
Use the keypad to enter notes:
• Press and hold a key to enter a long note.
• Press
0
to raise the note one octave.
• Press
#
once to raise the note one halftone.
• Press
#
twice to lower the note one halftone.
3 To listen to your melody, press
Y E S
.
4 Press
Y E S
again to save it or press
N O
to continue editing.
Editing a ring signal
S
ETTINGS
>
Y E S
> Sounds & Alerts >
Y E S
> My Melodies >
Y E S
>
scroll to either My Melody 1, My Melody 2, My Melody 3 or My
Melody 4 >
Y E S
> Edit.
The notes are displayed and you can edit the melody notes with the
keys. Press
Y E S
to play it.
Note! You can also compose your own and download existing ring melodies
from the Ericsson Mobile Internet:
http://mobileinternet.ericsson.com
More Personalization Options
B
Alarm Signal
S
ETTINGS
>
Y E S
> Sounds & Alerts >
Y E S
> Alarm
Signal >
Y E S
> select a setting >
Y E S
.
Ask to Save
P
HONE
B
OOK
>
Y E S
> Options >
Y E S
> Ask to Save >
On/Off >
Y E S
.
Network Initiated
Time Zone (NITZ)
S
ETTINGS
>
Y E S
> Time and Date >
Y E S
> Auto Time
Zone >
Y E S
> On/Off >
Y E S
.
Date
S
ETTINGS
>
Y E S
> Time and Date >
Y E S
> Set Date >
Y E S
> enter the year (two digits), month, and day >
Y E S
.
Note! If you have chosen another date format you
must enter the date differently.
Date Format
S
ETTINGS
>
Y E S
> Time and Date >
Y E S
> Date
Format >
Y E S
> select date format >
Y E S
.