Extron Electronics Matrix 200 User Manual
Page 62
Extron • Matrix 200 • User’s Manual
Chapter 4 • Using the Front Panel Controller
4-20
Configure Audio Menu (0)
The first time power is applied to the audio board, the following conditions exist:
No inputs are connected to outputs.
All inputs are set for professional levels.
All outputs are set for consumer levels.
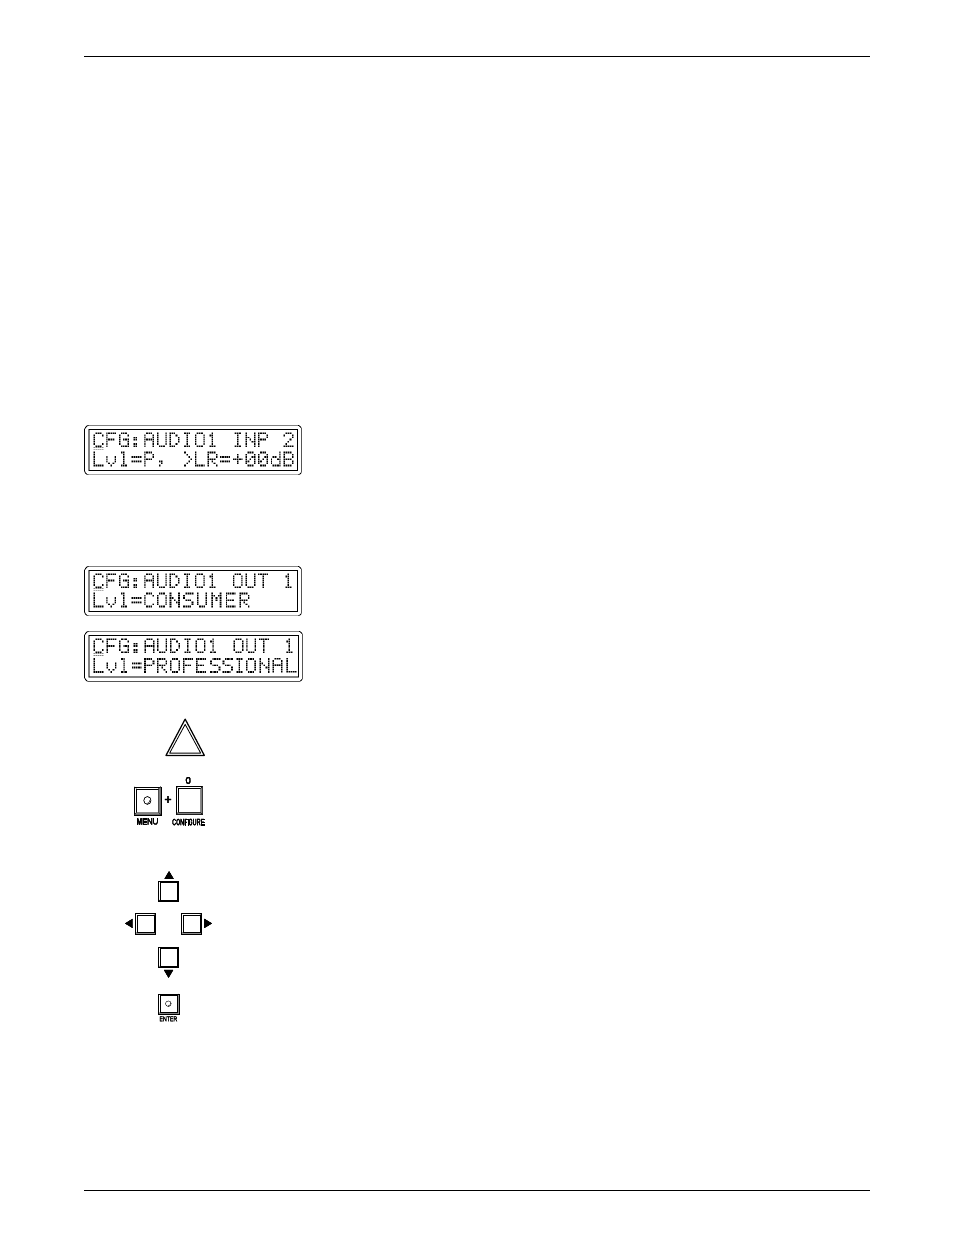
Refer to the sample display screens on this page. The Configure Audio menu
allows audio plane(s) to be configured in the following ways:
Audio1 or 2 = which audio plane is to be configured
Audio plane #2 is not available as of this date.
INP or OUT = configuration is for an input or an output
1 thru 8 = which, of eight inputs or outputs, is to be configured
Lvl = CONSUMER or PROFESSIONAL means the level to be set is for
Consumer or Professional audio equipment
(Typical levels: Consumer audio
≈
6v p-p; Professional audio
≈
30v p-p)
When setting the Input (INP) gain:
>L, R, or LR = which stereo channel (left, right, or both) to be adjusted
+dB or - dB = set to “+” to increase the output level (gain);
set to “-” to decrease the output level (attenuate)
00dB = set the numeric value for dBs of gain (+) or attenuation (-).
The range is -95dB to +31dB.
When configuring Output (OUT):
Lvl = CONSUMER or PROFESSIONAL means the level to be set is for
Consumer or Professional audio equipment
__________
If using differential (or unbalanced) audio, see Audio Terminal Connections
section, page 3-9, to avoid possible damage to audio circuits.
Press Menu, followed by “0”, to display the Configure Audio Menu.
1. With the cursor at position 0,0 (under C), use the Up/Down keys to select input
(INP) or output (OUT) to be changed.
2. Use the Left/Right keys to step the cursor to each function to be changed.
(Input and output functions are explained above.)
3. With the cursor positioned, use the Up/Down keys to display choices.
(Numeric values can also be entered from the numeric keypad.)
4. When all configuration choices have been made, press Enter to store them.