Ericsson STYLUS PRO 4900 User Manual
Page 22
24
24
|
Setting Up the Printer
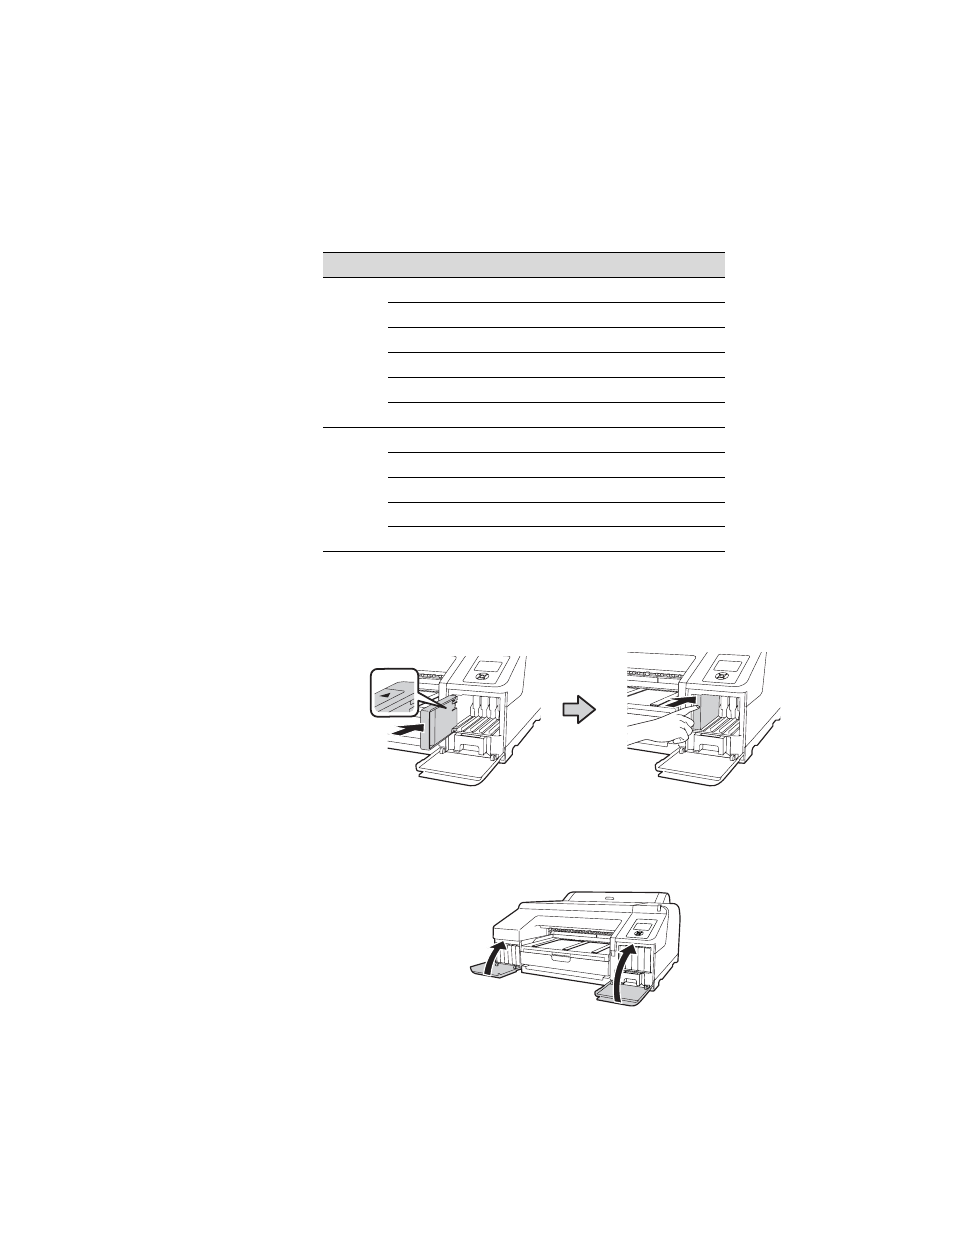
3. Note the location of the slots corresponding to each cartridge.
4. Hold each cartridge with the arrow pointing toward the printer, then
push it into its slot until it clicks into place. Make sure you insert each
cartridge all the way into the correct slot.
5. After installing all 11 cartridges, close the ink covers. The printer starts
charging the ink and the P power light flashes.
Ink bay
Slot no.
Cartridge
Left
1
Green (GR)
2
Light Light Black (LLK)
3
Yellow (Y)
4
Light Cyan (LC)
5
Vivid Light Magenta (VLM)
6
Orange (OR)
Right
7
Matte Black (MK)
8
Vivid Magenta (VM)
9
Light Black (LK)
10
Cyan (C)
11
Photo Black (PK)
Caution: Do not touch the
green chip on top of the
cartridge.
Caution: Charging takes
about 15 minutes. Never
turn off the printer,
remove the maintenance
tanks, or open the front
cover or ink covers while
the
P
power light is
flashing, or you may
damage the printer.