Modifying recorded data with punch in recording – Casio PL-40R 2 User Manual
Page 27
E-59
Using the Sequencer
6.
If you want to change mixer parameter settings,
hold down the FUNCTION button and press
PART/(MIXER) button and then configure the
settings you want.
After setting the parameters you want, press the
EXIT/NO button to return to the recording
screen.
7.
Press the RECORD button. This puts the
sequencer into record standby.
8.
Play something on the keyboard to start actual
recording.
If you want to start recording without playing
anything on the keyboard, press the START/
STOP button. A blank space (a series of rests) is
recorded until you play something.
During recording, the metronome sounds (but is
not recorded) according to current metronome
parameter settings.
9.
Play what you want on the keyboard.
Pedal and other operations are also recorded.
See “Track 1 to 16 Data” on page E-54 for more
information about the type of data that is
recorded.
10.
After you are finished playing what you want,
press the START/STOP button to stop
recording and change to the sequencer’s
playback screen.
Pressing the START/STOP button at this time
plays back what you just recorded. See “Playing
Back from Sequencer Memory” on page E-60 for
more information about playback.
Using the Realtime Record Mode to record to a track that
already contains data replaces the existing data with the
new recording.
If you make a mistake while recording, you can start over
again from step 1 of the above procedure, or use punch in
recording (page E-59) to make modifications.
Use punch in recording to make changes in parts you have
already recorded in a track.
With punch in recording, you listen to the playback of
previous recording, and start playing on the keyboard from
the point where you want to make your modifications.
Everything up to the point where you start playing is
retained, but everything after that point is replaced with your
new input.
Note that you should skip the first two steps of the following
procedure when you go into punch in recording to modify
something you have just recorded.
1.
Press the SEQUENCER button.
This causes the button’s indicator lamp to light,
indicating that sequencer is turned on.
2.
Select the song area that contains the song
whose data you want to modify.
Use [+]/[–] buttons or the selector dial to select a
song area number in the range of 1 to 10.
3.
If you want to use the metronome during
recording, make the required metronome
settings.
4.
Select the track whose contents you want to
modify.
Use the [
] button to select “TrackSelect”.
Use the [+] and [–] buttons or the selector dial to
select a track.
After you select a setting, press the SEQUENCER
button or the EXIT/NO button to return to the
play standby screen.
5.
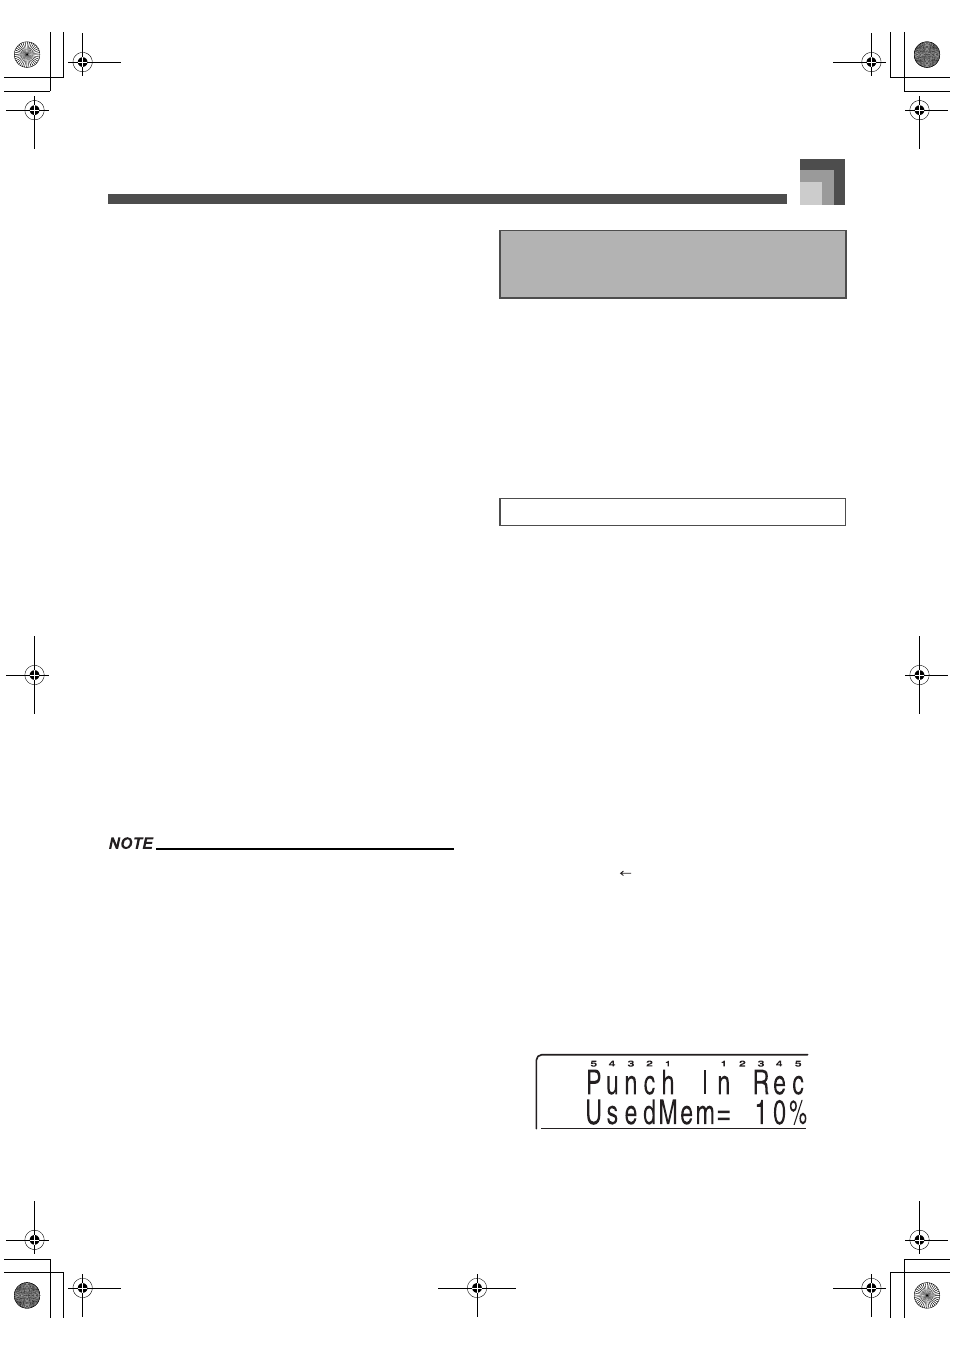
Press the ENTER/YES button.
This enters the punch-in mode and causes the
RECORD button’s indicator lamp to flash.
Modifying Recorded Data with
Punch In Recording
Using Punch In Recording
426-E-061A
PL40NE01-1.book 59 ページ 2002年7月23日 火曜日 午後6時52分