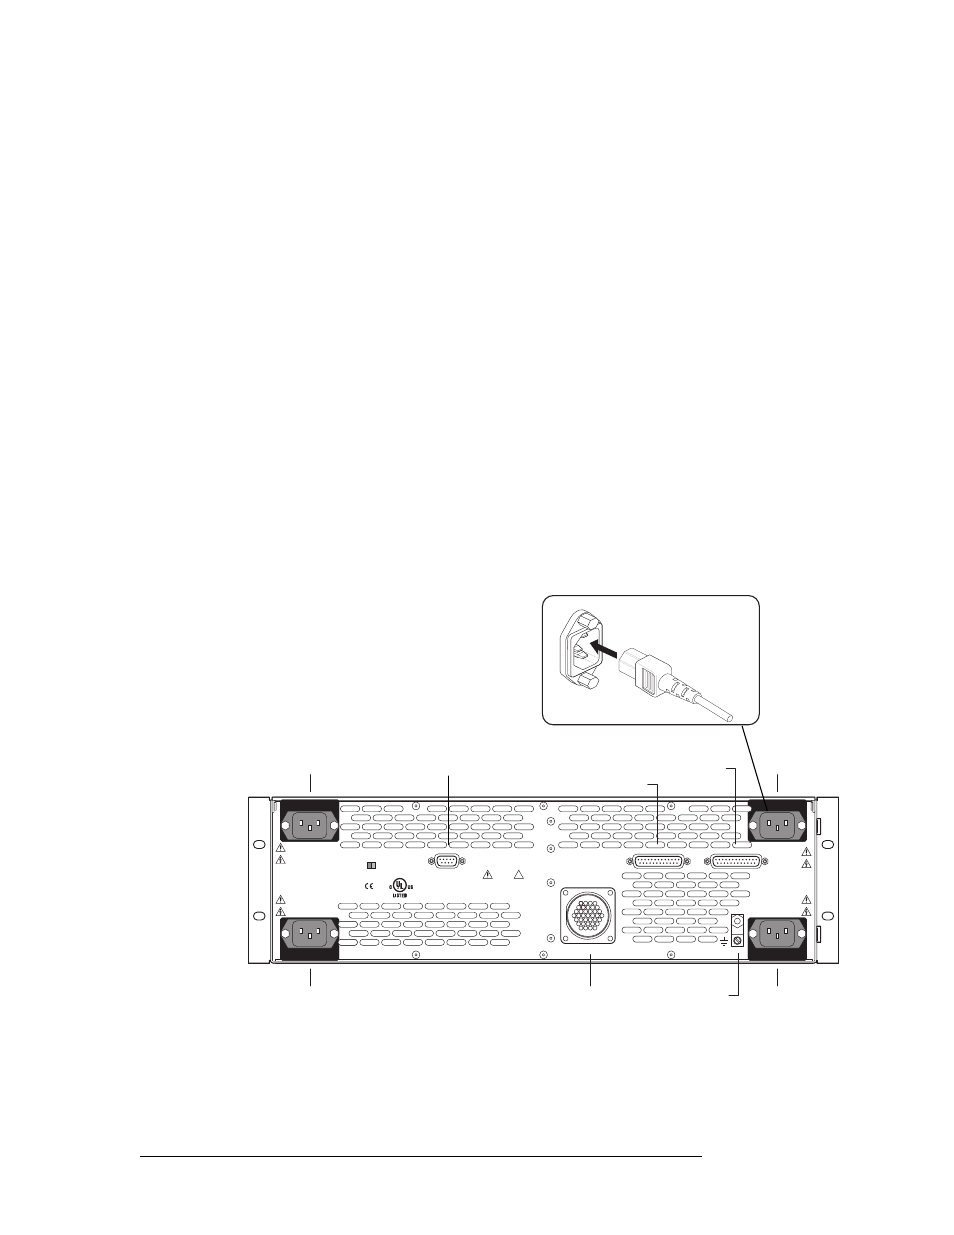
Installation, Making power connections, Power supply power connector – Grass Valley NV8288 v.1.5 User Manual
Page 40
30
Rev 1.5 • 24 Sep 09
3. Installation
Making Power Connections
9 Facing the rear of the second router (router 2), connect the remaining monitor “Y” cable con-
nector to ‘Power Supply Monitor’, as shown in Figure 3-4.
10 Facing the rear of the NV6257, connect a power cord from an AC power source (90–230 VAC,
50–60 Hz) into power supply connections PS 1 through PS 8, as shown in Figure 3-1 on
page 27. Connect one power cord for each PS6000 power supply module installed. (See step
11.)
11 Install the PS6000 power supply modules as follows:
a Facing the front of the NV6257, install the primary PS6000 power supply modules in slots
PS 1, PS 3, PS 5 and PS 7, as shown in Figure 3-3 on page 28.
b (Optional) Facing the front of the NV6257, install the redundant PS6000 power supply
modules in slots PS 2, PS 4, PS 6 and PS 8, as shown in Figure 3-3 on page 28.
12 Facing the rear of each router, connect the ground lug to ground using a copper wire from 14 to
6 AWG. The ground lug is located in the lower, right-hand corner of the frame.
How to Connect a Single NV8000 to an NV8288 or NV8288-Plus
1 Locate the power cords, PS8010 power supply modules, and cables.
2 Facing the rear of the NV8000, using the power cable (WC0096), connect one power connector
to ‘DC Output’, as shown in Figure 3-5.
Figure 3-5. NV8000 Power Supply (Rear View)
3 Connect the other end of the power cable (WC0096) to the adapter (WC0097). The power cable
easily connects to one end of the adapter. Do not force the connection.
4 Facing the rear of the router, connect the other end of the adapter to ‘Power Input’, as shown in
Power Supply
Power Connector
PS3
LOWER
LEFT
PS1
UPPER
LEFT
90-130V~/180-250V~
12.5A/6.25A
50/60Hz
1125 WATTS
MAX
90-130V~/180-250V~
12.5A/6.25A
50/60Hz
1125 WATTS MAX
E146905
CAUTION
DC OUTPUT POWER
F AME
ID
1
2
PS4
LOWER
RIGHT
PS2
UPPER
RIGHT
90-130V~/180-250V~
12.5A/6.25A
50/60Hz
1125 WATTS MAX
90-130V~/180-250V~
12.5A/6.25A
50/60Hz
1125 WATTS MAX
PS1
PS2
PS3
PS4
PS Frame 1 Monitor
DC Output
Ground Lug
PS Frame 2 Monitor
Alarms