Installing a psu, Removing/installing the fan module, Removing the fan module – H3C Technologies H3C MSR 50 User Manual
Page 77

69
CAUTION:
If you do not plan to replace the PSU soon, install a blank filler panel to ensure adequate ventilation and
prevent dust.
Installing a PSU
Follow these steps to install a PSU:
Step1
Hold the handle of the PSU, gently push it into the chassis along the guides until it well touches the power
backplane inside the power slot.
Step2
Fasten the two captive screws in the PSU panel.
Step3
Check that the power switch on the panel is off.
Step4
Plug one end of the power cord shipped with the router into the socket on the PSU and the other end to
the power source.
Step5
Turn on the power switch and check that the RUN LED on the MPUF is ON.
Removing/Installing the Fan Module
The fan module is hot swappable and held in a vertical slot on the right side of the chassis.
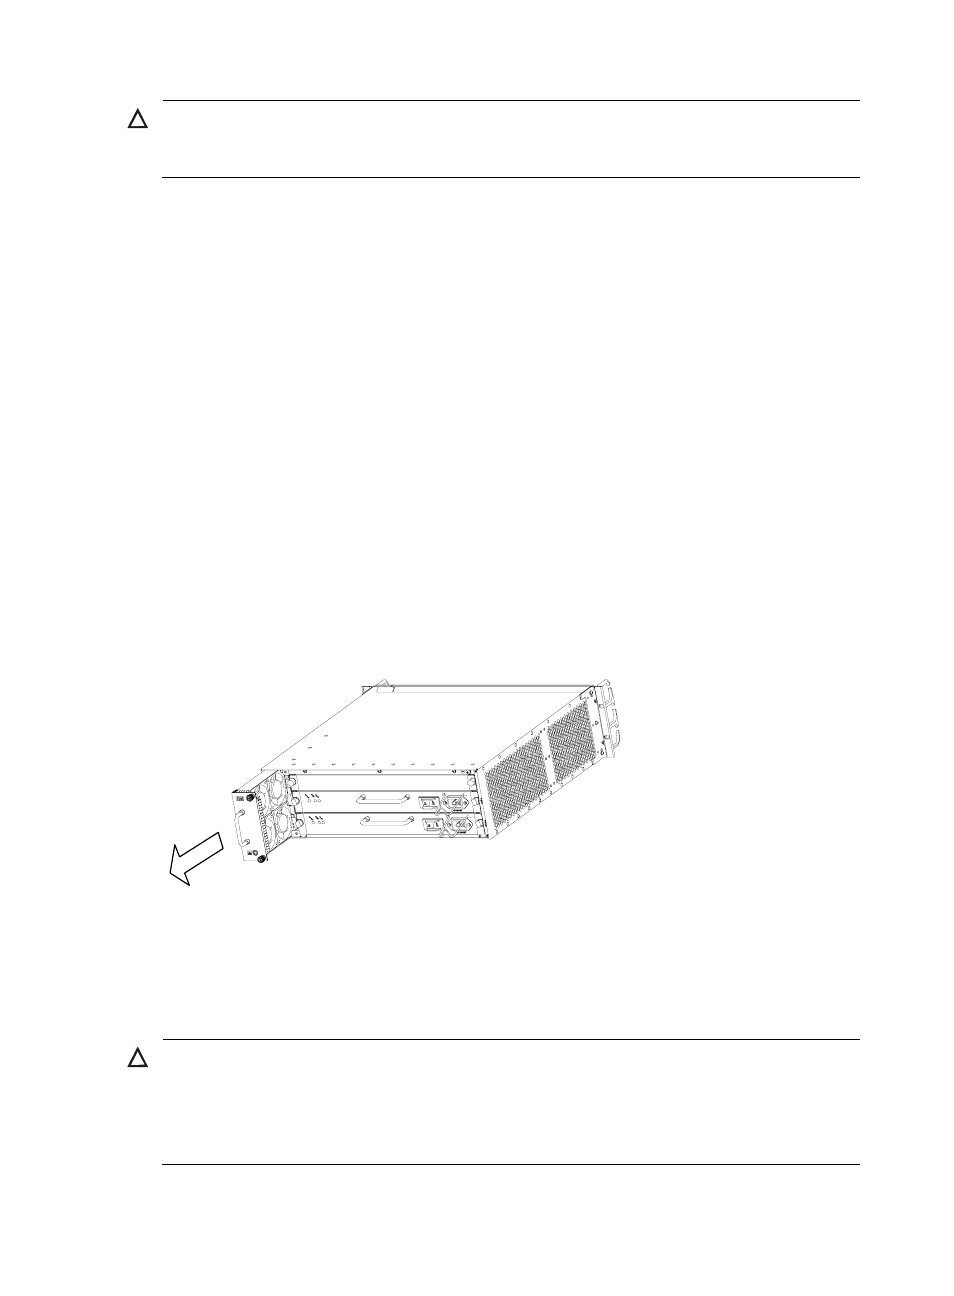
Removing the Fan Module
Figure 50 Remove a fan module
Step1
Loosen the two captive screws on the fan module.
Step2
Hold the handle on the fan module with one hand and its bottom with the other hand. Pull part of the fan
module out.
Step3
Pull the entire fan module out after it completely stops rotating.
CAUTION:
•
The fan module is rather long. Use one hand to hold the bottom of the fan while the other hand grasps
the handle on the fan and pull it out slowly.
•
Even though you have disconnected the fan module from power supply when pulling it out, it may still
rotate for a while for inertia sake. Be careful and do not put your finger into the rotating fans.
