Roster, Schedule, Web-sync – Daktronics DakStats Volleyball User Manual
Page 11: Common tasks, 2 creating a season, Creating a season
Initial Setup
5
Roster
After selecting the appropriate season and team, the roster will appear in this area if one has
already been created (Section 3.4).
Double-click a player in the roster, or click Configure to edit the roster settings.
Click Download Roster to get a team’s latest roster for those using DakStats Web-
Sync. Refer to the DakStats Web-Sync Guide
for instructions on setting
up the Web-Sync service.
Schedule
This area lists all scheduled games for a selected season.
Select a game on the list and click Open, or double-click the game to begin entering
scores and stats for that game.
Select a game and click Configure to edit the game settings.
Click Add New to create a new game for the season (Section 3.5).
Web-Sync
Select a user Profile, type in the Password, and click Sync to begin the Web-Sync Refer to the
DakStats Web-Sync Guide
for instructions on setting up the Web-Sync service.
Common Tasks
This area includes additional frequently used commands.
Print Season Reports: Click to generate a wide variety of printouts (Section 6.2).
Import Game: Click to import a game file (Section 7.1).
Export Game: Click to export a game file (Section 7.2).
3.2 Creating a Season
The first step to set up the DakStats Volleyball program is creating the season in which the
games will be played. By default a “Demo” season exists in the “Seasons” file, but users
should create their own seasons for all future games. Junior Varsity and Varsity teams, as
well as men’s and women’s sports should each have their own season.
To create a season:
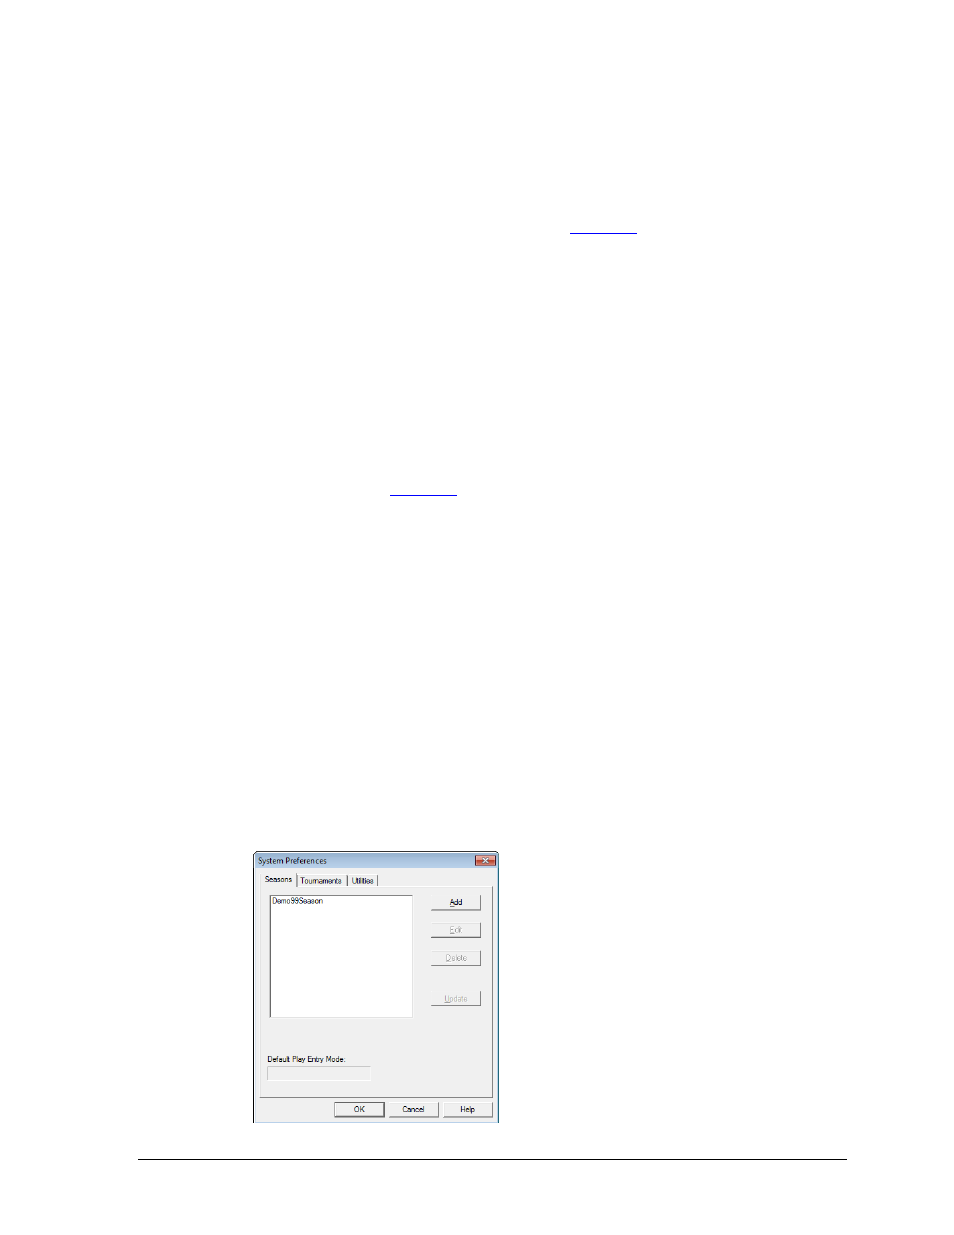
1. Go to Configure > Season and System Preferences (Figure 3).
Figure 3: System Preferences