Uploading the configuration, Touch calibration – TEKVOX TekTouchPad User Manual
Page 19
TekTouchPad Configuration User’s Guide
19
TEKVOX, Inc.
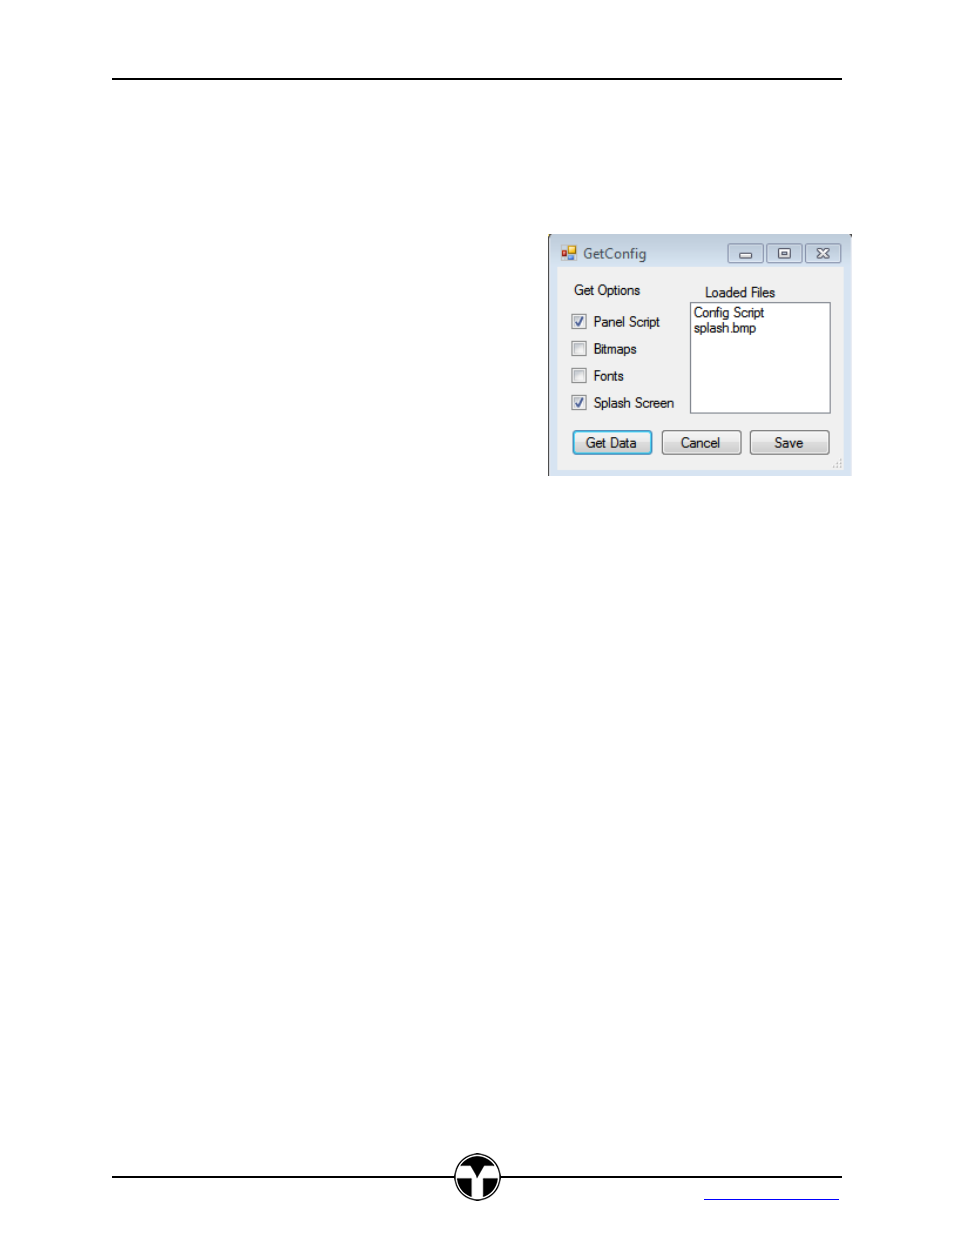
Uploading the Configuration
On occasion, it becomes necessary to recover project files from the TekTouchPad. The system
provides
this feature using the “Get Config” feature. Clicking this button displays a file location
dialog for creating the folder where to place the retrieved files. Another
“GetConfig” dialog is
displayed prompting the user for the type of data items
to retrieve. Once the desired items are selected, click
on the “Get Data” button which will then retrieve each
of the types of data items, listing them in the “Loaded
Files” area, and saving them to the program data
directory. Any files uploaded which are duplicates of
existing files, such as bitmap files, are appended with a
character A-Z until the conflict is resolved. This same
process is followed for the Font and Splash/Logo files.
Pressing the “Save” button creates a new project with
the retrieved configuration script.
Notes:
The Splash Screen is not loaded into the new project and will need to be manually loaded by
selecting it from the “Panel System Settings” in the Option menu. A warning message is
displayed about not finding the Splash Screen.
The color schemes will not be listed by their original name but listed by a number.
Touch Calibration
The touch screen is pre-calibrated by TEKVOX prior to shipping. Occasionally, however, it may
become necessary to recalibrate the touch module if touch accuracy has become degraded or
the unit is loaded with an inverted project. This is accomplished by resetting the unit while
keeping a constant touch pressure on the screen forcing the unit into calibration mode. Follow
the screen instructions on completing the calibration process.
Notes:
It is usually preferable to touch the calibration points with a stylus smaller than the calibration
points to achieve the best accuracy.
To reset the unit, toggle power to the system, or if that is impractical, send the “~~R” command
to the unit via serial port to initiate a reset command, see Appendix D.