Vortech 2003-2004 Mustang Mach 1 User Manual
Page 30
P/N: 4FR020-010
©2004 Vortech Engineering, LLC
All Rights Reserved, Intl. Copr. Secured
23AUG04 86-93 4V Mus. Cobra(4FR v3.1)
P/N: 4FR020-010
©2004 Vortech Engineering, LLC
All Rights Reserved, Intl. Copr. Secured
23AUG04 86-93 4V Mus. Cobra(4FR v3.1)
9. RADIATOR HOSE/WATER TUBE
A. Remove the upper radiator hose from the
radiator and modify (cut) as shown in Fig.
9-b on page 19.
B. With the lower radiator hose still connected
to the radiator, remove 2" from the end pre-
viously connected to the factory water tube.
Set the 2" section aside.
C. Following Fig. 9-c on page 19, pre-assemble
the Vortech supplied "L" and "U" bent water
tubes using the 2" hose (section removed
in the previous step) and the supplied #20
clamps. Do not tighten clamps until assembly
is mounted on the engine.
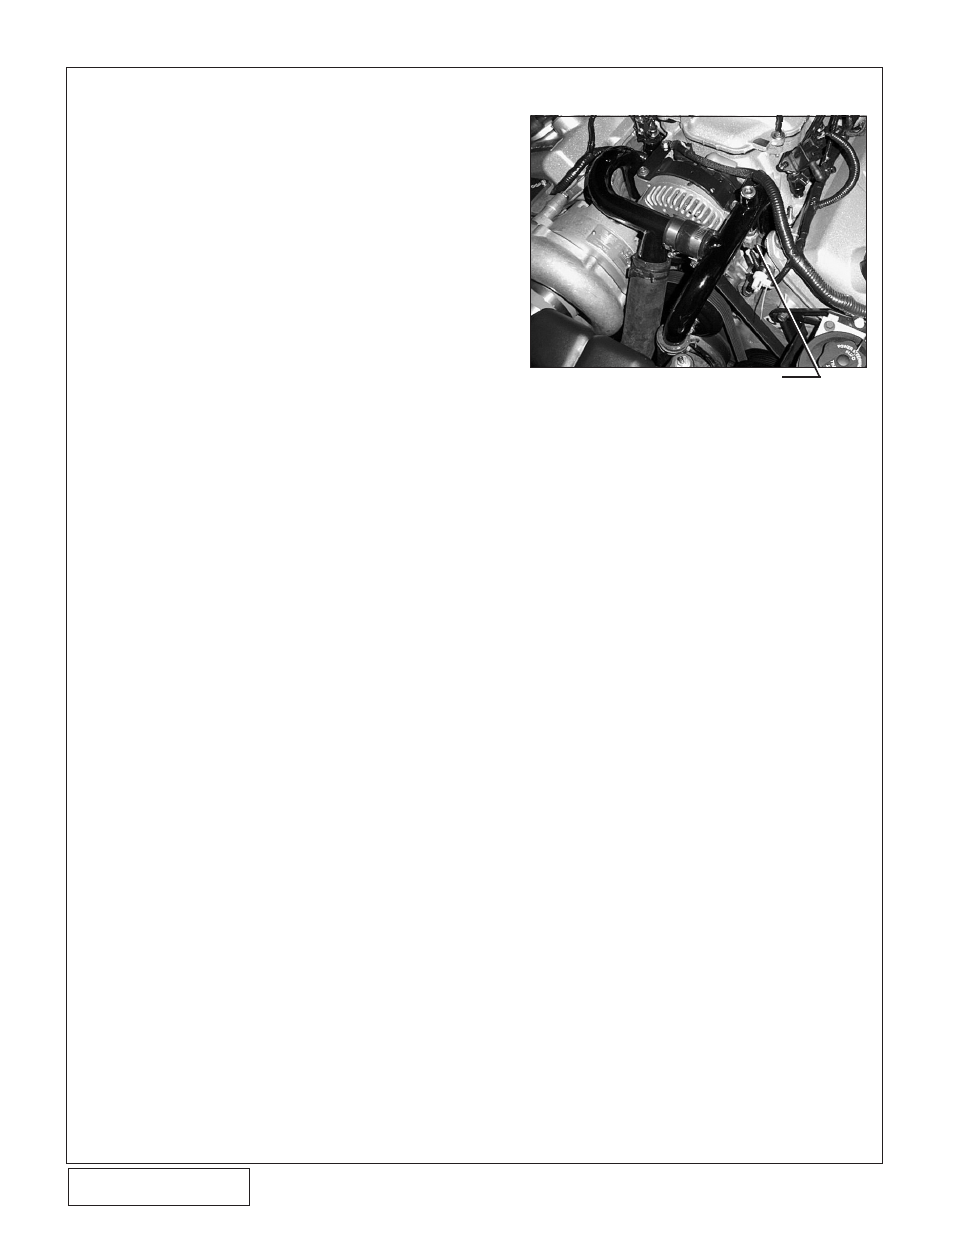
D. Thread the factory coolant temperature
sensor into the Vortech water tube using
pipe thread sealant on the sensor threads.
Make sure that the sensor is installed into
the underside of the "U" bend (see Fig.
9-a).
E. 99-01 Cobra: Install the two supplied
O-rings into the O-ring grooves located on
each end of the Vortech water tube assembly.
Apply a small amount of anti-freeze around
each O-ring to act as a lubricant for easier
installation. With the "U" and "L" bends put
together as one assembly, install the unit into
the engine block in the factory water tube
location making sure that both pipe tabs
are aligned onto the intake manifold holes.
Push both pipes down until the tabs and/or
pipes hit bottom. Secure the assembly with
the two factory nuts, or supplied 6mm nuts
and washers if the factory water tube was
originally attached to the alternator.
(2003-2004) Mach 1 Models: Install the
two supplied O-rings into the O-ring grooves
located on each end of the Vortech water
tube assembly. Apply a small amount of
anti-freeze around each O-ring to act as
a lubricant for easier installation. Place the
two supplied aluminum spacers (.28" thick)
between the bottom of each of the water
pipe mounting tabs and the intake mani-
fold flange where the factory water pipes
were originally attached. With the "U" and
"L" bends put together as one assembly,
install the unit into the engine block in the
factory water tube location making sure that
both pipe tabs are aligned onto the intake
manifold holes. Push both pipes down until
the tabs and/or pipes hit bottom. Make sure
that the tabs are on the top of the supplied
.28" spacers. Secure the assembly with the
two factory screws.
Fig. 9-a
18
COOLANT TEMPERATURE SENSOR
F. Reattach the factory coolant sensor con-
nector.
G. Reinstall the modified upper radiator hose
to the radiator with the factory clamp.
H. As shown in Fig. 9-d on the next page, re-
move 2-1/2" from the long leg of the Vortech
supplied 1-1/2" diameter x 90° hose. Attach
the hose, along with the factory radiator
hose, to the supplied 1-1/2" splice using
#24 clamps. Connect the entire assembly
to the new Vortech water tube.
I. Attach the open end of the lower radiator
hose to the remaining barb on the Vortech
water tube and secure with a #20 hose
clamp.
J. Refill radiator. Completely fill engine block
through the 3/8" NPT water fill port on the
Vortech water tube. Plug fill port with sup-
plied 3/8" NPT plug.