1 integrated ethernet – Dream Property DM8000 HD PVR User Manual
Page 54
-54-
You have choice between integrated ethernet and integrated wireless (WLAN) to establish a network connec-
tion to you Dreambox. If you have activated both connections you have to set the default adapter in the “Set
Network Adapter“ menu by pressing the
blue Options-Button
.
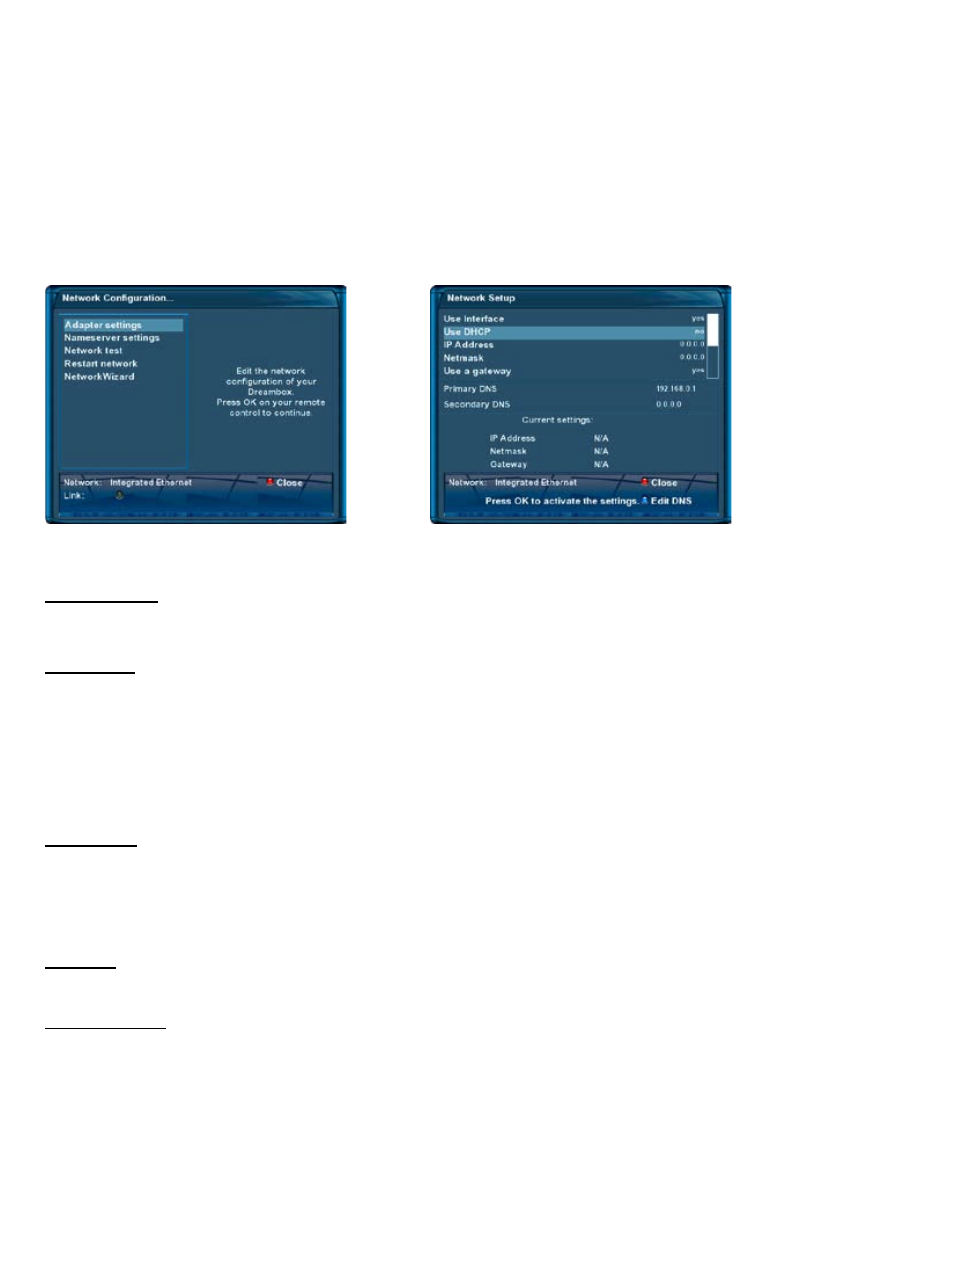
Use interface:
This options toggles the integrated ethernet interface on and off.
Use DHCP:
If set to “yes“ your Dreambox will get its IP from a DHCP server. If you are using a router to access the inter-
net you usually have a DHCP server. Disable this option to set a static IP address.
Manually setting an IP address
These settings are only needed if you have selected “no“ on the “Use DHCP“ option before.
IP Address:
You can assign any IP address to you Dreambox. The only expection is the 192.168.0.
1
IP since it usually is
reserved for you internet router and should therefor not be used.
Free IP addresses:
192.168.0.2 - 192.168.0.254
Netmask
Enter the subnet mask which usually is
255.255.255.0
Use a gateway:
Set this option to “yes“ and enter the IP address of the PC or router in your network with internet connectiv-
ity.
Ususally this is:
192.168.0.1
To save the settings and activate the network connection press the
OK-Button
.
11.6.1 Integrated Ethernet
Select “Integrated Ethernet“ and press the
OK-Button
. Select the “Adapter settings“ option and press the
OK-Button. Use the
Navigation-Buttons
and the
Numeric-Keypad
to change the settings.
Adapter settings