Stitching – SINGER W614 User Manual
Page 27
Attention! The text in this document has been recognized automatically. To view the original document, you can use the "Original mode".
;
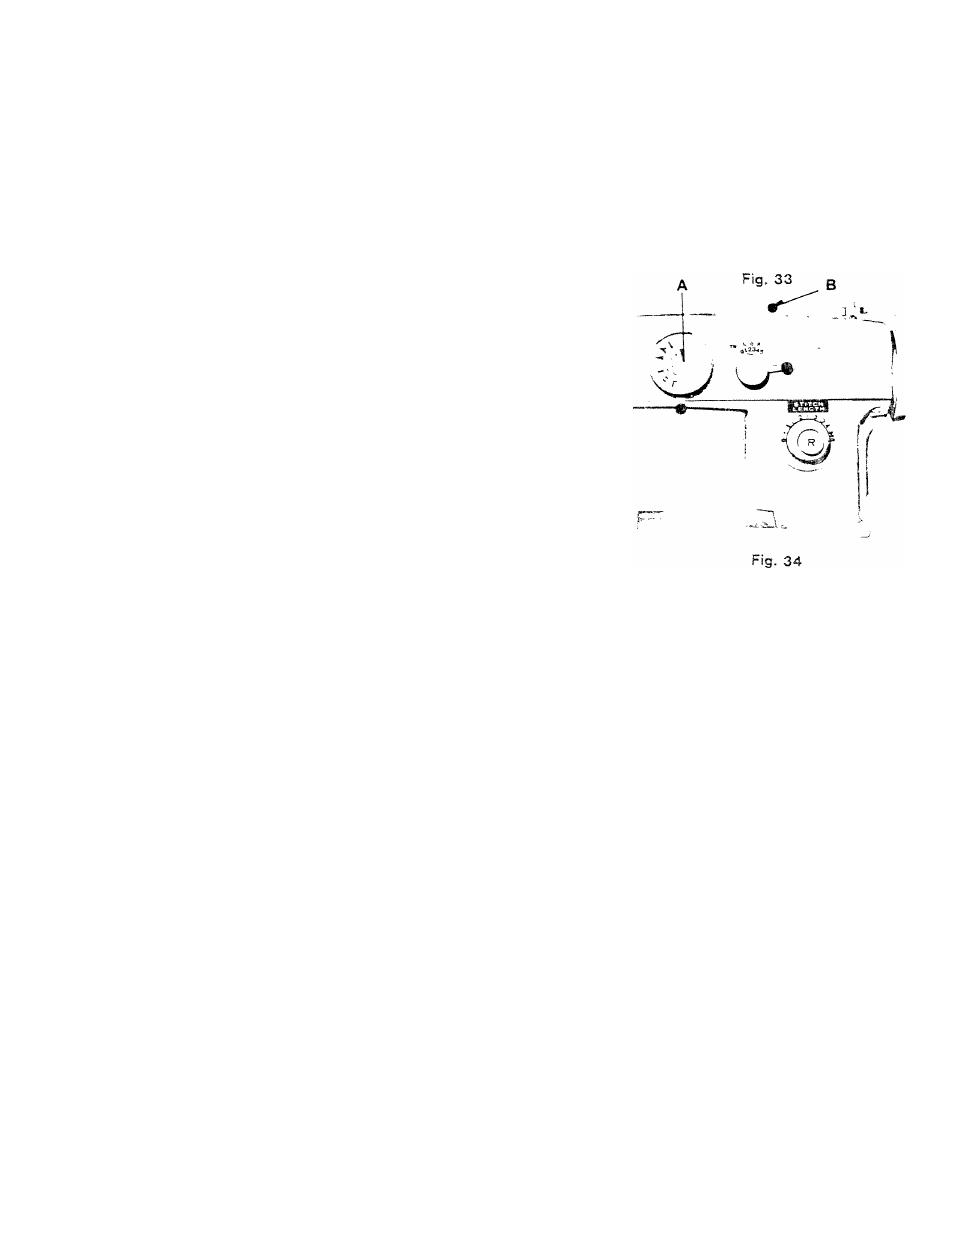
] !' dacorative stitch dial (A, Fig. 34) to sew the left
i). Lowar needle carafully Into mark on
fabric indicating the end of the buttonhole. Lower
presser foot and sew entire length of buttonhole
: (- orvvara feeding).
7’. With needle out of the cloth, set decorative stitch
dial for bar tack (Step 2). Sew 4 or 5 stitches.
3. With iveeclie out of cloth, set decorative stitch dial
to sew right side of the buttonhole (Step 3). This
_ will reverse the feeding motion.
9. With needle out of the cloth, set decorative stitch
dial for bar tack (Step 4). Sew 4 or 5 stitches.
10. !f the stitch density on the buttonhole sides are
different adjust by moving lever ("B” Fig. 34) to
either the right ( —) or left ( w).
To increase the stitch density on the right hand side
nr inn buitonhole move lever to the right ( —).
To increase the feeding move "B” to the left ( +).
PL'BASn MOTE!
if yo'i ;)l3№ io make butionhol®» ori sheer or soft
u'j.at-Gvl'll, place tarlatan or paper under fabric which
carr be torn away after
stitching.
5
/
P § ;P:
3
II
s||
T||
p > >
'ij