SINGER 201K User Manual
Page 45
Attention! The text in this document has been recognized automatically. To view the original document, you can use the "Original mode".
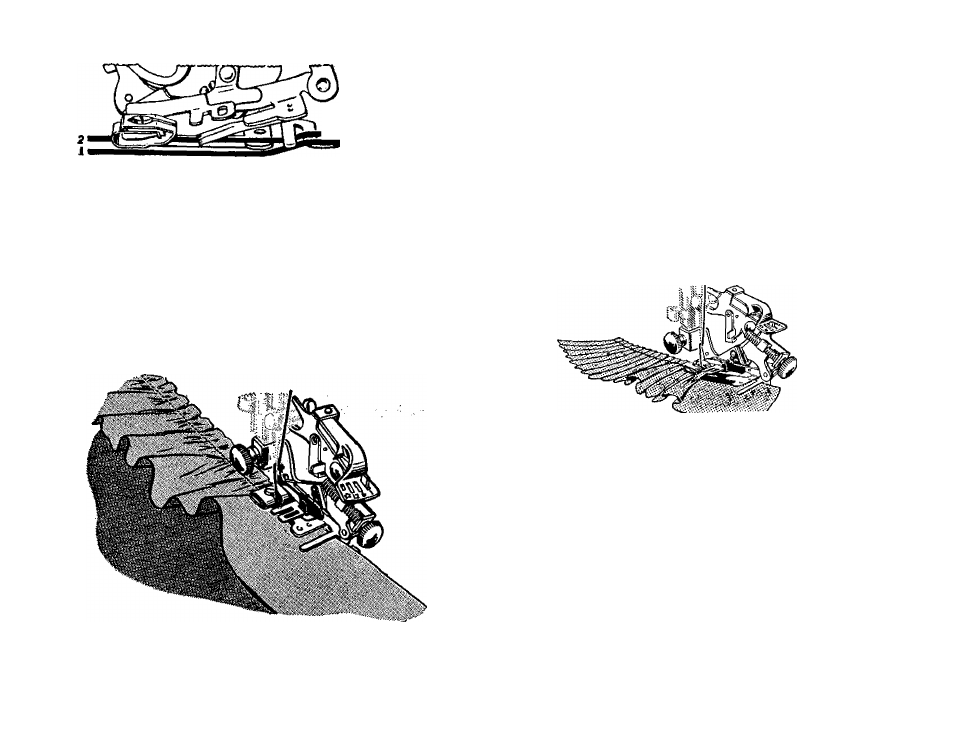
Forming and Attaching a Ruffle in one
operation—
• Place ruffle strip between the two blue
blades and through the first separator
guide.
• Place fabric to which ruffle is to be
attached between the separator blade
and the feed of the machine.
Right sides of the fabric are placed
together when the seam is to fall to the
inside.
• Proceed as for plain gathering.
Pleating
• Move adjusting lever to space setting
desired for pleats of either 6 or 12
stitches apart.
• Activate adjusting finger.
• For deepest pleat, turn adjusting screw
in (clockwise) to its maximum. For
shallower pleats, turn adjusting
screw out (anti-clockwise).
• Set stitch length. A short stitch places
pleats close together, A longer stitch
separates the pleats for a greater
distance.
43
• Insert fabric to be pleated between the
blue blades and through the separa
tor guide.
# Lower presser bar and stitch.
Group Pleating
By using the star setting (plain stitch
ing) alternately with the 6 or 12 setting,
pleats are formed in groups. Even spacing
between groups is easily accomplished by
counting the number of stitches^