Section 4 special stitches, Adjusting stitch width, Adjusting stitch length – SINGER 7050 User Manual
Page 28: Special stitches
Attention! The text in this document has been recognized automatically. To view the original document, you can use the "Original mode".
SECTION 4
SPECIAL STITCHES
The Special Stitches on your machine have a variety of practical and decorative uses.
In this section are recommended applications for each stitch. However, these stitches
can be used for many other sewing projects.
/
/
^ t
■ 111 i 111111 il 111 O
*
- —iiiiinnii^ ) f ¡S
Before beginning a sewing project, check
the Fabric, Thread and Needle Table on
page 9 for the best needle and thread
combination for your fabric.
With each application, recommended
settings have been given. These have
been highlighted for easy identification.
You can adjust each setting, however, as
desired.
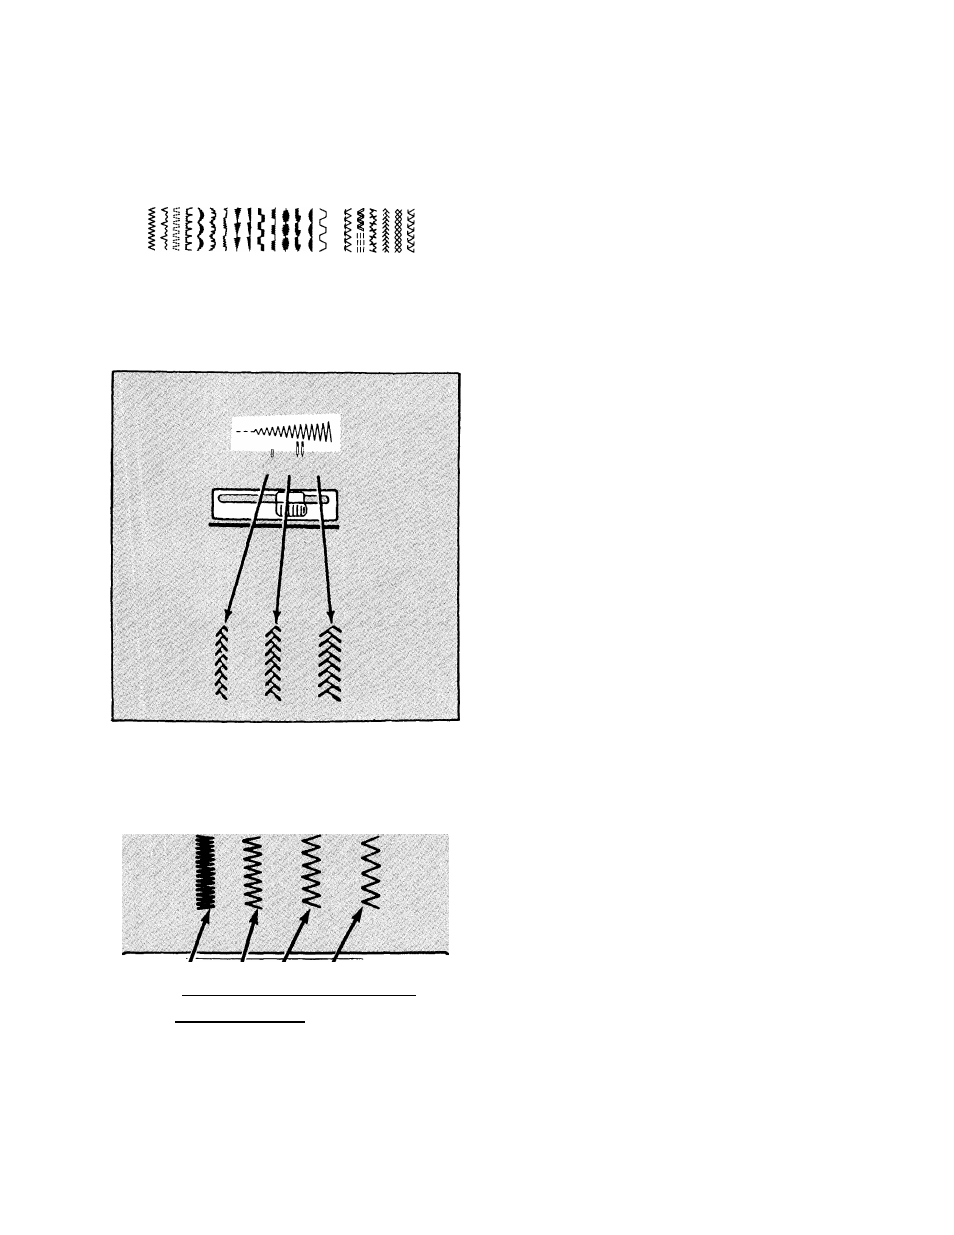
ADJUSTING STITCH WIDTH
To widen or narrow a Special Stitch
pattern, move the stitch width lever off
Straight Stitch, [[] , toward any other
width setting at the right.
NOTE: The double patterns on your stitch
width indicator are for twin needle sew
ing. Attachments for this special feature
are available from your sewing center.
ADJUSTING STITCH LENGTH
The stitch length indicator is numbered
0 to 4. The area between 0 and 1 will
produce very dense stitching. For more
open stitching, slide the stitch length lever
anywhere from 2 to 4. When sewing
special color coded stitches. The length
MUST be set in the 3-1/2 to 4 area.
26