3) using the track copy capability as a patch bay, Cp. o n, T r. c p,\p – Tascam DA-38 User Manual
Page 18: T r. cp. p 1 i i, Cp. 1 1
Attention! The text in this document has been recognized automatically. To view the original document, you can use the "Original mode".
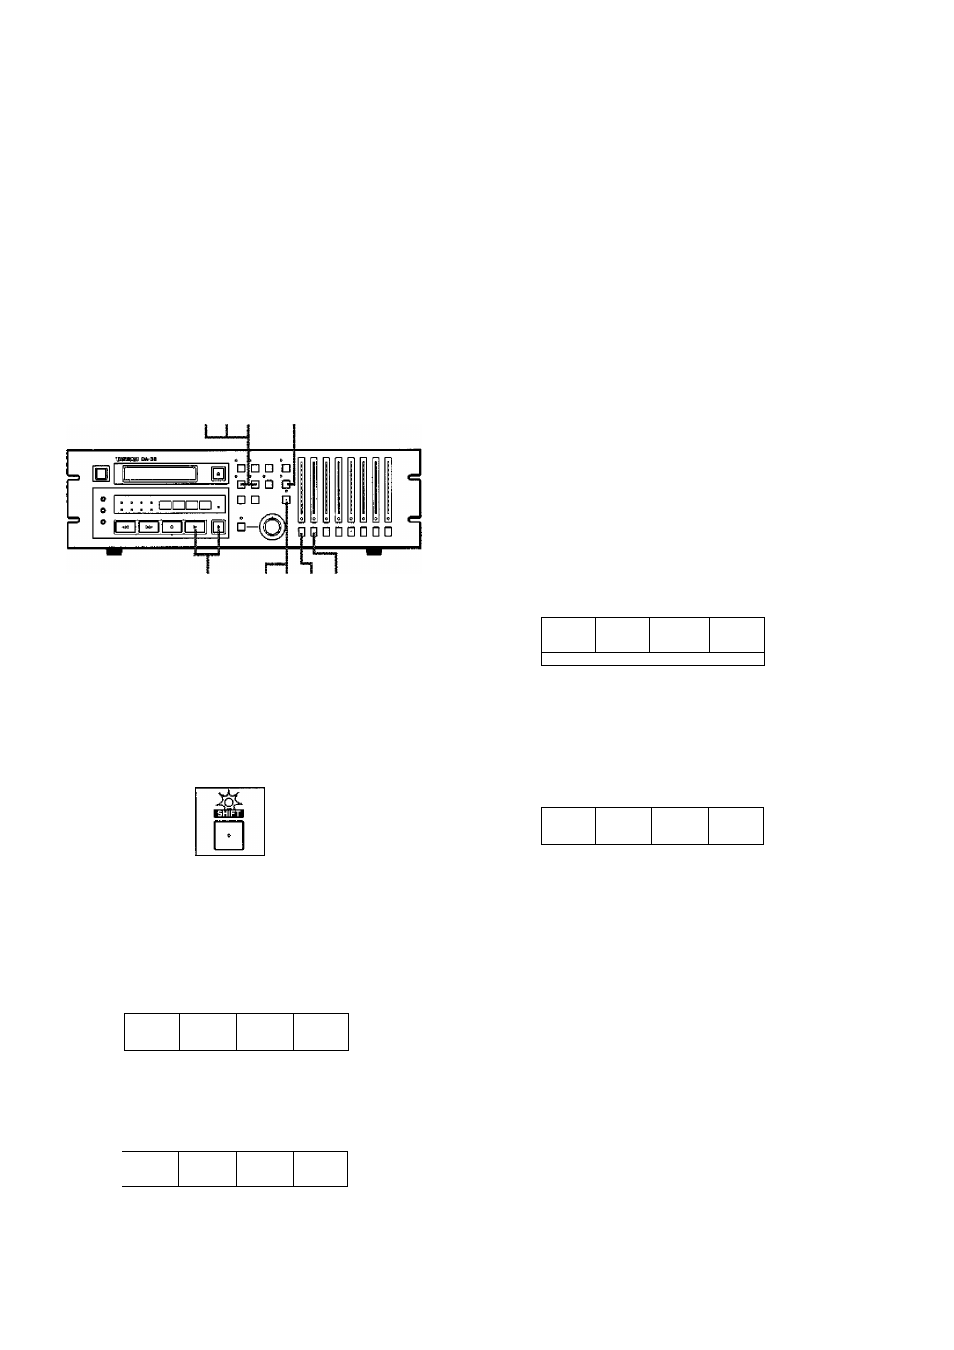
SECTION 4: RECORDING
(3) Using the Track Copy Capability as a Patch
Bay
The track copy capability allows you to select sources and
tracks to record on, so you can record a specific input to
any tracks without going to the trouble of repatching the
input.
As an example, let's record analog input 2 to track 1, and
analog input 1 to track 2.
3 5
7
2
1 8 4 6
• Check to see that the DIGITAL IN indicator is not lit on
the display. If it is, press the DIGITAL IN switch to turn
off the indicator.
Y Press SHIFT and the associated LED will start blink
ing to show that all the double function k e y s are
switched to offer their lower blue-labelled functions.
2 Press the TRK COPY key and the display will reads
"tr.cP.
o f f " .
^ Press either the
A
or the
T
key to activate the track
copy function ; the " o f f " display will change to
"on", like this:
t r.
cP. o n
^ Select input 2 (the source to record on track 1 in our
example) by means of the
A
and
T
keys.
Each time you press the
A
key, the rightmost display
will change in sequence like this (" (" for input, and
"t " for track):
,
(...)-1s'
The
T
key generates those options in reverse oder.
• If you hold either the
A
or the
T
key and press the
other, the dispslay will be switched back to show the
default selection ("
>
/" in our example).
r.
P.
^
Press the REC FUNCTION switch for track 2. The
associated LED will start blinking and "2" will show
in the seconds column, like this ;
t r. c P,\p
%
7 Select input 1 (the source to record on track 2 in our
example) by means of the
A
and
T
keys.
Go on to the next step when the display looks like
this;
t r. cP. p
1
I I
Press SHIFT and the associated LED will turn off, the
display being switched back to show the ABS time.
0 Hold RECORD and press PLAY to start recording.
Input 1 is recorded on track 2 and input 2 on track 1.
• If, for example, you select input 2 in step 7, analog
input 2 is recorded on tracks 1 and 2.
/If
Press the REC FUNCTION switch for track 1 and
" /" will show in the seconds column, like this :
H
M
s
F
t r.
cP. 1
1
/
f f
%
4 - 1 2