Carrier 38QB User Manual
Page 16
Attention! The text in this document has been recognized automatically. To view the original document, you can use the "Original mode".
MAINTENANCE
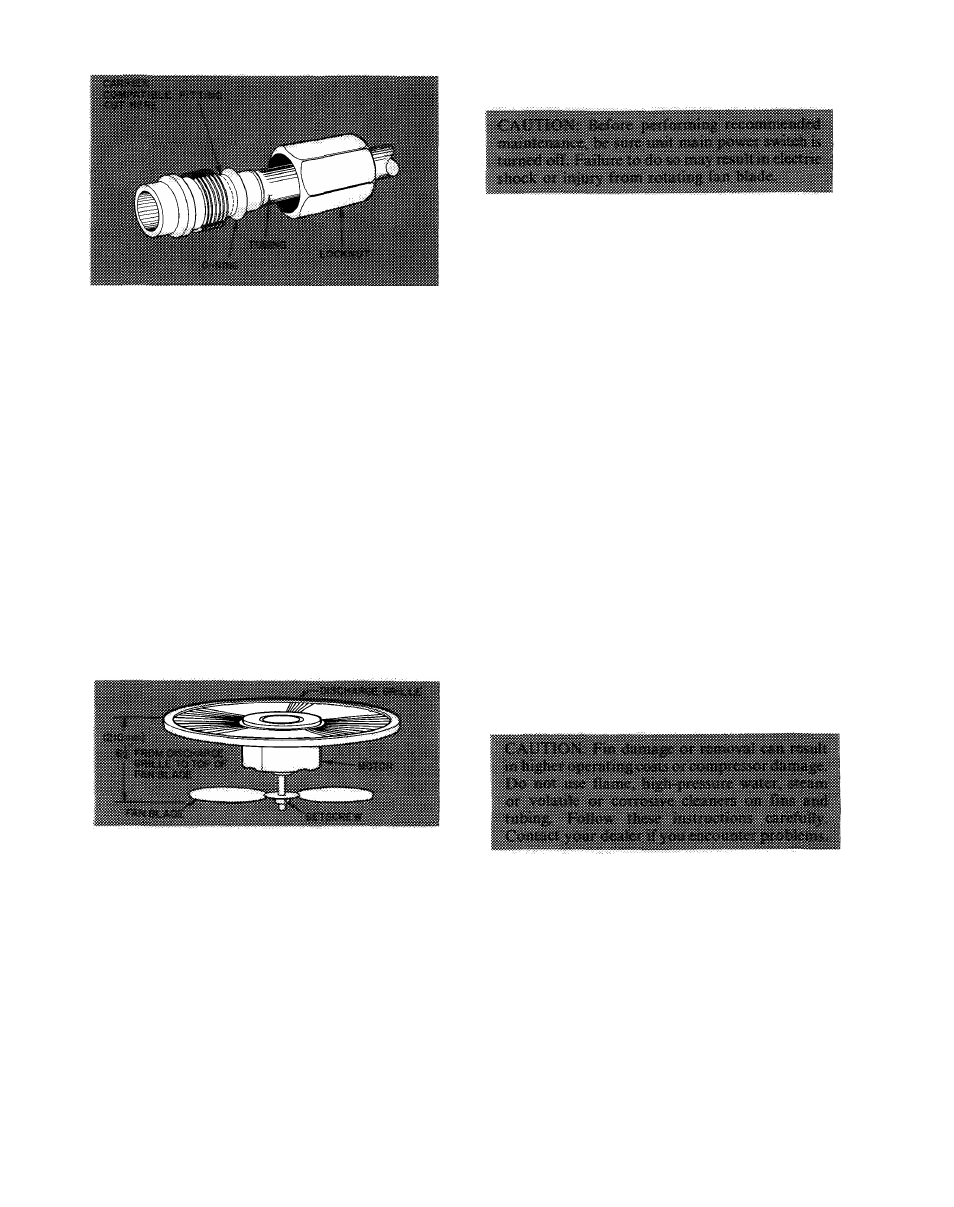
Fig. 25 — Carrier Compatible Fitting
Condenser Fan Motor Removal
1. Shut off power to unit. Failure to do so may
result in electric shock or injury from rotating
fan blade.
2. Remove top cover as described on page 2.
3. Disconnect fan motor leads from controls.
4. Remove 6 screws holding fan motor/discharge
grille in place and lift assembly from unit.
5. Remove Carrier nameplate by straightening tabs.
6. Remove 4 nuts holding fan motor to discharge
grille. Remove motor and leads.
7. Reverse procedure for reassembly. Seal with
Permagum sealer around hub to prevent entry of
water between hub and shaft. Make sure fan is
positioned correctly as shown in Fig. 26.
Fig. 26 — Condenser Fan Position
Lubrication
FAN MOTOR BEARINGS — Oiling holes are
provided at each end of condenser fan motor. Re
move fan motor and lubricate motor with 32 drops
(16 drops per hole) of SAE-10 nondetergent oil at
intervals described below.
a.
Annually, when environment is very dirty,
ambient temperature is higher than 105 F (40 C),
and average unit operating time exceeds 15 hours
a day.
b. Every 3 years when environment is reasonably
clean, ambient temperature is less than 105 F
(40 C) and unit operating time averages 8 to
15 hours a day.
c.
Every 5 years when environment is clean,
ambient temperature is less than 105 F (40 C) and
unit operating time averages less than 8 hours
a day.
COIL REPAIR — A flare-union coupling is used
for E-coil repair. A kit is available, with instructions,
thru Carrier Service Parts.
COMPRESSOR contains factory oil charge. If oil
requires replenishment, see Table 7 for oil recharge
and Carrier Standard Service Techniques Manual,
Chapter 1, Refrigerants, page 1-21, for instructions.
Use Carrier PP33-1, Texaco WF-32 or Suniso
3GS oil.
Coil Cleaning
to be done at the beginning of
each cooling season or more often if required.
1. Shut off power to unit.
2. Remove louvered casing by taking out 16 screws
securing it to the cabinet and sliding it away from
the coil.
16