Top Flite TOPA0965 User Manual
Page 10
10
❏ ❏
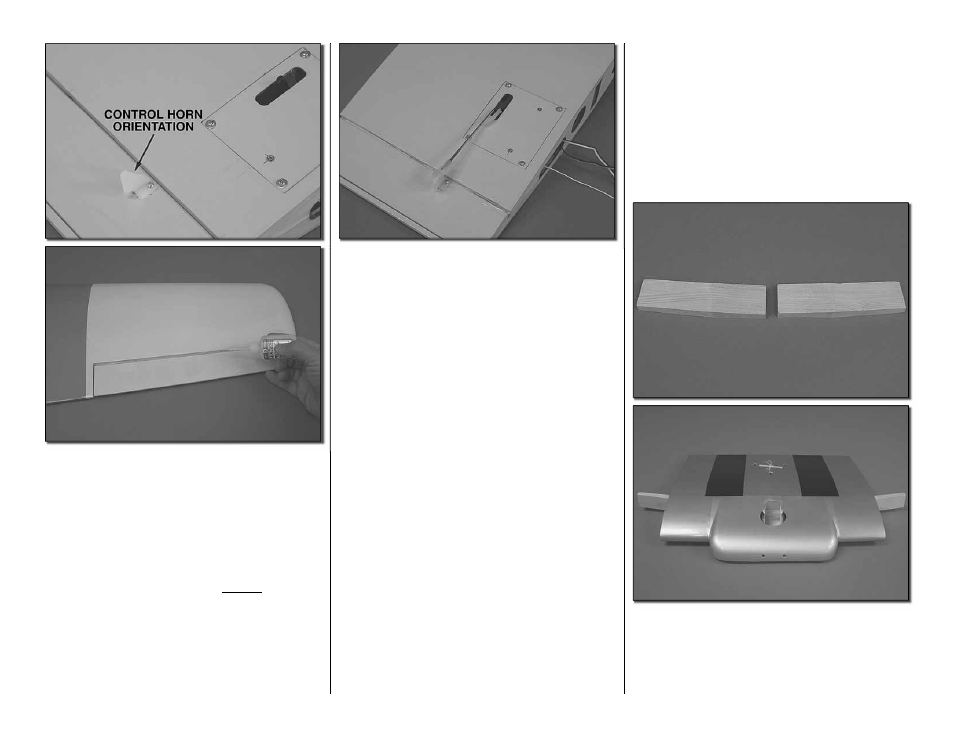
15. Place a nylon control horn in line with the
outer hole in the servo arm. Place the nylon control
horn backwards from what would be considered the
normal mounting position, in line with the outer hole
in the servo arm. (This provides better mechanical
advantage for the fl ap operation). When positioned
properly the control horn will rest on a hardwood plate
in the fl ap. Mark the location of the mounting holes
onto the fl ap. Drill a 1/16" [1.6mm] hole on the marks,
drilling through the plywood plate but not through the
top of the fl ap. Insert and remove a #2 x3/8" [10mm]
screw into each of the holes. Apply a couple drops of
thin CA into the holes to harden the threads. Once
the glue has hardened attach the horn to the fl ap with
two #2 x 3/8" [10mm] screws.
❏
❏
16. Screw a nylon clevis onto a .074 x 6"
[152mm] threaded wire 20 turns. Slide a nylon clevis
retainer onto the clevis. Install the clevis into the
second hole from the end of the control horn. Then
slide the silicone retainer over the clevis. Position the
fl ap tight to the bottom of the wing. Position the servo
arm so that it is pointed towards the trailing edge of
the wing. With a fi ne tip marker, mark the wire where
it aligns with the outer hole of the servo arm. Make
a 90 degree bend on the mark. Cut the wire so the
wire is 3/8" [10mm] in length after the bend. Insert
the wire into the servo arm and lock it in place with a
nylon Faslink.
❏
17. Repeat steps 1-15 for the left wing panel.
Important! At step 13 pay close attention to be sure
you install the fl ap servo properly for the left wing.
INSTALL THE WING JOINERS AND
JOIN THE WING HALVES
Important! Be sure to take your time and follow the
instructions for installing the wing joiners. Because of
the unusual angles of the joiner it can be confusing.
Taking your time will insure a proper assembly. It is
recommended that you read completely through the
instructions and pay attention to the pictures before
proceeding with the joiner and joining the wing.
❏
1. Locate two hardwood wing joiners. Slide the
joiners completely into the joiner pocket of the wing
center section. When you have the joiners matched
to the correct side of the wing center section, they will
fi t without force. There will be a slight upward angle of
the joiner extending from the center section.