Printhead replacement, cont'd – MF Digital Spectrum 2 Thermal User Manual
Page 39
Spectrum2 Printer Operator’s Guide
Document Revision: 102803
38
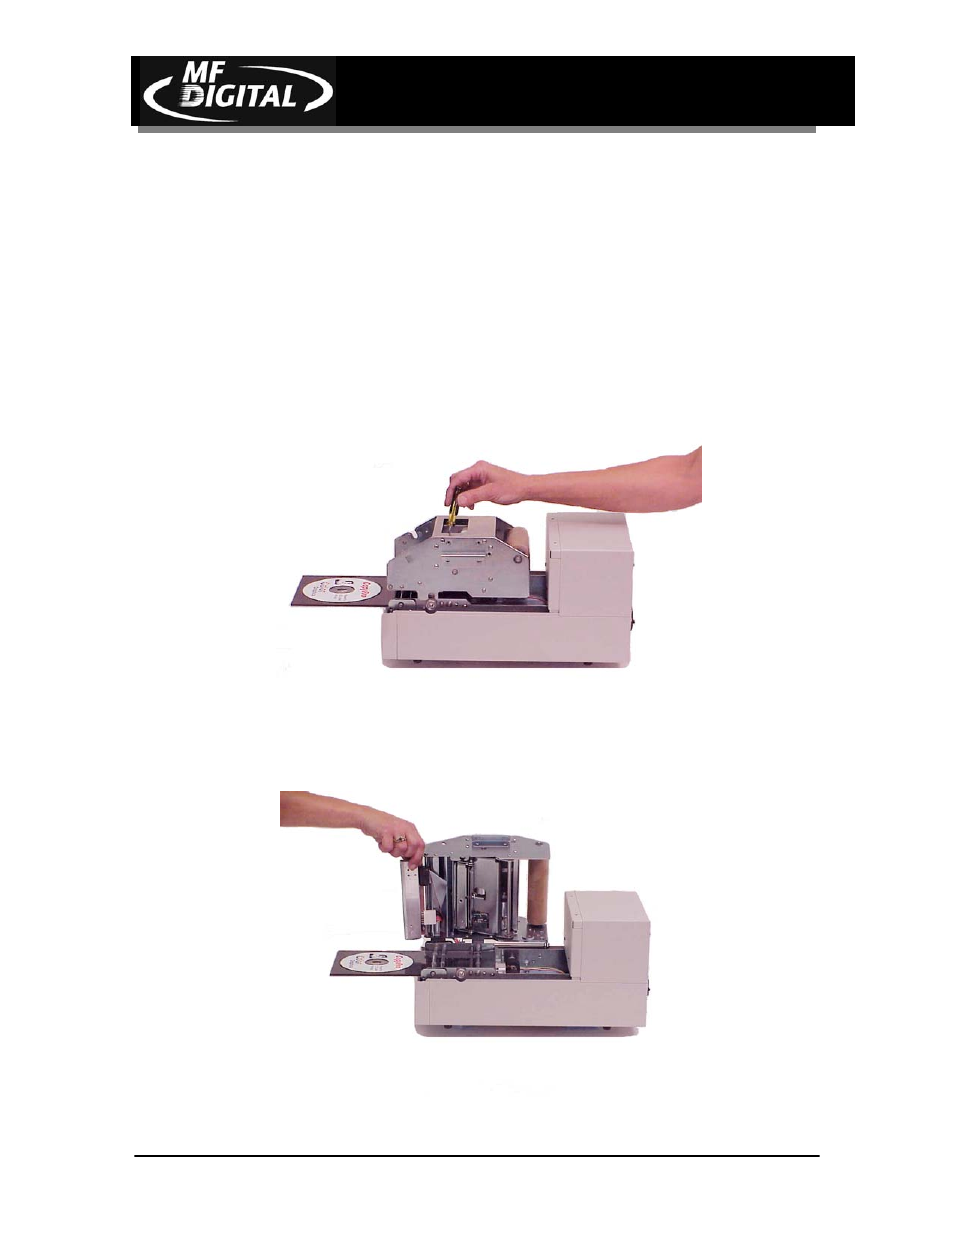
• Note the position and orientation of the connectors
• Remove printhead from cable connectors, and place aside
• Attach cable connectors (noting orientation) to new printhead
• Lightly hold printhead in place and tighten the two Philips head screws
• Close chassis and completely tighten screws
• Printer is now ready to resume operation
Printhead Replacement, cont'd.
Figure 15: Printhead is retained by Philips type screws accessed from top of printer
Figure 16: Printhead power and data cables shown after printhead screws removed