MF Digital Spectrum 2 Thermal User Manual
Page 32
Spectrum2 Printer Operator’s Guide
Document Revision: 102803
31
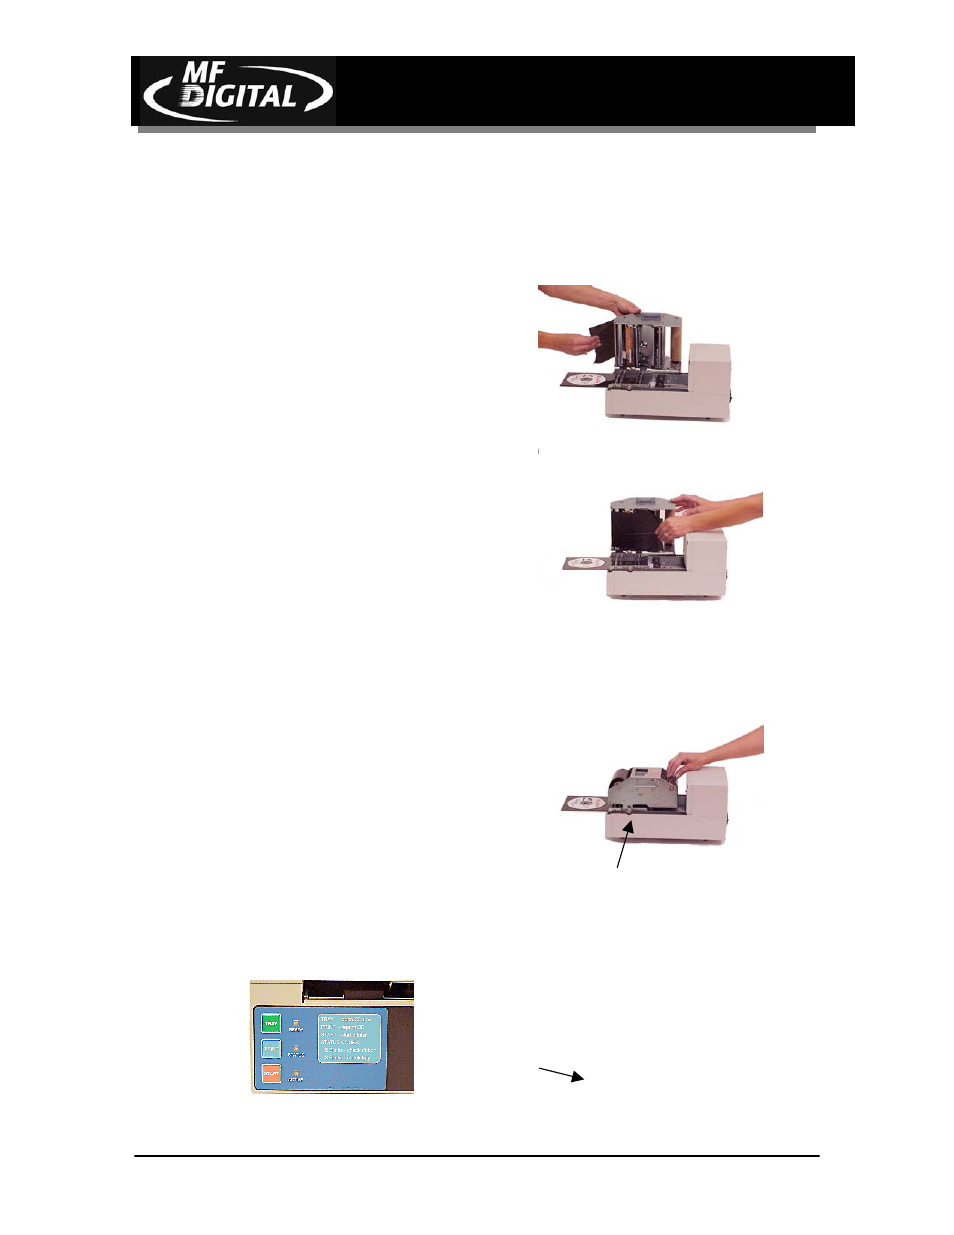
Printer Ribbon Installation Chart – Part 2
Feed ribbon from Supply to Take up
Roller
• Take end of ribbon from Supply
Roller and pull toward the rear of
printer
• Take ribbon around backside of Take
up Roller
• Close printer Chassis
Note: Check that Chassis Lock knob has
slipped into locked position.
• Attach ribbon to Take up Roller
New ribbons: the ribbon has a leader
with an adhesive strip. Use this strip
to adhere the ribbon to the cardboard
core of the Take up Roller
Used ribbons: use adhesive tape to
secure the ribbon to Take up Roller
Wind ribbon to remove slack
• Power ON printer. Printer will wind
ribbon as part of start up sequence
Chassis Lock
Start &
Print keys