Instruction manual hk-d, Sauter gmbh – KERN & SOHN HK-D User Manual
Page 14
Sauter GmbH
Ziegelei 1
D-72336 Balingen
E-Mail: [email protected]
Tel: +49-[0]7433- 9933-199
Fax: +49-[0]7433-9933-149
Internet: www.kern-sohn.com
Instruction Manual
HK-D
HK-D-BA-e-1311
14
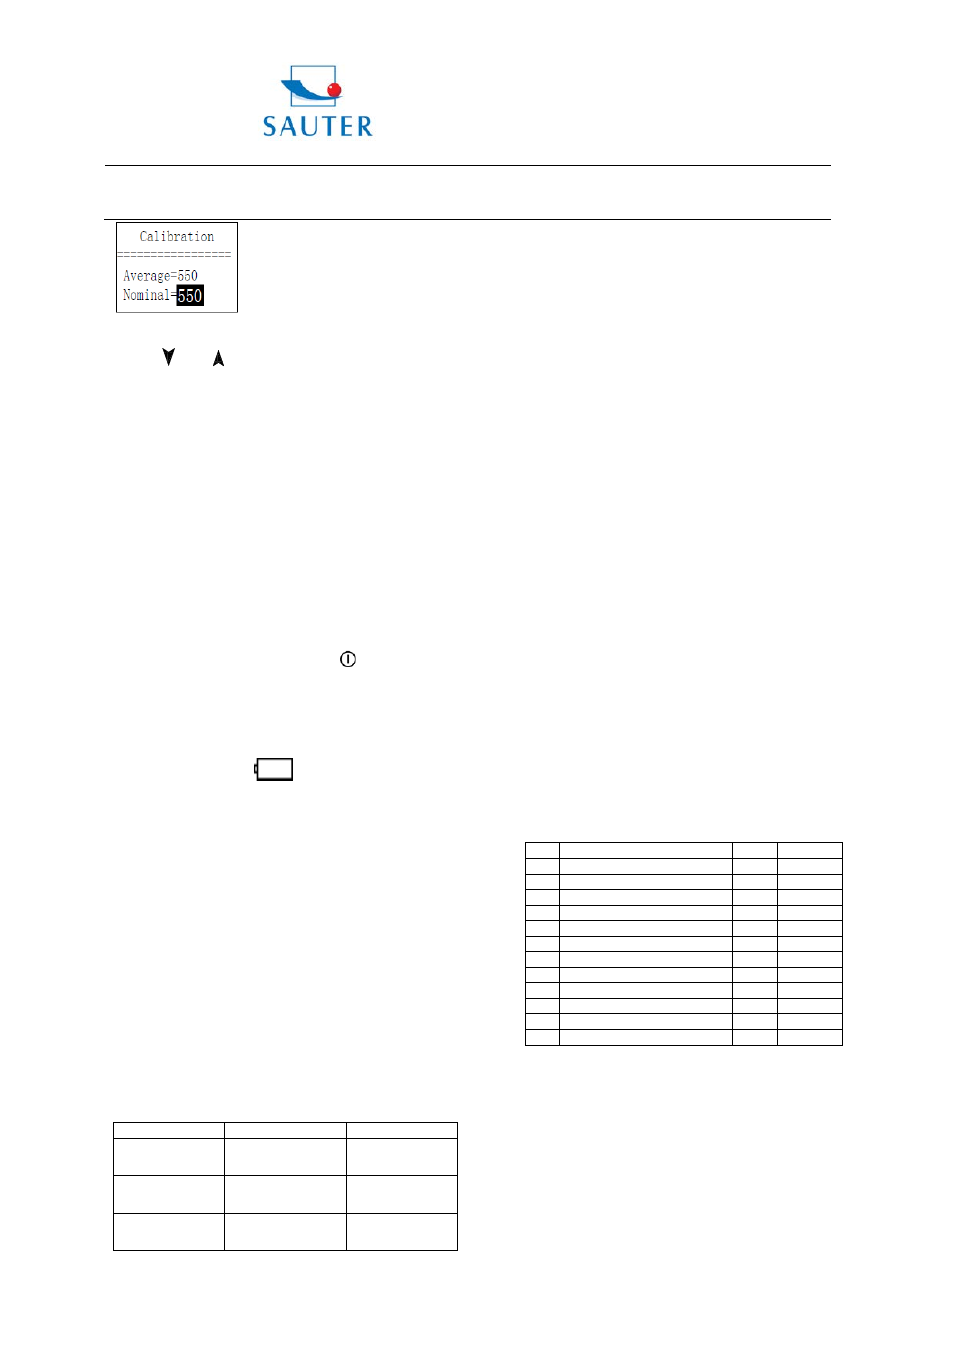
Average value will be showed after measuring.
Press 【
】 or 【
】 】 key to input nominal value.
Press 【 ENTER】 key to finish calibration.
Press 【 ESC】 key to cancel calibration.
Calibration range is ±15HL.
6.12 Back light
The LCD display is equipped with a Led Back Light, which
supplied for easily use in dark light conditions. The Back
Light can be turned on or turned off by pressing 【
】 at
any time when the tester is in operation.
6.13 Turn off the power automatically
Auto turn off function is supplied to save the energy of
battery.
If neither measurement nor any key operation is performed
within 5 minutes, the tester will turn off automatically, a
flash showing for 20 seconds on the LCD screen prior to
switch off. At this time, any key except
can be pressed
to stop the flash of LCD screen, and cancel the turn off
operation.
In case of too low battery voltage, “Battery Empty!” will be
displayed and turn off automatically.
6.14 Battery replacement
Battery symbol will flash
if battery capacity runs out.
At this point, User can replace the damaged battery
according to the following procedures.
Turn off the Power of main unit.
Unscrew the screw. Remove the battery cover, take out
used batteries.
Install the new batteries in their place (pay attention to
orientation of batteries, take caution not to connect the
anode and cathode inversely).
Put back the battery cover, then turn on the power to
check if the tester is in normal operation or not.
6.15 The connection of data communication cable
The small 4-pin plug which located on the end of
communication cable should be inserted in the RS232
socket on the left side of main unit, and D type 9-pin
RS232 port 9-pin port should be inserted in PC
communication or the serial port printer case.
7 Trouble shooting
Failure
Cause
Solution
Failure in
starting
Battery empty
Replace battery
No measuring
value
Sensor
cable
open circuit
Replace Probe
cable
Value
is
inaccurate
Calibration data
lose
over again
Calibration
8 Maintenance
8.1 Impact device
After using the impact device for 1000-2000 times, use the
nylon brush, optional available, to clean the guide tube and
the impact body of the impact device. To clean the guide
tube, unscrew the support ring and then take out the
impact body, spiral the nylon brush in the counter-clock
direction into the guide tube. When the brush reaches the
bottom, draw it out. Repeat this action for 5 times and
mount the impact body and the support ring.
Remember to release the impact body after use.
Any lubricating agent is absolutely banned to use inside
the impact device.
8.2 Standard maintenance procedures
If the error is
> 2HRC when using standard Rockwell
hardness block to test, maybe the test tip is disabled.
Changing the test tip or impact body should be considered.
If other abnormal phenomena occur, user should not
disassemble or adjust any part which used for fixing. You
can return the hardness tester to the service department of
our company.
9. Notice of Transportation and Storage.
The tester should be stored in room temperature, away
from vibration, strong magnetic field, corrosive medium,
dampness and dust.
10. Non-warranty parts
1 Sheath of Main unit 2 Panel 3 Impact body
4 Support ring 5 Sensor cable 6. Battery.
Leeb Hardness Tester
Packing List
No
Appellation
Num
1
Main unit
1
2
D type impact device
1
3
Small supporting ring
1
6
Instruction Manual
1
7
Carrying case
1
8
Screwdriver
1
9
10
Communication cable
Optional
11
DataView Software ATC 01
Optional
12
AA battery
Optional
13
Printer
Optional
14
Printer cable
Optional