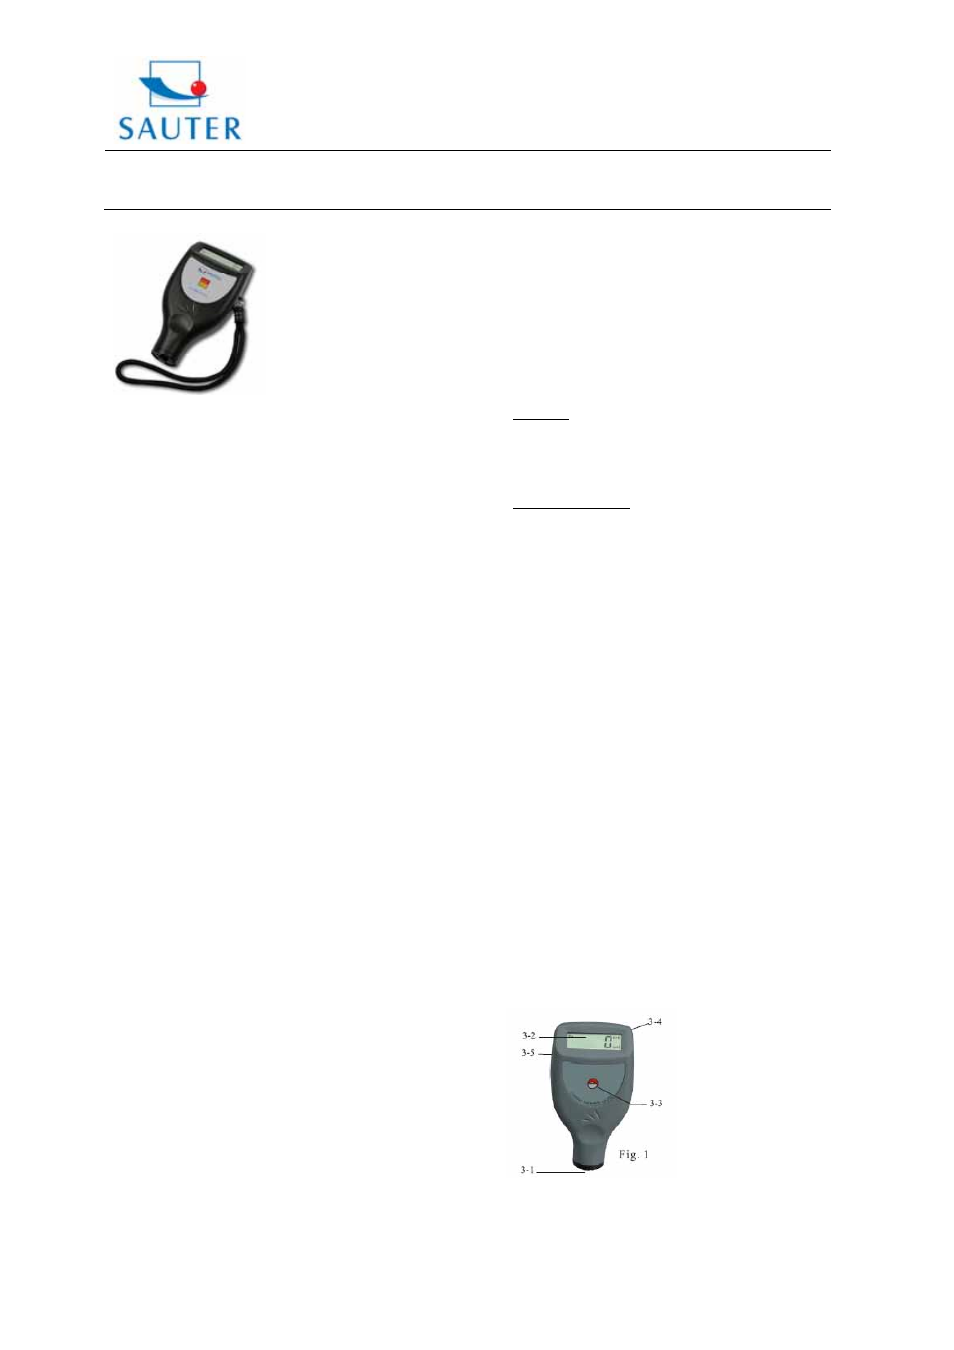
KERN & SOHN TC 1250-0.1FN-CAR User Manual
Instruction manual tc_car, Sauter gmbh

Sauter GmbH
Tieringerstr. 11-15
Tel: +49-[0]7433- 9976-174
D-72336 Balingen
E-Mail: [email protected]
Fax: +49-[0]7433-9976-285
Internet: www. sauter.eu
Instruction Manual
TC_car
TC_car-BA-e-1110
1
DIGITAL COATING THICKNESS GAUGE
Model: TC 1250-0.1 FN- car
Table of contents
1. Features
2. Specifications
3.
Front panel descriptions
4. Measuring
procedure
5. Calibration
6. Battery
replacement
7. Calibration
foils
8. Trouble
shooting
9.
Declaration of conformity
Annotation: It is strongly recommended to calibrate
the new instrument before the first use, as
described in paragraph 5. By doing this it
will be achieved a much better measure-
ment result right from the start.
1. Features
»This instrument meets the standards of both ISO 2178,
ISO 2360 as well as DIN, ASTM and BS. It is suitable for
the laboratory and for use in “harsh field” conditions.
»The F- mode measures the thickness of nonmagnetic
materials, e.g. paint, plastic, porcelain enamel, copper,
zinc, aluminium, chrome, laquer layers etc. These layers
are located on magnetic materials e.g. steel, iron,
nickle etc. It is often used to measure the thickness of
galvanizing layer, laquer layer, porcelain enamel layer,
phosphide layer, copper tile, aluminium tile, some alloy
tile, paper etc.
»The N- mode measures the thickness of nonmagnetic
coatings on nonmagnetic materials.
It is used on anodizing, varnish, paint, enamel, plastic
coatings, powder etc. It can be applied on aluminium,
brass, nonmagnetic stainless steel etc.
»Automatic substrate recognition.
»Manual or automatically auto power off to conserve
batteries
»Two measurement modes:- single and continuous
»Date transfer to PC possible
2. Specifications
Display: 4 digits
Range: 0 to 1250 µm/ 0 to 50 mil
Resolution: 0.1µm (0 to 100 µm)
1 µm (over 100 µm)
Accuracy:
- Standard: 3% of the measured value or min. ± 2.5 µm
Is valid within a tolerance range of ± 100 μm around the
individually measured range, if a two-point calibration was
performed within this tolerance range.
- Off-Set Accur Mode: 1% of the measured value
or min. ± 1.0 µm
Is valid within ± 50 μm around the Off-Set Accur point.
PC- interface: with RS-232C interface
Power supply: 4x 1.5V AAA (UM-4) battery
Operating conditions:
Temperature: 0 to 50°C
Humidity: <80%
Size: 126 x 65 x 27mm (5.0 x 2.6 x 1.1 inch)
Weight: about 81g (not including batteries)
Accessories: Carrying case
Operation manual
F-sensor (inbuilt)
FN-sensor (inbuilt)
Calibration foils
Base plate (iron)
Base plate (aluminium)
Optional accessories: Cable & software for RS-232C
3. Front panel description
3-1 Sensors (inbuilt)
3-2 Display
3-3 Zero- key, Power- on/ Power- off key
