Setting the timer for a radio recording, Setting the timer for playback, Clock/timer – Philips FW620C User Manual
Page 17
Attention! The text in this document has been recognized automatically. To view the original document, you can use the "Original mode".
CLOCK/TIMER
Setting the timer for a radio recording
At the preset starting time...
1 Insert a tape into TAPE 2.
2 Press CLOCK-TIMER to enter the clock/timer mode.
-► The clock/timer display appears.
3 Press REC TIMER to enter the timer setting mode.
-► The function indicator REC TIMER starts flashing and a radio
preset appears.
4 Press
A
orT until the desired preset station is indicated.
n ^ I
u
/V
n n. n n
u u- u u
5
Confirm the preset station
by pressing REC TIMER.
-► The message Off and
the time appear.
The recording start time
must be entered.
6 Adjust the hours and the minutes by using
AT
and «
7 Confirm the start time by pressing REC TIMER.
-► The message Off and the time appear.
The recording stop time must be entered.
8
Adjust the hours and the minutes by using
AT
and « ».
9 Press REC TIMER to confirm the settings and to leave the timer
setting mode.
-► The timer is activated and TIMER lights up on the display.
Setting the timer for playback
1 Press CLOCK-TIMER to enter the clock/timer mode.
-► The clock/timer display appears.
2 Press PLAY TIMER to enter the timer setting mode.
-► The function indicator PLAY TIMER starts flashing and the last
selected timer sound source appears.
3 Press
A
or
T
until the desired sound source is indicated.
4 Confirm your selection by pressing PLAY TIMER.
-► If you have selected TUNER, press
A
orT to select the
desired preset station.
-► If
you have selected
CD,
insert a
CD
and press A orT to
select the desired
CD.
-► If you have selected TAPE, insert a tape into the cassette
compartment.
5 Confirm your selection by pressing PLAY TIMER.
The message ON and the time appear.
The start time must be entered.
6 Adjust the hours and the minutes by using
AT
and ◄◄
7 Press PLAY TIMER to confirm the settings and to leave the timer
setting mode.
-► The timer is activated and TIMER lights up on the display.
-The power is turned on or, if another sound source is selected,
the set switches to the preset source.
The preset source comes on automatically.
-15 minutes after playback of the CD or the tape has finished,
the system switches to standby.
If the timer is activated with the TUNER mode, the sound
remains on until you switch off the system.
Notes:
- If the set was activated from standby mode and no button is
pressed for more than 40 minutes, the power is turned off again.
- If there is the same start time for REC TIMER and PLAY TIMER,
the REC TIMER will be activated.
- If you are recording at the time the timer is activated, the timer
function will be cancelled.
.£2
"S)
c
LU
Reactivating/deactivating the timer
1 Press CLOCK-TIMER to enter the clock/timer mode.
-► The clock/timer display appears.
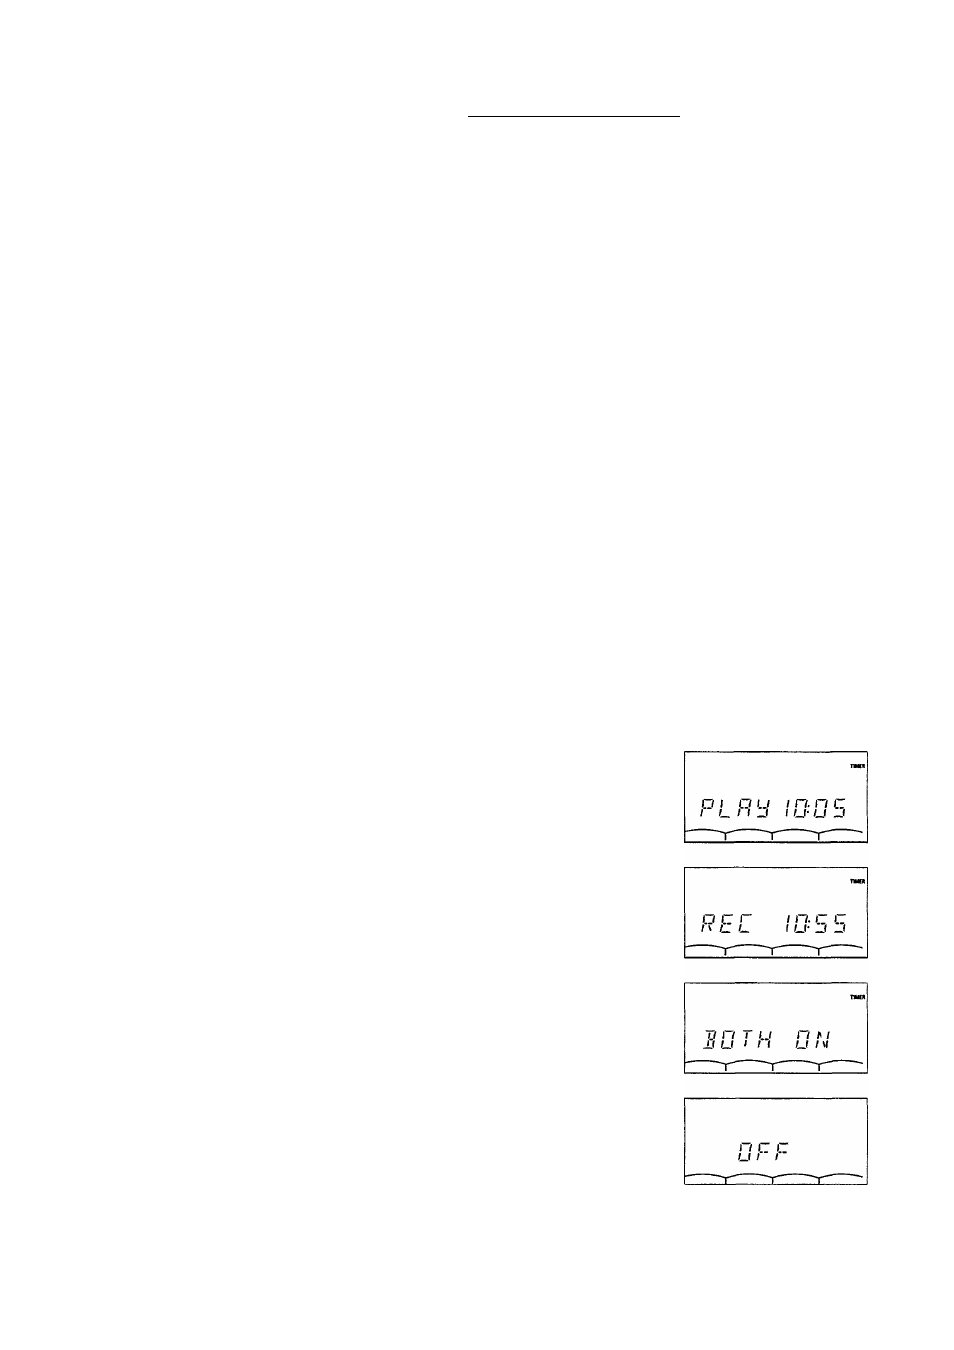
2 To switch off or to reactivate a timer function, press TIMER several
times until the required indication appears;
PLHU (playback) and the
programmed start time for
activating the PLAY TIMER.
REE (recording) and the
programmed start time for
activating the REC TIMER.
BOTH
■both PLAY TIMER
and REC TIMER are activated.
OFF for switching the timer off.
17