Dubbing tapes (copying from tape 1 to tape 2), General, Tape decks clock/timer – Philips FW620C User Manual
Page 16
Attention! The text in this document has been recognized automatically. To view the original document, you can use the "Original mode".
■»' TAPE DECKS
CLOCK/TIMER
Dubbing tapes (copying from TAPE 1 to TAPE 2)
General
m
3
(3_
w’
1
Insert a recorded tape into deck 1 and a blank tape into deck 2.
2 Press TAPE 1 and prepare the deck for the recording:
• Select the tape side by pressing SIDE; FRONT or BACK.
• Select the play mode by pressing PLAY MODE until the desired
indicator lights up;Z orZ).
3 Press TAPE 2 and select the tape side by pressing SIDE; FRONT or
BACK.
4
Press DUBBING and thereafter select the dubbing speed by
pressing-« or^p-.
-► The display shows NDRriRl. (normal speed) or FR5T (high
speed). During high-speed dubbing, the sound is reduced to a
low volume.
5 Start recording by pressing DUBBING.
-► Both decks start running and either NuRff LJUU (normal
speed dubbing) or FRET uuu (fast speed dubbing) appears.
-► Recording will stop when one or both sides of the tape are full
(depending on the chosen play mode).
• Press ■ (or STOP ■ on the remote control) to stop the recording
at an earlier stage.
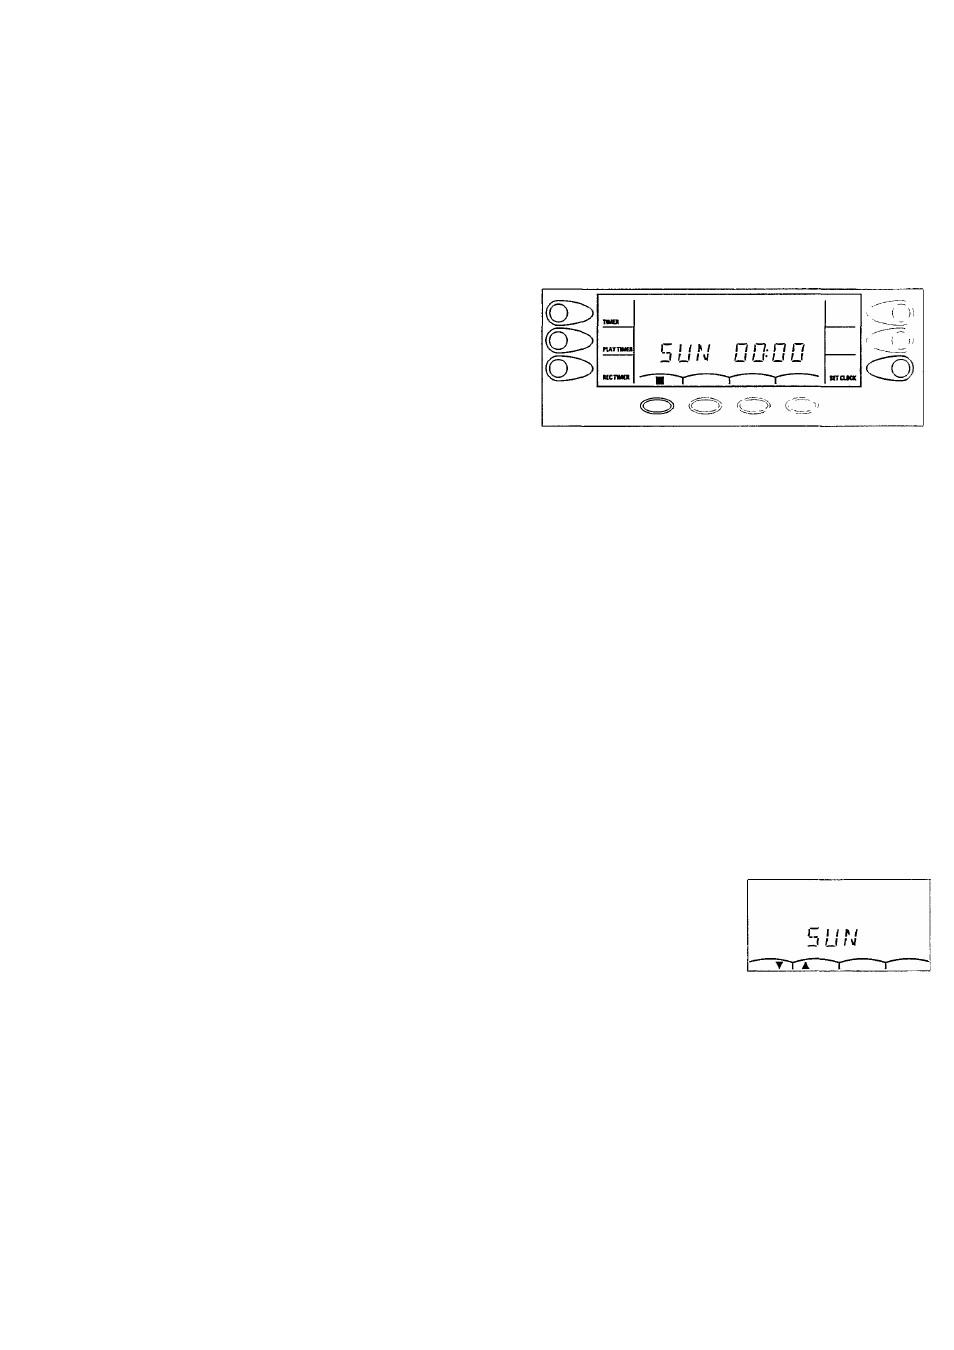
The display shows the weekday and the time. The clock display
will flash and has to be set
- when you first plug the unit into the power, or
- if the power supply was interrupted for longer than ten minutes.
• Press CLOCK-TIMER to enter the clock/timer mode.
-► The clock/timer display with its available display button
functions appears:
' To leave the timer display, press ■, CLOCK-TIMER,
POWER ON/STANDBY or any sound source selection button.
/Votes:
- The clod and the timer cannot be set with the remote control.
- If no button is pressed for more than 90 seconds, the clock
setting mode is left automatically without storing the last changes.
Notes:
-PRESS STuP FIRST will light up if you press SIDE: you
cannot reverse the playback direction during dubbing.
- During dubbing you can listen to any other sound source.
Setting the clock
1
Press CLOCK-TIMER to enter the clock/timer mode.
-► The clock/timer display as shown above appears.
RECORD TAPE*
1
As soon as you press RECORD TAPE •, the current sound (CD,
TUNER, TAPE 1 or MULTIMEDIA) will be recorded on TAPE 2.
Erase an old tape by recording a silence:
Select CD without starting CD play and press RECORD TAPE •.
2
To stop recording, press ■.
2
Press SET CLOCK to enter the clock setting mode.
-► The function indicator SET CLOCK starts flashing.
3 Selecttheday by pressing
A
orT
until the correct day is indicated.
4
Confirm the day by pressing
SET CLOCK.
-► The hour and the minute
digits appear.
n n. n n
u u- u u
5 Adjust the hours by using
AT
and the minutes by using «
-► When pressing the buttons briefly, the digits will change step-
by-step. By pressing longer, the running speed will increase
after a few seconds.
6 Press SET CLOCK to store the setting and to leave the clock setting
mode.
-► The clock starts running.
16