Interlogix UltraView PTZ Dome Series User Manual
Page 54
CyberDome II
Installation Manual
46
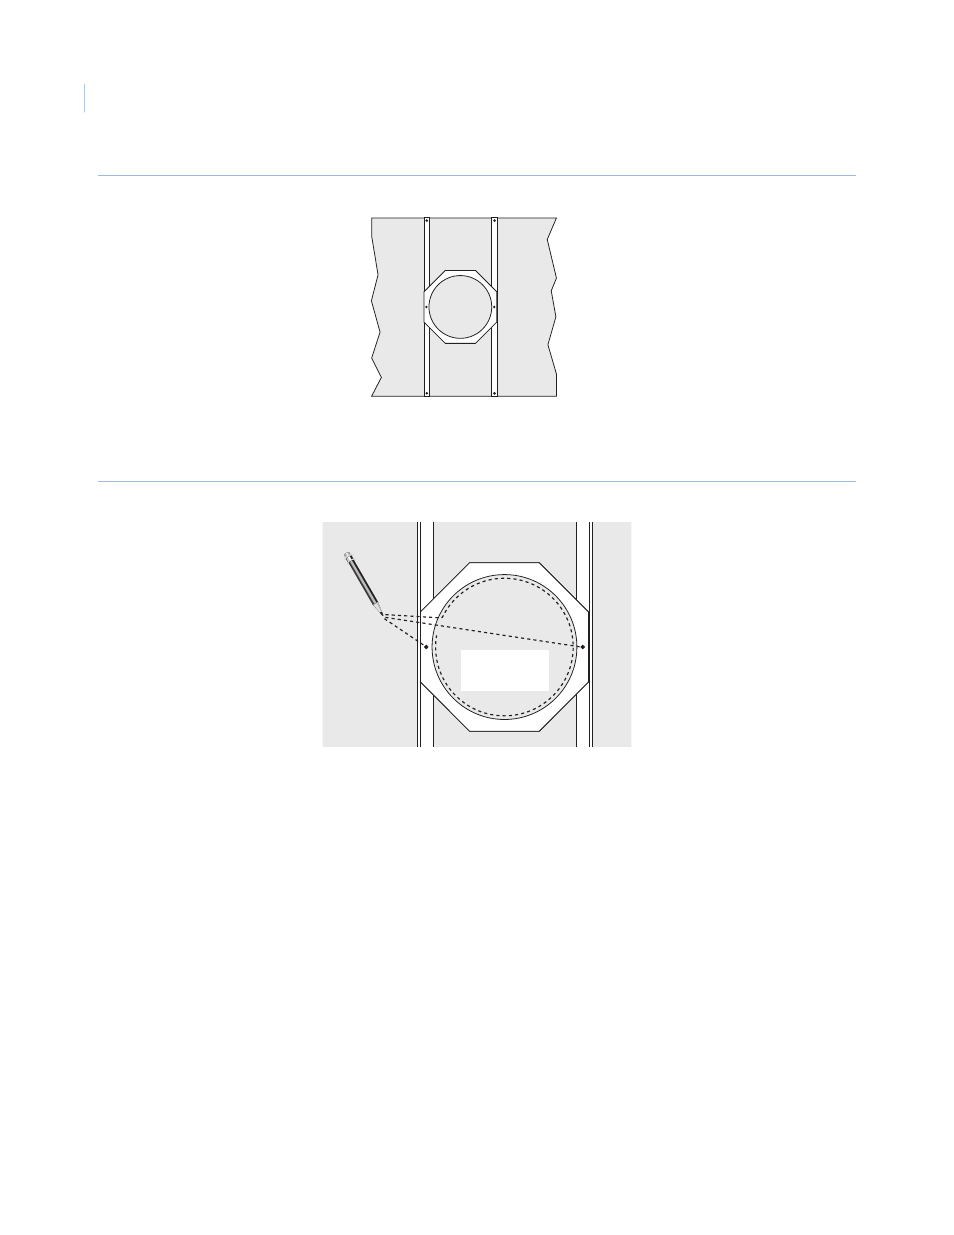
Figure 37. Aligning the angle brackets and ceiling ring on the panel
3. Using the ceiling ring as a template, mark the position of the center mounting holes and the housing
passthrough hole on the removable ceiling panel (Figure 38).
Figure 38. Marking the mounting holes and housing pass-through hole
4. Following all local codes, drill the mounting holes (use a 3/16 in. drill bit) and cut the housing
passthrough hole. Drill/cut all holes perpendicular to the panel and be careful not to overcut the
housing passthrough hole.
5. Reset the angle brackets and ceiling ring on the removable ceiling panel aligning the center mounting
holes of the brackets and ring with the drilled holes in the panel. Remember that the flat side of the
ceiling ring lies on the angle brackets.
6. Using two of the fasteners provided, fasten the ceiling ring and the brackets to the panel through the
center mounting holes (Figure 39). Tighten until snug, but not overtight.
Center
mounting
holes of
ring and
brackets
Angle
brackets
Ceiling
ring
Removable
ceiling
panel
Housing
passthrough