3 installation and connections – IC Realtime Specialty: Interrogator DVR - a DVR for law enforcement User Manual
Page 19
19
3 Installation and Connections
Note: All the installation and operations here should conform to your local
electric safety code.
3.1 Check Unpacked DVR
When you receive the DVR from the shipping agency, please check whether there is
any visible damage to the DVR appearance. The protective materials used for the
package of the DVR can protect most accidental clashes during transportation. Then
you can open the box to check the accessories.
Please check the items in accordance with the list on the warranty card. Finally you can
remove the protective film of the DVR.
3.2 HDD Installation
3.2.1 Choose
HDDs
We recommend Seagate HDD of 7200rpm or higher.
3.2.2 Calculate HDD Size
This series have no limit to HDD capacity. You can use 120G-750G HDD to guarantee
higher stability.
The formula of total HDD size is:
Total Capacity (MB) = Camera Amount * Recording Hours * HDD Usage Per Hour (M/h)
H.264 compression is ideal for standalone DVRs. It can save more than 30% HDD
capacity than MPEG4. When you calculate the total HD capacity, you should estimate
the average HDD capacity per hour for each channel.
For example, for a 4-ch DVR, the average capacity of HDD usage per hour per channel
is 200M/h. Now if you hope the DVR can record the video 12 hours each day for 30
days, the total capacity of HDDs needed is: 4 channels * 30 days * 12 hours * 200 M/h =
288G. So you need to install one 300G HDD or 2*160G HDDs.
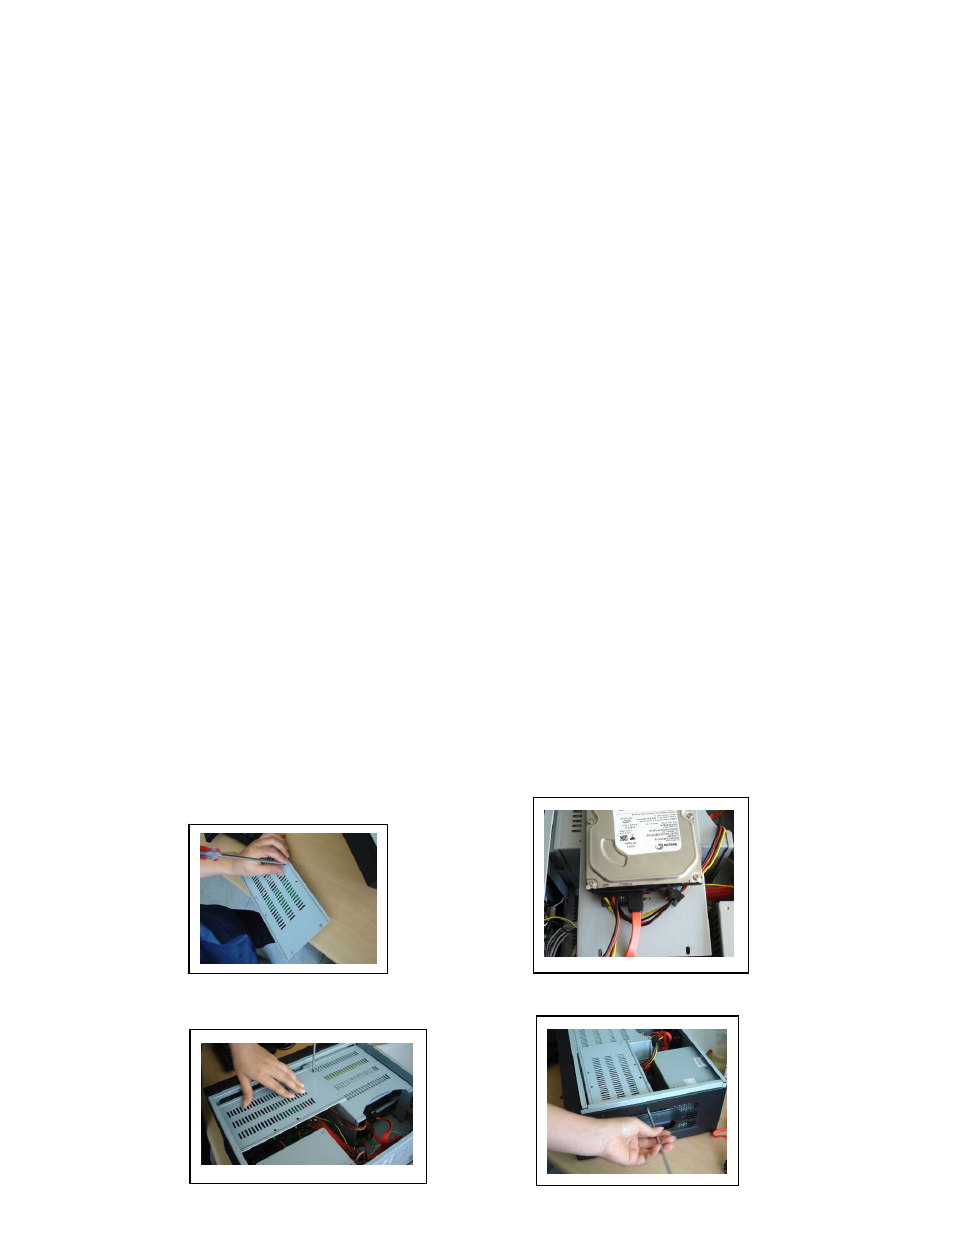
3.2.3 HDD Installation
Data ribbons, fastening screws and smart HDD shelf design are already provided in the
accessories.
1. Fix the HDD on the bracket. 2. Connet power and data cable.