Assemble the wing – Great Planes CAP 232 1.60 ARF - GPMA1410 User Manual
Page 7
❏ ❏
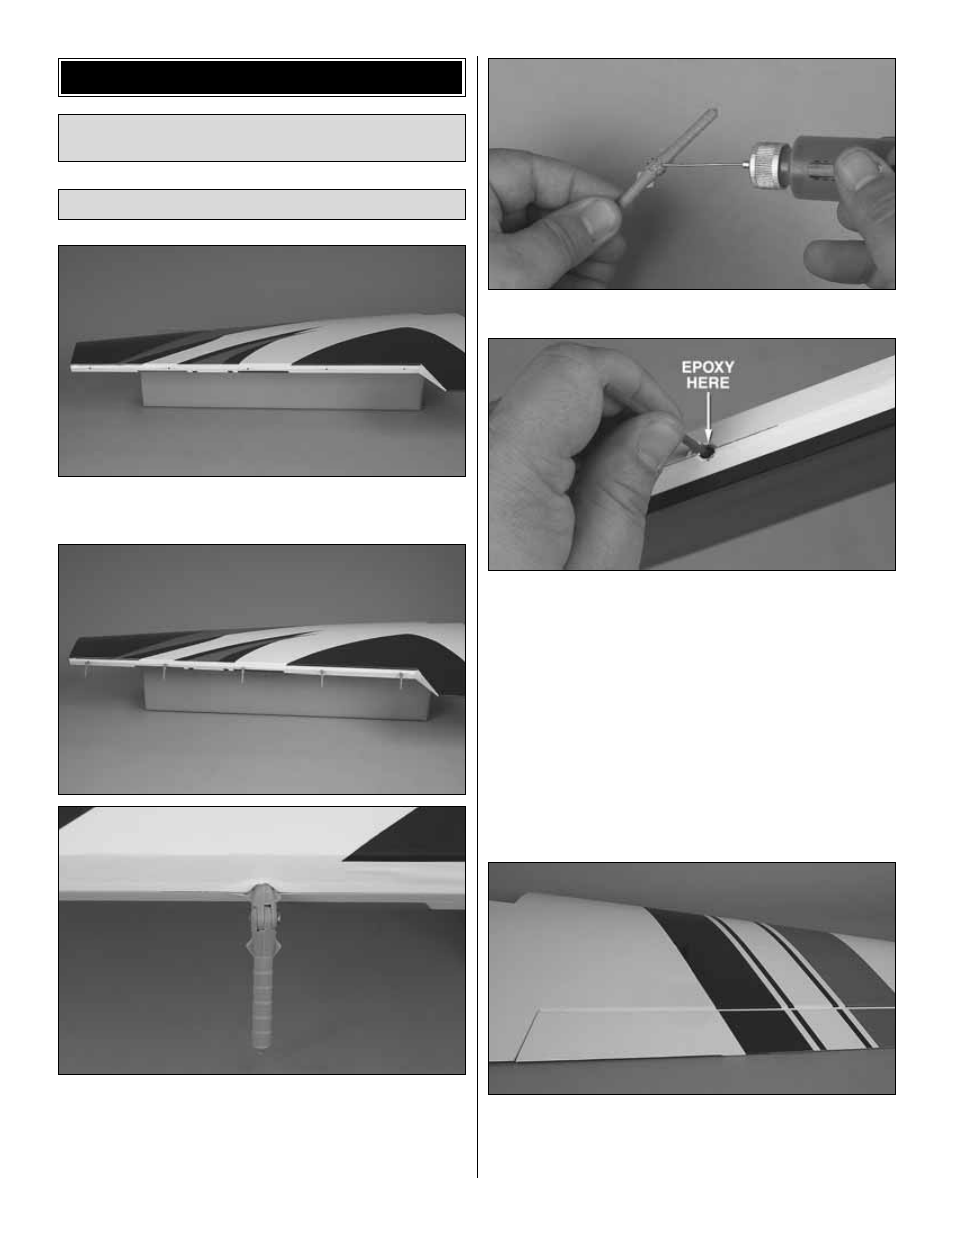
1. Cut the covering away from the five predrilled holes
in the left aileron and left wing panel.
❏ ❏
2. Locate five point hinges. Test fit each hinge by
temporarily attaching the aileron to the wing. Note the
“wings” on each hinge near the pivot. These are designed to
align the hinge and prevent it from rotating. It will take a
small amount of force to push these wings into the wood.
❏ ❏
3. Apply a small drop of oil to the pivot on each hinge.
❏ ❏
4. Mix approximately 1/8 oz of 30-minute epoxy. Use
a toothpick to thoroughly apply the epoxy in the holes in the
aileron. Use the toothpick to get the epoxy out of the outer
edge of the opening of the holes in the aileron so it doesn’t
get into the hinge pins. Wipe away any epoxy around the
outside of the holes with a paper towel.
❏ ❏
5. Push the point hinges into the holes in the aileron,
be sure to clean any epoxy squeezed out using alcohol and a
paper towel.
❏ ❏
6. Once the epoxy has cured, mix 30-minute epoxy and
use a toothpick to thoroughly apply the epoxy in the holes in
the wing.
❏ ❏
7. Fit the hinges in the wing and aileron. Tape the
aileron to the wing and set aside until the epoxy has cured.
❏
8. Repeat steps 1-4 for the other wing half.
Attach the Ailerons
Before beginning assembly on your new Great Planes CAP
232, tighten all covering with an iron or heat gun if needed.
ASSEMBLE THE WING
7