Prepare the model for covering – Great Planes Extra 300S 40 Kit - GPMA0235 User Manual
Page 37
❏
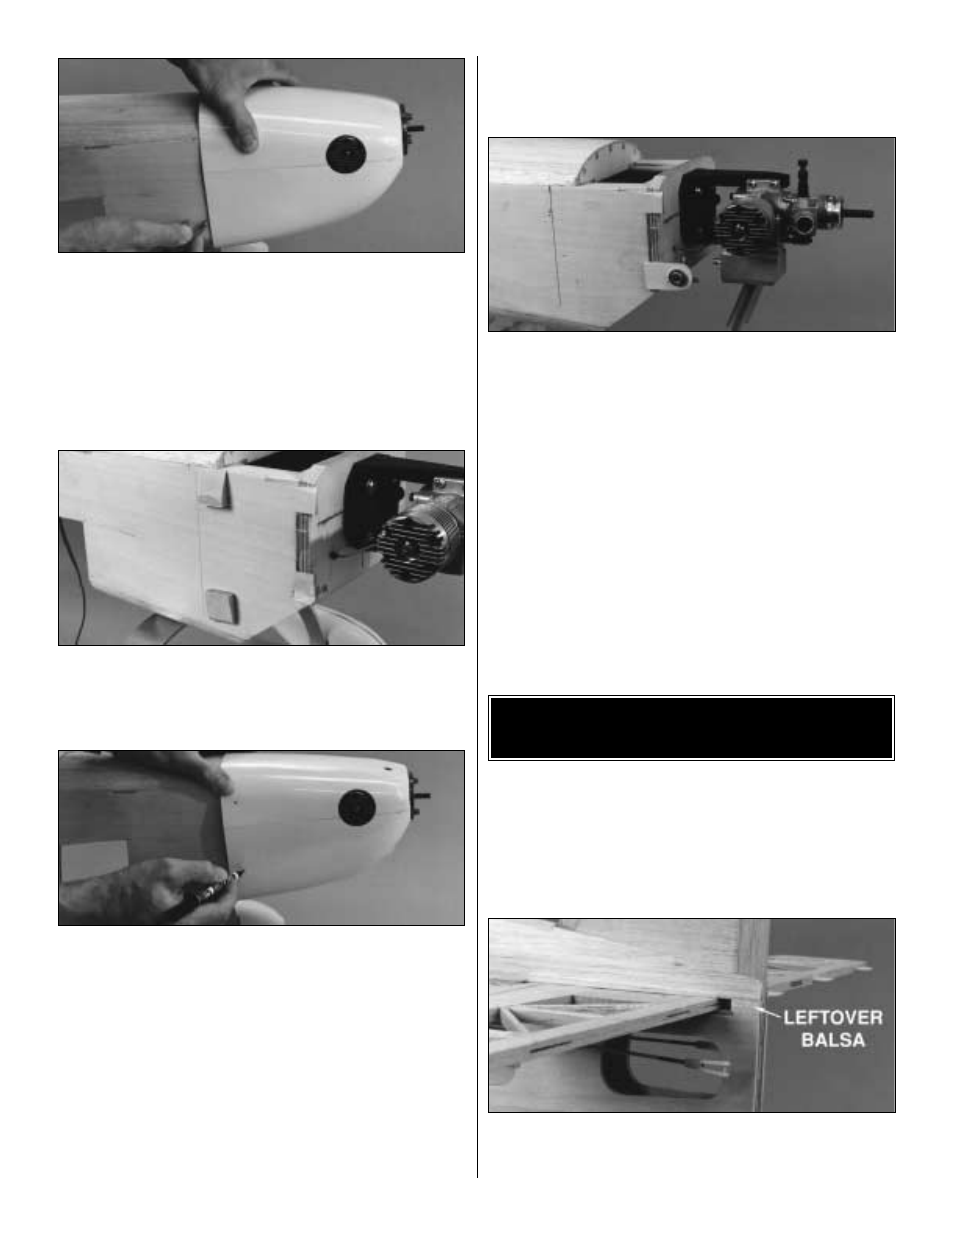
11. Align the cowl so there is approximately a 1/8" gap
between the back plate of the spinner and the cowl, then
use a ballpoint pen to mark the fuselage sides at the aft
edge of the cowl.
❏
12. Remove the cowl, then use medium CA to glue the
four 5/16" x 3/4" x 7/8" hardwood cowl mount blocks to the
fuselage sides in the location shown on the plan 1/4" in front
of the lines you marked that indicate the sides of the cowl.
❏
13. Shape the cowl mount blocks with your bar sander
and 150-grit sandpaper so they match the shape of the
cowl. Test fit the cowl and make adjustments to the blocks
if necessary.
❏
14. Position the cowl on the fuselage using the
backplate of the spinner as a guide, then use a felt-tip pen
to mark the cowl where to drill the holes for the cowl
mounting screws. Drill a 1/16" hole through only the cowl at
each mark. Accurately reposition the cowl and use a
ballpoint pen to mark the location of the holes in the cowl
on the cowl mount blocks.
❏
15. Remove the cowl, then drill a 3/32" hole through
each cowl mount block at the mark. Enlarge the 1/16" holes
in the cowl with a 1/8" drill, then mount the cowl to the
fuselage with the four 4-40 x 1/2" screws and #4 washers
supplied with this kit.
❏
16. Use the “template procedure” to determine the
location of the hole in the cowl for the needle valve
and muffler.
❏
17. Mount a fueling system. On our prototype we made
a mount for the Great Planes Easy Fueler from 1/8" leftover
plywood, then securely glued it to the fuse side. Cut an
access hole in the cowl for the Fueler.
❏
18. Cut four 1" pieces of glass cloth, then use 30-minute
epoxy to glue one piece to the inside of the cowl at each
cowl mount hole. After the epoxy cures, re-drill the holes
with a 1/8" drill bit.
❏
19. Fill the seams or other imperfections in the cowl as
described in the preceding Wheel Pants section, then wet
sand the entire cowl with 400-grit sandpaper to prepare it
for priming.
❏
1. If you've hooked up the pushrods to the servos before
you covered the model, disconnect and remove all the
control rods and remove the hinges and control horns from
the ailerons, elevators and rudder. Remove the engine
mount and any other hardware you may have installed.
❏
2. Fill in the space between the turtle deck sheeting and
aft end of the fuse sides on both sides of the fin with
leftover balsa. Leave a space for the elevator joiner wire.
PREPARE THE MODEL
FOR COVERING
37