Build the front fuselage deck – Great Planes Extra 300S 40 Kit - GPMA0235 User Manual
Page 27
❏
7. Glue the other chine sheet in position in the
same manner.
❏
8. Glue the 10-1/2" chine sheets to the forward
fuse bottom.
❏
9. Locate the 3/32" x 1-1/2" x 12" sheets you cut at step
14 on page 17 under Sheet the Wing. Glue the sheets to
the belly pan in the same manner you glued the other
sheets to the fuse bottom.
❏
10. Use a razor plane and a bar sander to trim, then
shape the chine sheets as shown on the cross sections of
the fuselage plan. Reinstall the wing to blend the chines of
the wing and fuselage.
❏
11. Brush on a fuelproof coating inside the fuel tank
compartment. Use epoxy paint, dope, thinned epoxy resin
or finishing resin. Refrain from letting the paint get into the
blind nuts.
❏
12. Use your bar sander to sand the tabs and notches of
the fuse bottom, wing bolt plates, fuselage bolt plates, belly
pan and forward and aft fuselage bottom so they are flush
and even. Test fit the wing and sand the chine sheets of the
forward fuselage, wing belly pan and aft fuselage so they
are even.
❏
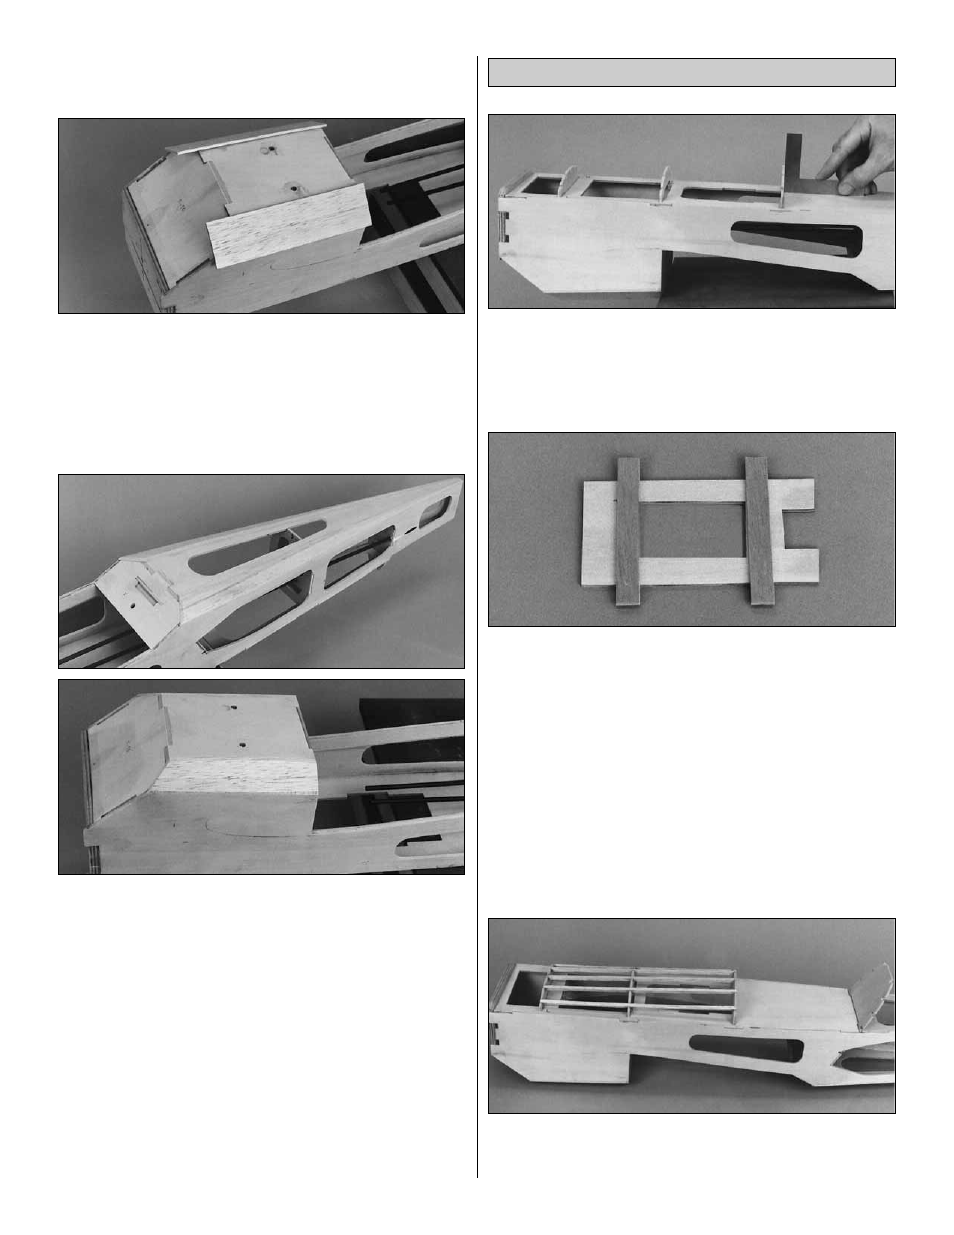
1. Use a 90 degree triangle or square to glue the die-cut
1/8" plywood top formers F-1T, F-2T, IP and F-4T to the
fuselage top.
❏
2. Securely glue two 3-1/2" long sticks cut from leftover
1/8" plywood to the bottom of the tank floor. These tabs are
for hooking rubber bands onto for securing the fuel tank.
❏
3. Glue the fuel tank floor in position, then test fit the fuel
tank. The tank floor is positioned so that a Great Planes 10
oz. fuel tank with 1/4" foam rubber underneath, will align
with the fuel line holes in the firewall. If you are using a
different engine mount or fuel tank, make any necessary
modifications now while the fuel tank compartment is still
accessible.
❏
4. Glue five 3/16" x 3/16" x 12" balsa stringers in the
notches in formers F-1T, F-2T and IP. Cut the ends of the
stringers so they are even with the formers.
Build the Front Fuselage Deck
27