GME GP450XB User Manual
Page 21
GP450X
INSTRUCTION MANUAL
PAGE 21
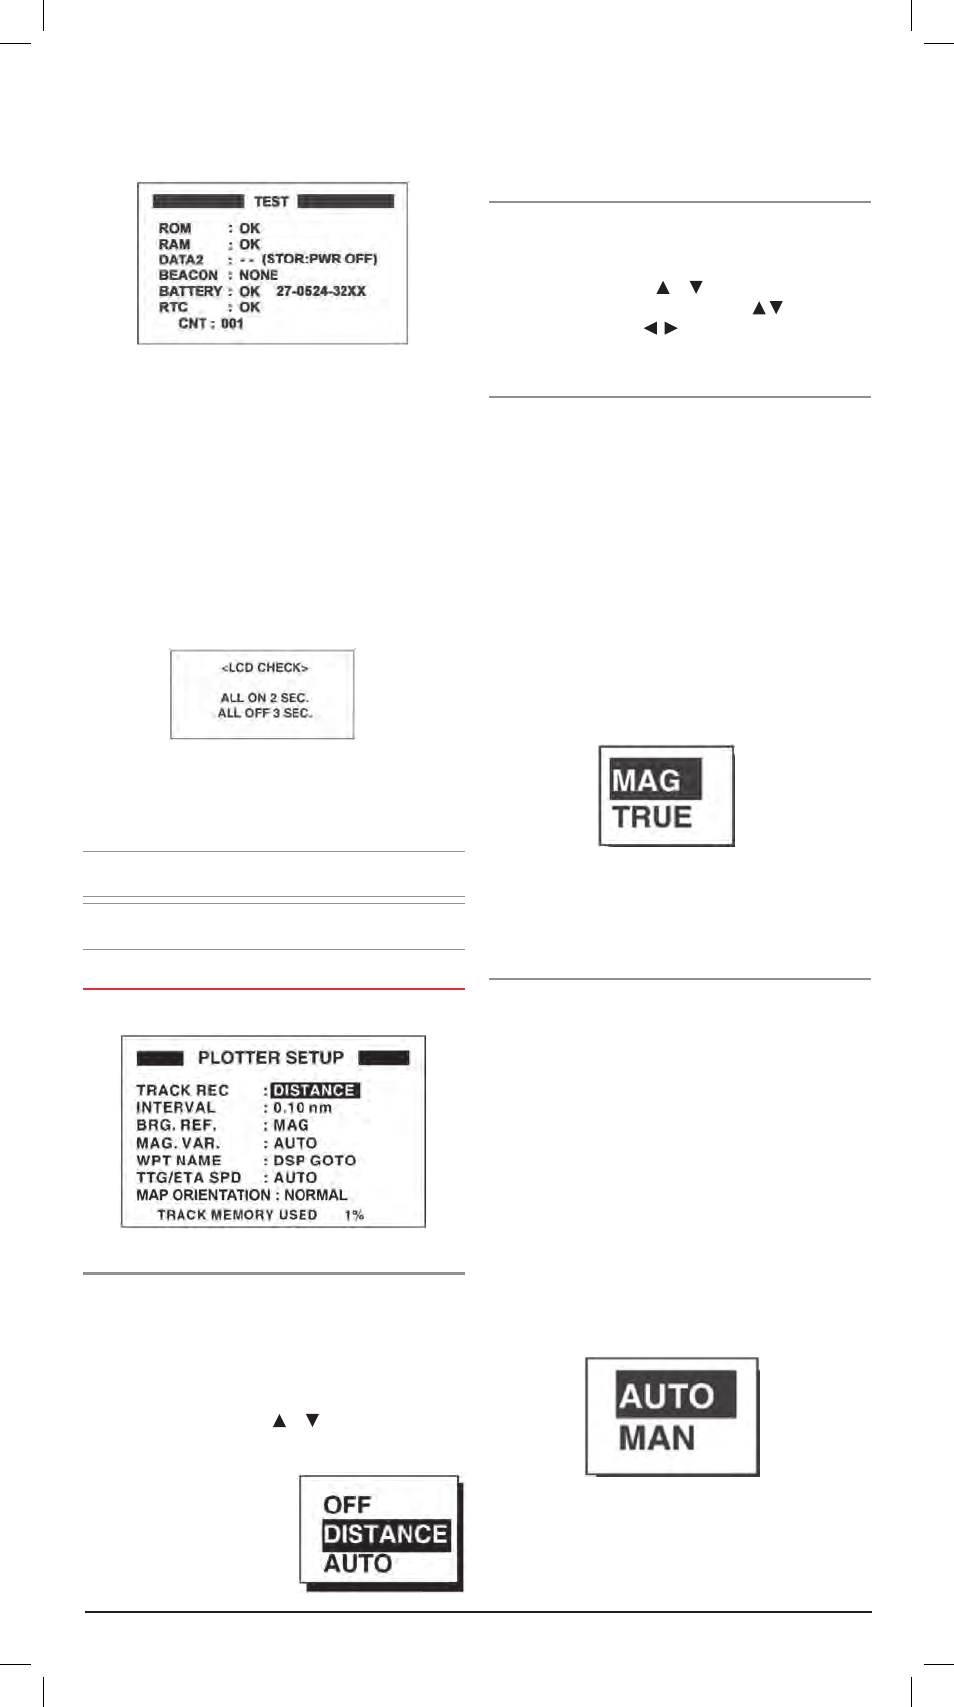
4 . The GP450X tests rom, ram, data port, beacon receiver,
internal battery and rtc . The results are individually
displayed as ok or NG (No Good) .
5 . After the equipment has displayed the test results, a beep
sounds and the message Push kEy appears at the top
right-hand corner .
6 . Press each key one by one . The name of the key pressed
momentarily appears at the top right-hand corner if the key
is functioning properly .
If no key is pressed within around 5 seconds, the GP450X
automatically proceeds to the next stage .
7 . The equipment displays the following message to inform you
that it is now going to check the lcd .
8 . The lcd is checked and the test is then repeated .
9 . To stop the test, turn off the power .
Note 1: DATA2 requires a special connector to check.
- - appears as the result when no connector is connected .
Note 2: CNT shows the number of times the test has been
executed consecutively .
PlottEr sEtuP
track recording
To record a copy of the ships track, the ships position is stored
in memory at regular intervals of distance . A shorter distance
interval provides more track points and a more detailed log
of your track but more memory is used resulting in a shorter
storage time . When the track memory becomes full, the older
track points are overwritten by the newer points .
To change the setting press the or keys to highlight the
‘track rEc’ option and press ENt .
Select Distance to define your
own fixed value for the track
log interval . The distance interval
will remain constant at all
zoom ranges .
Select Auto to let the GP450X define the track log recording
interval automaticaly . The interval will change with the zoom
range setting .
Select off to disable the track logging function altogether .
Interval
Sets the distance interval for when Distance is selected in the
Track Recording option above . When the Track Recording option
is set to off or auto this setting is not available .
To set the interval press the or keys to highlight the
‘INtErval’ option and press ENt . Use the keys to
change the value and the keys to move left or right
through the fields .
Bearing reference
Your vessel’s course and bearing to a destination may be
displayed in either True or Magnetic formats . A True bearing is
one referenced to the earth’s geographic North Pole . A Magnetic
bearing is referenced to the magnetic north pole which is offset
from true north . This magnetic variation changes according
to your location . The magnetic bearing is identical to that
measured by a standard magnetic compass .
It is recommended you select the bearing reference that
matches other navigation equipment in your vessel . Select
Magnetic to match a magnetic compass or True if you use a
gyrocompass . The default setting is Magnetic .
To change the setting
1 . From the main menu select PlottEr and press the ENt key .
2 . Select the BrG rEf field and press the ENt key .
3 . Choose maG or truE as required and press the ENt key .
4 . Press mENu twice to return to the navigation screen .
magnetic variation
The location of the magnetic north pole is different to the
geographic North Pole . This results in a difference in the
direction of North between the true and the magnetic headings .
This difference is called the Magnetic Variation . The variation is
not constant; it varies considerably depending on your location
on the earth’s surface . For example, the magnetic variation in
Sydney is around 12° East of true north which is quite different
from the magnetic variation in Perth of 4° West of true North .
Your GP450X is pre-programmed with all of the earth’s
magnetic variations and can automatically apply the correct
magnetic offset for your location . However if you prefer, you can
enter the magnetic variation manually as described below .
1 . From the main menu select PlottEr and press the ENt key .
2 . Select the maG var . field and press the ENt key .
3 . Choose auto or maN as required and press the ENt key .
4 . If auto is selected the unit will automatically apply
the correct magnetic variation for your current location
(measured by the GPs receiver) . Go to step 7 .
Plotter setup menu