20 for “a” or “b” wing, slit fabric over horns – Carl Goldberg GPMA0955 EAGLE 2 User Manual
Page 21
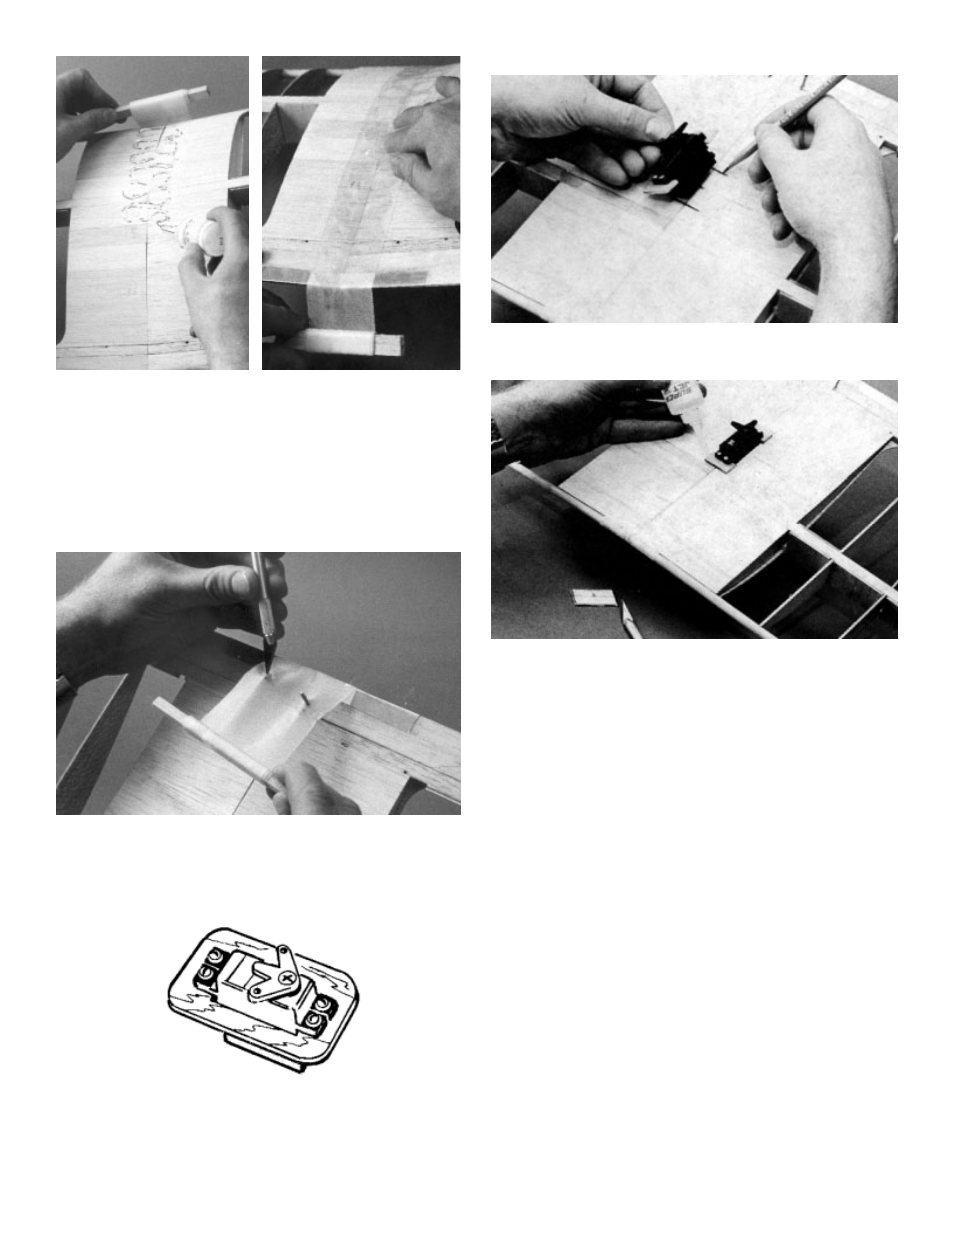
20
For “A” or “B” wing, slit fabric over horns.
33.
Repeat gluing procedure and apply nylon around L.E.,
across top of wing, around T.E. and finally overlapping
where you started on wing bottom.
After entire center joint has been wrapped with nylon,
apply another coat of glue and force it down through the
nylon. Let dry thoroughly.
THIS COMPLETES THE "C" WING ASSEMBLY
34.
Temporarily mount servo in die-cut mounting tray. See
fuse side view on plan for added details of aileron servo
installation.
35.
Carefully position servo 1/2" behind bottom spar and
mark size for opening.
THE SERVO RAILS SHOWN IN THESE PHOTOS HAVE BEEN
REPLACED WITH THE PLY MOUNTING TRAY (STEP 34).
Cut-out bottom sheeting. Remove material from rib No.
1 as required to suit your servo.
Glue servo tray to wing,and fill any gaps under the tray
with slivers of scrap balsa. Avoid getting glue on servo!
THIS COMPLETES THE "A" & "B" WING CONSTRUCTION.
The servo should be removed before covering.