6 interlock tests, 1 remote interlock, 2 delayed interlock – AERCO KC1000 Low NOx Boiler equipped with C-More version 3.04 User Manual
Page 51: 7 flame fault test, Safety device testing
SAFETY DEVICE TESTING
6-3
6.6 INTERLOCK TESTS
The unit is equipped with two interlock circuits
called the Remote Interlock and the Delayed
Interlock. Terminal connections for these circuits
are located in the I/O Box and are labeled
REMOTE INTL’K IN and DELAYED INTL’K IN.
These circuits can shut down the unit in the
event that an interlock is opened. These
interlocks are shipped from the factory jumped
(closed). However, each of these interlocks may
be utilized in the field as a remote stop and start,
an emergency cut-off, or to prove that a device
such as a pump gas booster, or louver is
operational.
6.6.1 REMOTE INTERLOCK
1. Remove the cover from the I/O Box and
locate the REMOTE INTL’K IN terminals.
2. Start the unit in manual mode and fire at
25% to 30% firing rate.
3. If there is a jumper across the REMOTE
INTL’K IN terminals, remove one side of the
jumper. If the interlock is being controlled by
an external device, either open the interlock
via the external device or disconnect one of
the wires leading to the external device.
4. The unit should shut down and display
INTERLOCK OPEN.
5. Once the interlock connection is recon-
nected, the INTERLOCK OPEN message
should automatically clear and the unit
should resume running.
6.6.2 DELAYED INTERLOCK
1. Remove the cover from the I/O Box and
locate the DELAYED INTL’K IN terminals.
2. Start the unit in manual mode and fire at a
25% to 30% firing rate.
3. If there is a jumper across the DELAYED
INTL’K IN terminals, remove one side of the
jumper. If the interlock is connected to a
proving switch of an external device, dis-
connect one of the wires leading to the
proving switch.
4. The unit should shut down and display
DELAYED INTERLOCK OPEN. The FAULT
LED should be flashing.
5. Once the interlock connection is recon-
nected, depress the CLEAR button. The unit
should start.
6.7 FLAME FAULT TEST
1. Place the ON/OFF switch in the OFF
position.
2. Place the unit in the Manual Mode and set
the firing rate between 25% and 30%.
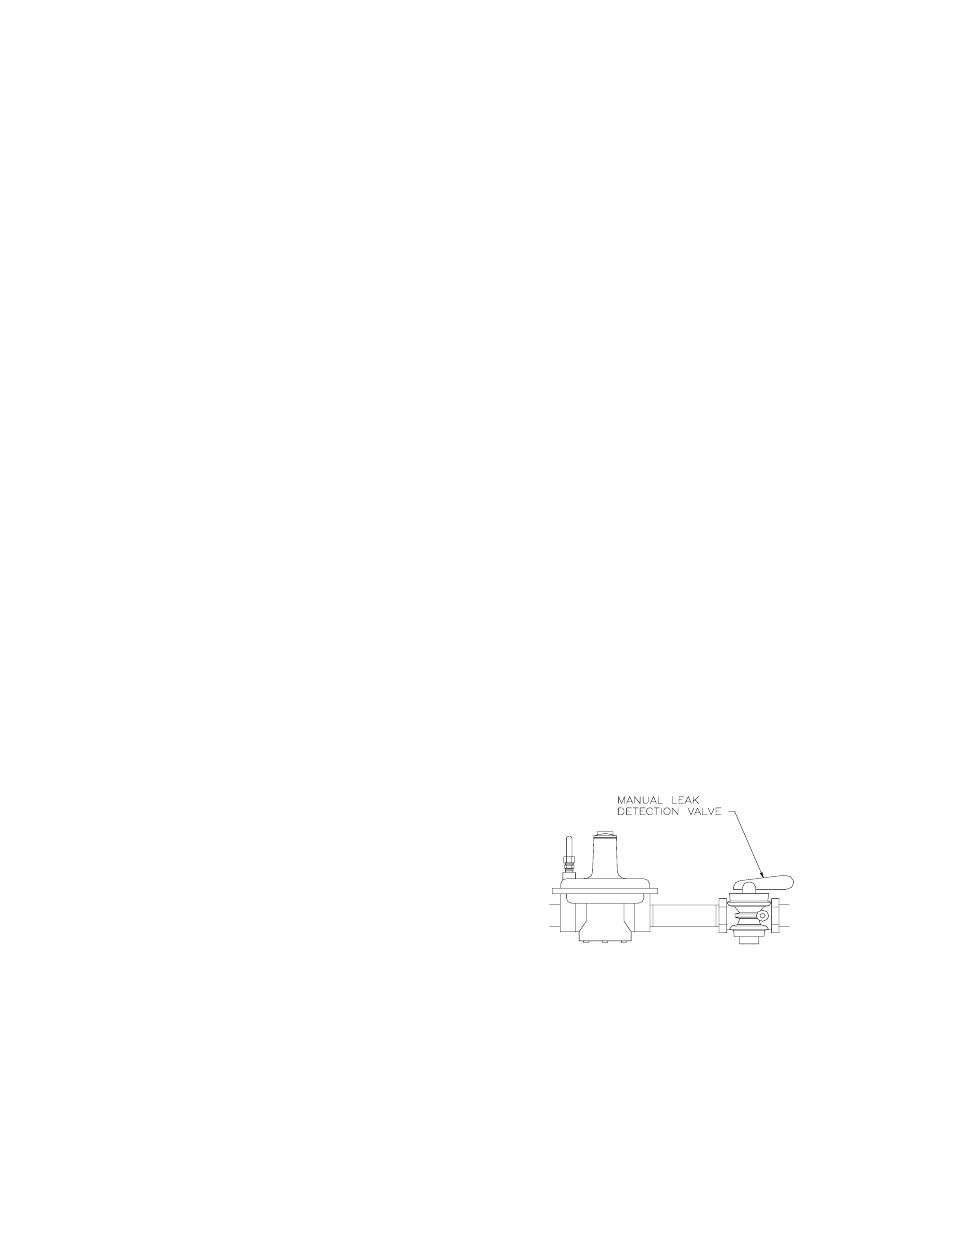
3. Close the manual leak detection valve
located between the safety shut-off valve
and the differential regulator (see Fig. 6.4).
4. Start the unit.
5. The unit should shut down after reaching the
Ignition cycle and display FLAME LOSS
DURING IGN.
6. Open the valve previously closed in step 3
and depress the CLEAR button.
7. Restart the unit and allow it to prove flame.
8. Once flame is proven, close the manual leak
detection valve located between the safety
shut-off valve and the differential regulator.
9. The unit should shut down and display
FLAME LOSS DURING RUN.
10. Open the valve previously closed in step 8
and depress the CLEAR button. The unit
should restart and fire.
Figure 6.4
Manual Leak Detection Valve