Select picture and set number to print (repeat), 0 select ‘single’ or ‘multi – Panasonic DMC-TZ2 User Manual
Page 35
Attention! The text in this document has been recognized automatically. To view the original document, you can use the "Original mode".
Applications
(View)
Picture/picture no./date printing settings can be made for when printing with DPOF print-
compatible shops or printers. (Ask at shop to check compatibility)
For more information visit:
0 Select ‘DPOF PRINT’ from PLAY menu (P.17, 18)
^ Select‘SINGLE’or ‘MULTI’
.!
UHoi".-'«M-
14:'=^
protect
,
(Screen example: DMC-TZ3)
Select picture and set number to print
(repeat)
^ SINGLE
»1710171
- No. to print
■ Date print set
No. to print
— Date print set
#Date print setting/release: Press ‘DISPLAY’ (P.12).
(Cannot be set on pictures with date stamps (P.66).)
ITo complete ■ ■ Press ‘MENU/SET’ twice.
ITo release all ^ Select ‘CANCEL with ▼ in step ® —> Select ‘YES' with A, and
press ‘MENU/SET ^ Press ‘MENU/SET to finish.
When using PictBridge-compatible printers, check settings on actual printer as these
may take priority over camera settings.
To print from built-in memory at a shop, first copy pictures to card (P.73) before making
settings.
DPOF print settings may not be made to non-DCF (P.90) files.
Settings can only be made for one picture at a time.
If DPOF settings have been made on another device, release these first before making
settings again with this camera.
Date printing settings will be canceled when applying date stamps (P.66).
I
Set protection to disable picture deletion. Prevents deletion of important pictures.
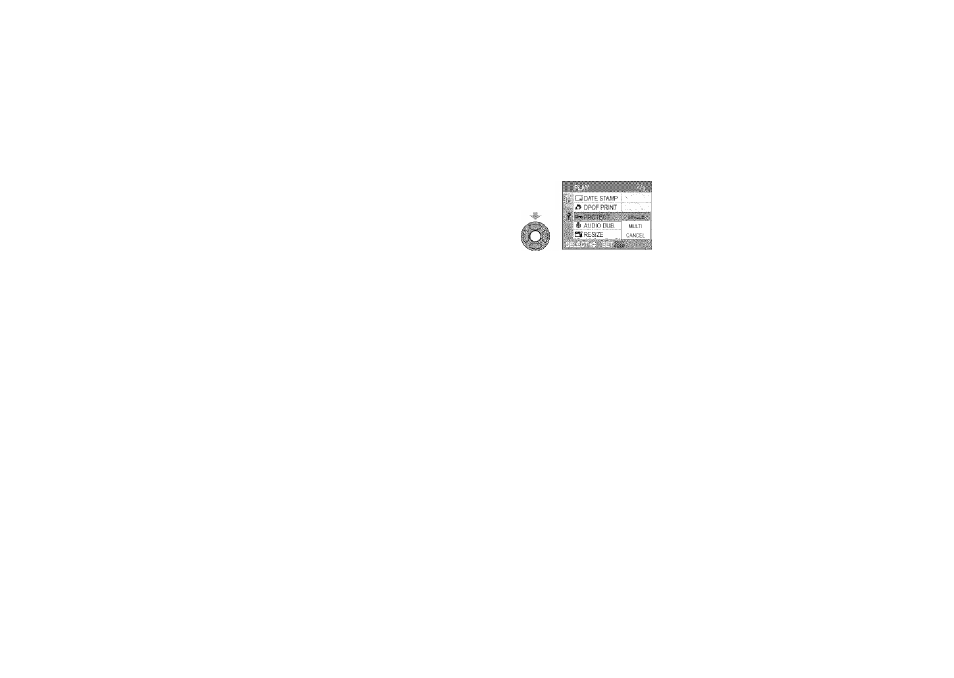
m Select ‘PROTECT’ from PLAY menu
{P.17, 18)
0 Select ‘SINGLE’ or ‘MULTI’
(Screen example; DMC-TZ3)
# Select picture and make setting
ISINGLE
- Picture protected
®To release: ▼
■To complete Press ‘MENU/SET twice.
■To release all ^ Select ‘CANCEL’ with ▼ in step @ —>• Select ‘YES’ with A , and
press ‘MENU/SET ^ Press ‘MENU/SET’ to finish.
• May not be effective when using other devices.
• Formatting (P.73) will cause even protected files to be deleted.
#To cancel while releasing ail: Press ‘MENU/SET.
68
VQT1B61
VQT1B61
69