Jiiig play menu fcontmyed), Wy. rf r, Select picture – Panasonic DMC-TZ2 User Manual
Page 34: Hi select items and make ^ settings for each, Deleting pictures
Attention! The text in this document has been recognized automatically. To view the original document, you can use the "Original mode".
iAppiiGatióris
■ ;(\/iew)...
Jiiig PLAY menu fcontmyed)
j
Automatically rotate portrait pictures, manuaily rotate pictures by 90°.
wy.
rf r
Dispiay with auiomatic rotation
H Select 'ROTATE DISP.’ from
PLAY menu (P.17, 18)
Select ‘ON’
o
Ml] SLIDE SHOW,
I
i ¡r FAVORITE '
Display with manual rotation
|-ii Select ‘ROTATE’ from PLAY
^ menu (P.17, 18)
# Select
picture
(Screen example: DMC-TZ3)
ITo complete
Press ‘MENU/SETL
•When set to ‘OFF’, ‘ROTATE’ also
cannot be used.
Scsccl oi'Cc-lic". to 'i-l.ite
Rotate 90° clockwise
Rotate 90° anticlockwise
Press ‘MENU/SET
•‘ROTATE DISP.’ and ‘ROTATE’ cannot be
-
used with motion pictures.
:
•‘ROTATE’ cannot be used with protected
:
pictures (P.69).
•Some pictures taken facing up or facing
HTo complete i
down may not be rotated automatically. twice.
•It may not be possible to rotate pictures
taken with certain other devices.
•Pictures cannot be rotated during multi playback (P.61).
•Will only be displayed rotated on computer if in Exif-compatible (P.90) environment
(OS, software).
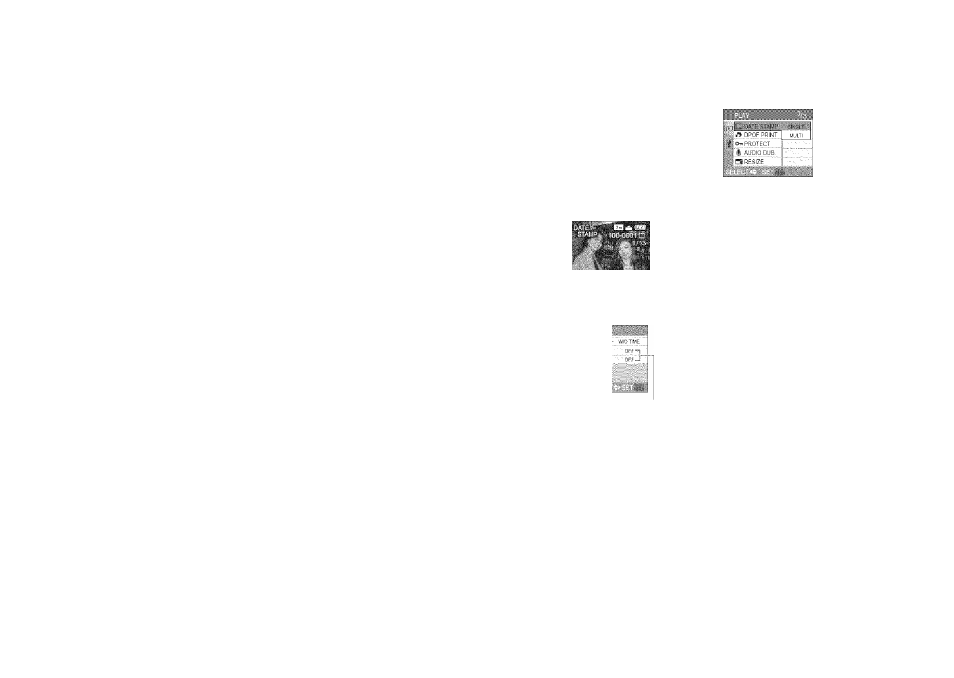
Picture date, age (P.42, 44), or TRAVEL DATE (P.48) stamped to bottom right of picture.
Ideal for regular size printing.
• Picture size will be reduced if greater than 3M.
.«.ikZCi'.TA'ii':-
Pier:
size
:
4:3
3:2
16:9
7M, 5M (6M only for DMC-TZ2)
7M (6M for DMC-TZ2), 4.5M
6M (5.5M for DMC-TZ2), 3,5M
After DATE,
stamp
:
3M
2.5M
2M
• Picture will become slightly grainier.
66
£| Select ‘DATE STAMP’
from PLAY menu
(P.17, 18)
Select picture
A
«SINGLE
I
A
Select
‘SINGLE’
or
‘MULTI’
■ ( -
(Screen example: DMC-TZ3)
HI Select items and make
^ settings
for each
«/MULTI (up to 50 pictures)
Q DATE STAMP setting
•C3 displayed where DATE
STAMP already set
• To release setting: T
• To complete settings: Press
‘MENU/SET’.
Select
whether
to
delete original picture
™ (Screen varies according to picture size, etc)
♦
o
«Select‘ON’for AGE/
TRAVEL DATE
stamp.
¡To complete i' Press ‘MENU/SET twice.
■'YES’:
Apply DATE STAMP
(Original picture
deleted)
• Select ‘NO’ for
protected pictures
(P.69).
‘NO’: Create new picture with DATE
STAMP (Original picture remains)
• Cannot be used with pictures taken on other devices, pictures taken without setting
clock, motion pictures, or pictures with audio.
• After DATE STAMP is applied, pictures cannot be resized (P.70) or trimmed, (P.71),
and ASPECT CONV. (R72), DATE STAMP and DPOF date printing settings cannot be
changed of pictures.
• Use playback zoom to check stamped date (P.31).
• Characters may be cut off on certain printers.
• Do not make date printing settings in shop or on printer for pictures with date
stamps. (Date printing may be overlapping.)
VQT1B61
VQT1B61
67