Panasonic SC-CH31 User Manual
Sc-ch31, Panasonic
Attention! The text in this document has been recognized automatically. To view the original document, you can use the "Original mode".
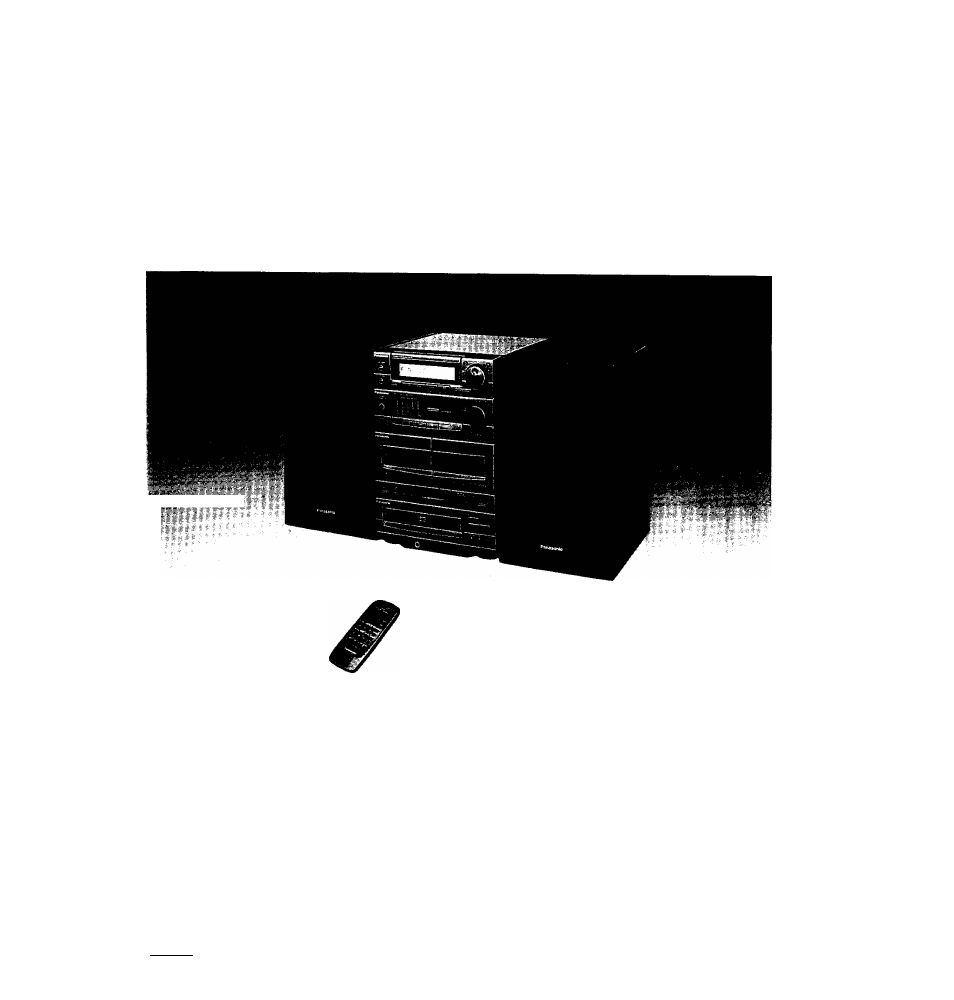
Table of contents
Document Outline
- Panasonic
- COMPACT
- DIGITAL AUDIO
- Table of Contents
- Suggestions for Safety
- ■ Use a standard AC wall outlet
- ■ Grasp the plug when disconnecting the power supply cord
- ■ Place the unit where it will be well ventilated
- ■ Avoid places such as the following:
- ■ Ba sure to place the unit on a flat, level surface
- ■ Hever attempt to repair nor reconstruct this unit
- ■ Take particular care If children are present
- ■ If water is spilled on the unit
- ■ Avoid spray-type Insecticides
- ■ Never use alcohol or paint thinner
- ■ Disconnect the power supply cord If the unit will not be used for a long time
- ■ If trouble occurs
- Preparations
- Preparations
- Tuner
- ■ Tuner control
- © Timer play button (PLAY TIMER)
- © Timer recording button (REC TiMER)
- O Cancel button (CANCEL)
- 0 Set button (SET)
- 0 Display select button (DISPLAY)
- © Clock/timer button (CLOCK/TIMER)
- O Sleep timer button (SLEEP)
- ® Compact disc edit>recording mode select button (CD EDIT)
- (9) Tuning mode select button (TUNING)
- ® Band select/MW allocation change button (BAND/M W ALLOCATION)
- © FM mode/beat proof button (FM MODE/BP)
- ® Jog dial (Al JOG)
- (continued)
- Multi digital display
- ® Alphanumeric display
- @) Timer on-time indicator (ON)
- @ Tape side indicator (SIDE A, B)
- ® Timer recording indicator (TIMER REC)
- @ Timer off-time indicator (OFF)
- ® Sleep timer indicator (SLEEP)
- @ Quartz lock indicator (QUARTZ LOCK)
- @ Deck 1/deck 2 indicator (DECK 1, DECK 2)
- @ Tape direction Indicators (O, >)
- (|^ Muting Indicator (MUTING)
- (^ Compact disc edit-recording indicator (EDIT)
- @ Automatic tape level setting Indicator (ATLS)
- Program indicator (PROGRAM)
- ® Matrix display (1-12)
- @ Random play Indicator (RANDOM)
- @ FM stereo indicator (STEREO)
- (g) Super bass indicator (SUPER BASS)
- @ Over Indicator ( ^ )
- @) Repeat play indicator ( )
- @ Dolby noise reduction indicator (DOLBY NR)
- ® Recording Indicator (REC)
- ® Volume level indicator
- Amplifier
- ■ Amplifier controls
- ® Power '*STANDBY(i)/ON'* switch and Indicator (POWER, STANDBY c!)/ON)
- @ Equalizer controls
- (GRAPHIC EQUALIZER LEVEL)
- 0 Super bass button (SUPER BASS)
- 0 Volume level control (VOLUME)
- (@ Volume preset button (VOL PRESET)
- ® Remote control signal sensor (SENSOR)
- ® Input select buttons (TAPE, AUX, CD, TUNER)
- Cassette deck
- Common operation controls
- Tuner
- Concerning the Remote Control
- Setting the Time of Day
- Switch on the power.
- 1 Press CLOCKH-IMER.
- 2 Select the CLOCK mode by turning the Jog dial.
- 3 Press SET.
- 4 Turn the Jog dial to the correct hour.
- 5 Press SET.
- 6 Turn the Jog dial to the correct minute.
- 7 Press SET.
- Press POWER STANDBY Cl)/ON to switch on the power.
- Select the sound source by pressing TAPE, CD or TUNER.
- Start the sound source.
- Adjust the volunra level.
- Reduce the VOLUME level.
- Connect the headphones to the headphones jack.
- Reduce the VOLUME level.
- Connect the microphone to the MIC Jack.
- Press the MUTING on the remote control.
- 2 3 4
- 1 Press the TUNER Input select button.
- 2 Press TUNING to select the MANUAL tuning mode.
- 3 Press the band-select button to select FM, MW, SW1 or SW2 (For Australia and New Zealand, FM, LW, MW).
- Turn the Jog dial to tune In the desired broadcast.
- ■ MW allocation settings
- Automatic tuner operation only for FM
- Memory presetting
- ■ From the main unit
- 1 Press the band-select button to select FM, MW, SW1 or SW2 (For Australia and New Zealand, FM, LW, MW).
- 2 Press TUNING to select PRESET.
- 3 Turn the Jog dial to select the desired preset channel.
- ■ If noise is excessive in the FM mode Press FM MODE/BP to monaural position.
- ■ From the remote control
- 1 Press TUNER/BAND to select FM, MW. SW1
- or SW2 (For Australia and New Zealand, FM, LW, MW).
- 2 Press the numeric button corresponding to the preset channel you wish to tune In.
- ■ Most recent memory
- Sequential play
- 2-3 4
- 2 3
- 2 3
- ■ From the main unit
- 1 Press the CD input select button.
- 2 Turn the jog dial to select the track you want to play.
- 4 Repeat steps 2 and 3 for each track you wish
- 5 Press the CD play button.
- ■ Program memory function
- ■ From the remote control
- 1 Press the CD Input select button.
- 2 Press PROGRAM.
- Repeat step 3 until you have completed the program.
- Press the CD play button.
- Press the numeric buttons to select the track numbers.
- ■ Changing the program
- Press CANCEL (front panel or remote control) In the stop mode.
- ■ To add the entry
- ■ To confirm the program
- While in stop mode, press the skip/search button.
- ■ To cancel program play
- Press RANDOM on the remote control while player Is in the stop mode.
- ■ To cancel random play
- Press RANDOM once again to end random play.
- special features
- To play back prerecorded cassettes
- 1 Press the TAPE input select button.
- 2 Press EJECT, and then insert the cassette you wish to play.
- 3 Press REVERSE MODE.
- 4 Press DOLBY NR if the cassette you want to play was recorded with Dolby noise reduction.
- 5 Press one of the play buttons to start playback.
- ■ To stop playback
- Proas the stop button.
- ■ Full auto-stop
- m About the Dolby Noise Reduction system
- 4 32
- Making a Recording
- To record from the radio or external source
- Tape-to-tape recording from deck 1 to deck 2
- 1 4
- 3 1
- Press the stop button in the deck section.
- Sequential CD recording (ALBUM)
- Switch on the power.
- 1 Press the CD input seiect button.
- 2 Press OPEN/CLOSE on the CD player to load a disc.
- 3 Press CD EDIT.
- 4 Turn the Jog dial to select ALBUM.
- 5 Press SET.
- 6 Load a cassette in deck 2.
- 7 Turn the jog dial to specify the length of the tape you are using.
- 8 Press SET.
- Press the CD play button for automatic recording.
- ■ About Automatic Tape Level Setting (ATLS)
- ■ To cancel album edIt-recordIng
- Press the CD stop button twice.
- (continued)
- 1 Press the deck 2 eject button to load a cassette In deck 2.
- 2 Press the CD input select button.
- 3 Press OPEN/CLOSE on the CD player to load a disc.
- 4 Press CD EDIT.
- 5 Turn the jog dial to select FIT.
- 6 Press SET.
- 8 Press SET.
- 7 Turn the jog dial to select the length of the tape you are using.
- 9 Press the CD play button for automatic recording.
- ■ To cancel tape length priority recording (fit edit-recordIng)
- Press the CD stop button twice.
- ■ To confirm the play sequence
- You can confirm the play sequence on the display by pressing the sktp/search button In the stop mode.
- (continued)
- Program edit-recording
- Follow tape length priority recording steps 1 through 4 (page 40).
- Turn the jog dial to select PROGRAM.
- Press SET.
- b Turn the jog dial to assign the tracks In sequence.
- 7 Press SET.
- 8 Repeat steps 6 and 7 to complete the program.
- 9 Press the CD play button to start recording.
- ■ To cancel program adit-racording
- Press the CD stop button twice.
- ■ To confirm the play sequence
- You can confirm the play sequence on the display by pressing the skip/search button in the stop mode.
- To record another diec on the remaining blank tape
- Using the graphic equalizer control
- To listen with augmented bass (super bass effect)
- Setting timer piay
- 2-4-6 3-5-7
- 12 Press VOL PRESET to set the volume level for timer play.
- 13 Adjust the volume level using the volume level control.
- 14 Press VOL PRESET again.
- 15 Press one of the input select buttons.
- ■ When you have made a wrong setting on steps 1 to 10 (on page 46)
- Press CANCEL.
- ■ To confirm timer piay
- Press CLOCK/TiMER in the power standby mode.
- ■ To cancel timer play Press PLAY TIMER.
- Setting timer recording
- To use the sleep timer
- 1-MI 3
- Care & Use