Panasonic SC-CH11 User Manual
Sc-ch11, Panasonic, Operating instructions
Attention! The text in this document has been recognized automatically. To view the original document, you can use the "Original mode".
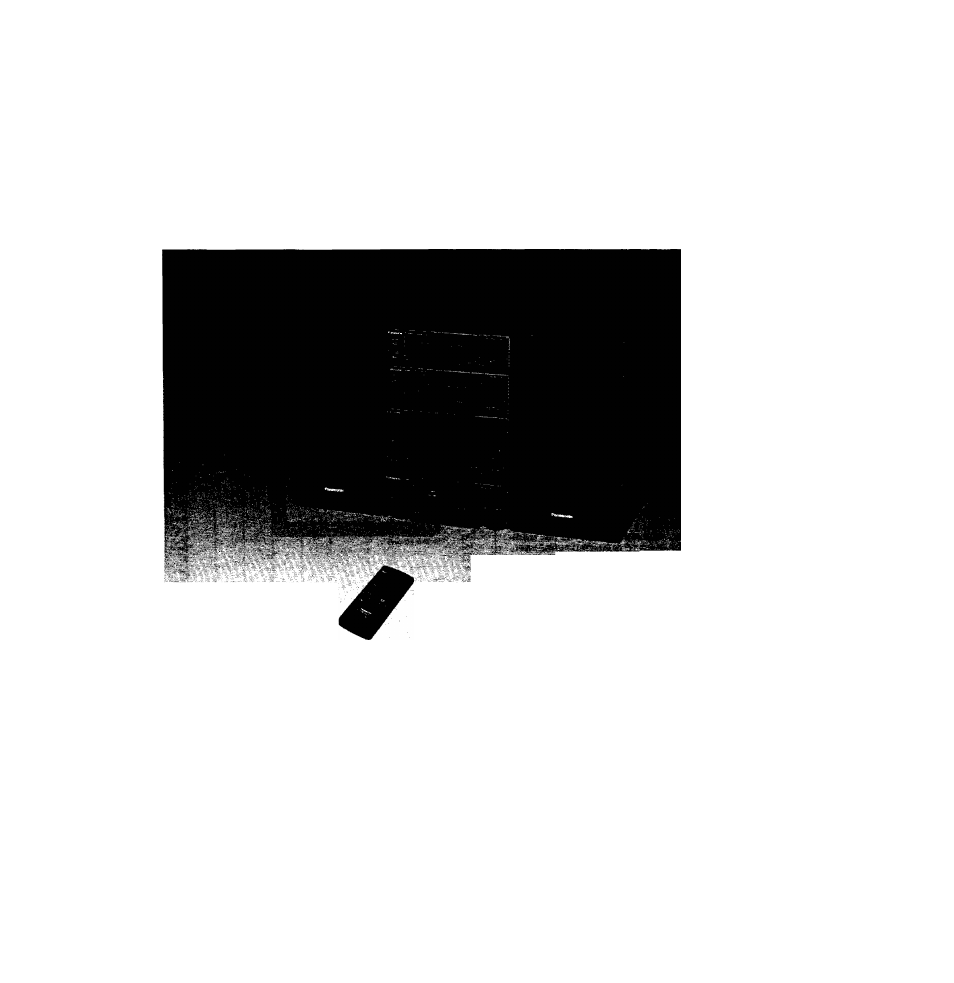
Panasonic
CD Stereo System
SC-CH11
Operating Instructions
? ■■■■ : ...........................
. .—-il' - J
■ -i
nCOMMCr
mm
DIGITAL AUDIO
EB
Printed in Singapore
Notes:
•Specifications differ according to the area code.
•The “EB" area code, for example, indicates United Kingdom
specifications.
•The “EB" indication is shown on the packing case and serial
number tag.
Before connecting, operating, or adjusting this product, please read
these instructions completely and carefutty.
RQT1537-1B
F0392P0
Table of contents
Document Outline
- Panasonic
- Table of Contents
- Suggestions for Safety
- ■ Use a standard AC wall outlet
- ■ Grasp the plug when disconnecting the power supply cord
- ■ Place the unit where it will be well ventilated
- ■ Avoid places such as the following:
- ■ Be sure to place the unit on a flat, level surface
- ■ Never attempt to repair nor reconstruct this unit
- ■ Take particular care if children are present
- ■ If water Is spilled on the unit
- ■ Avoid spray-type insecticides
- ■ Never use alcohol or paint thinner
- ■ Disconnect the power supply cord if the unit will not be used for a long time
- ■ If trouble occurs
- For United Kingdom
- Concerning the Remote Control
- Preparations
- Preparations
- Connections
- Tuner
- ■ Tuner control
- © Timer play button (PLAY TIMER)
- (2) Timer recording button (REC TIMER)
- 0 Cancel button (CANCEL)
- 0 Set button (SET)
- 0 Display select button (DISPLAY)
- @ Clock/timer button (CLOCK/TIMER)
- 0 Sleep timer button (SLEEP)
- 0 Compact disc edit-recording mode select button (CD EDIT)
- 0 Tuning mode select button (TUNING)
- 0 Band select button (BAND)
- 0 FM mode/beat proof button (FM MODE/BP)
- @ Jog dial (Al JOG)
- (continued)
- Amplifier
- ■ Amplifier controls
- 0 Power “STANDBY c!)/ON” switch and indicator (POWER STANDBY (!)/ON)
- @ Equalizer controls
- (GRAPHIC EQUALIZER LEVEL)
- 0 Super bass button (SUPER BASS)
- 0 Volume level control (VOLUME)
- ® Volume preset button (VOL PRESET)
- (@ Remote control signal sensor (SENSOR)
- ® Input select buttons (TAPE, AUX, CD, TUNER)
- ® Deck 1 cassette holder Ф Reverse-side playback button (
- Ф Stop button (□)
- Ф Forward-side playback button (>)
- @ Deck 2 cassette holder
- Ф Record/record standby button (REG PAUSE)
- ® Tape counter reset button (COUNTER RESET)
- (|^ Deck 1 cassette eject button (A EJECT)
- 0 Deck 1/deck 2 select button (DECK 1/2)
- @ One-touch tape edit buttons (ONE TOUCH TAPE EDIT)
- ® Fast-forward/rewind/tape program sensor (TPS) buttons [◄◄ (TPS), (TPS) ►►]
- @ Dolby noise reduction button (DOLBY NR)
- (g) Reverse mode seiect button (REVERSE MODE)
- @ Deck 2 cassette eject button (^ EJECT)
- (continued)
- @ Disc tray
- Stop button (□)
- ® Disc tray open/ciose button OPEN/CLOSE)
- ® Piay button (>)
- @ Headphones jack (PHONES)
- ® Skip/search buttons ( • ►►/►►! )
- 0 Pause button (II)
- Common operation controls
- Setting the Time of Day
- Basic Operating Procedure
- 1 Press POWER STANDBY (!) /ON to switch on the power.
- 2 Select the sound source by pressing TAPE, CD or TUNER.
- 3 Start the sound source.
- 4 Adjust the volume level.
- Press the muting button on the remote control.
- Reduce the volume level.
- Connect the headphones to the headphones jack.
- 1 Press the TUNER input select button.
- 2 Press TUNING to select the MANUAL tuning mode.
- 3 Press the band-select button to select FM, LW or MW.
- 4 Turn the jog dial to tune in the desired broadcast.
- Automatic tuner operation only for FM
- Memory presetting
- ■ From the main unit
- 1 Press the band-select button to select FM, LW or MW.
- 2 Press TUNING to select PRESET.
- 3 Turn the jog dial to select the desired preset channel.
- ■ if noise is excessive in the FM mode Press FM MODE/BP to monaural position.
- ■ From the remote control
- 1 Press TUNER/BAND to select FM, LW or MW.
- 2 Press the numeric button corresponding to the preset channel you wish to tune in.
- ■ Most recent memory
- Sequential play
- Direct access play
- ■ From the main unit
- 1 Press the CD input select button.
- 2 Turn the Jog diai to select the track where you want to begin play.
- 3 Press the play button.
- ■ From the remote control
- 1 Press the CD input select button.
- 2 Press a numeric button to select the desired track number.
- ■ From the main unit
- 1 Press the CD Input select button.
- 2 Turn the jog dial to select the track you want to play.
- 3 Press SET.
- 4 Repeat steps 2 and 3 for each track you wish to program in sequence.
- 5 Press the CD play button.
- ■ Program memory function
- Press the numeric buttons to select the track numbers.
- 4 Repeat step 3 until you have completed the program.
- 5 Press the CD play button.
- ->czz::='
- ■ Changing the program
- Press CANCEL (front panel or remote control) in the stop mode.
- ■ To add the entry
- ■ To confirm the program
- While in stop mode, press the sklp/search button.
- ■ To cancel program play
- Press RANDOM on the remote control while player is In the stop mode.
- ■ To cancel random play
- Press RANDOM once again to end random play.
- CD
- special features
- ■ Skip function
- While in play mode, press or ►►/*
- skip button momentarily until you locate the desired track.
- ■ Search function
- While in play mode, press and hold one of the search buttons. Release the button when you have reached the desired point.
- ■ To cancel repeat play Press REPEAT once again.
- To play back prerecorded cassettes
- Press the TAPE input select button.
- Press EJECT, and then Insert the cassette you wish to play.
- 3 Press REVERSE MODE.
- Press DOLBY NR if the cassette you want to play was recorded with Dolby noise reduction.
- Press one of the play buttons to start playback.
- ■ To stop playback
- Press the stop button.
- ■ Full auto-stop
- ■ About the Dolby Noise Reduction system
- Press the fasMorward/rewind (TPS) button while the tape is playing.
- To fast forward or rewind the tape
- To record from the radio or external source
- Tape-to-tape recording from deck 1 to deck 2
- Sequential CD recording (ALBUM)
- Switch on the power.
- 1 Press the CD Input select button.
- 2 Press OPEN/CLOSE on the CD player to load a disc.
- 3 Press CD EDIT.
- 4 Turn the Jog dial to select ALBUM.
- 5 Press SET.
- 6 Load a cassette in deck 2.
- 7 Turn the jog dial to specify the length of the tape you are using.
- 9 Press the CD play button for automatic recording.
- ■ To cancel tape length priority recording (fit edIt-recording)
- Press the CD stop button twice.
- ■ To confirm the piay sequence
- You can confirm the play sequence on the display by pressing the skip/search button In the stop mode.
- (continued)
- Program edit-recording
- 1 Follow tape length priority recording steps 1 through 4 (page 40).
- 2 Turn the jog dial to select PROGRAM.
- 3 Press SET.
- 4 Turn the jog dial to select the length of the tape you are using.
- 5 Press SET.
- b Turn the jog dial to assign the tracks in sequence.
- 7 Press SET.
- 8 Repeat steps 6 and 7 to complete the program.
- 9 Press the CD play button to start recording.
- To record another disc on the remaining blank tape
- 12 Press VOL PRESET to set the volume level for timer play.
- 13 Adjust the volume level using the volume level control.
- 14 Press VOL PRESET again.
- 15 Press one of the input select buttons.
- 16 Press PLAY TIMER.
- ■ When you have made a wrong setting on steps 1 to 10 (on page 46)
- Press CANCEL.
- ■ To confirm timer play
- Press CLOCK/TIMER In the power standby mode.
- ■ To cancel timer play Press PLAY TIMER.
- Setting timer recording
- To use the sleep timer
- Using an External Unit
- Troubleshooting Guide
- Technical Specifications