14 tape select, 16 tracking/v-lock, 17 input select – Panasonic NV-HD100EA User Manual
Page 13: 18 zero stop, 19 ff (fast forward), 20 still adv, 21 transmit, 22 scanner on/off, 23 display, 24 infra-red transmitter
Attention! The text in this document has been recognized automatically. To view the original document, you can use the "Original mode".
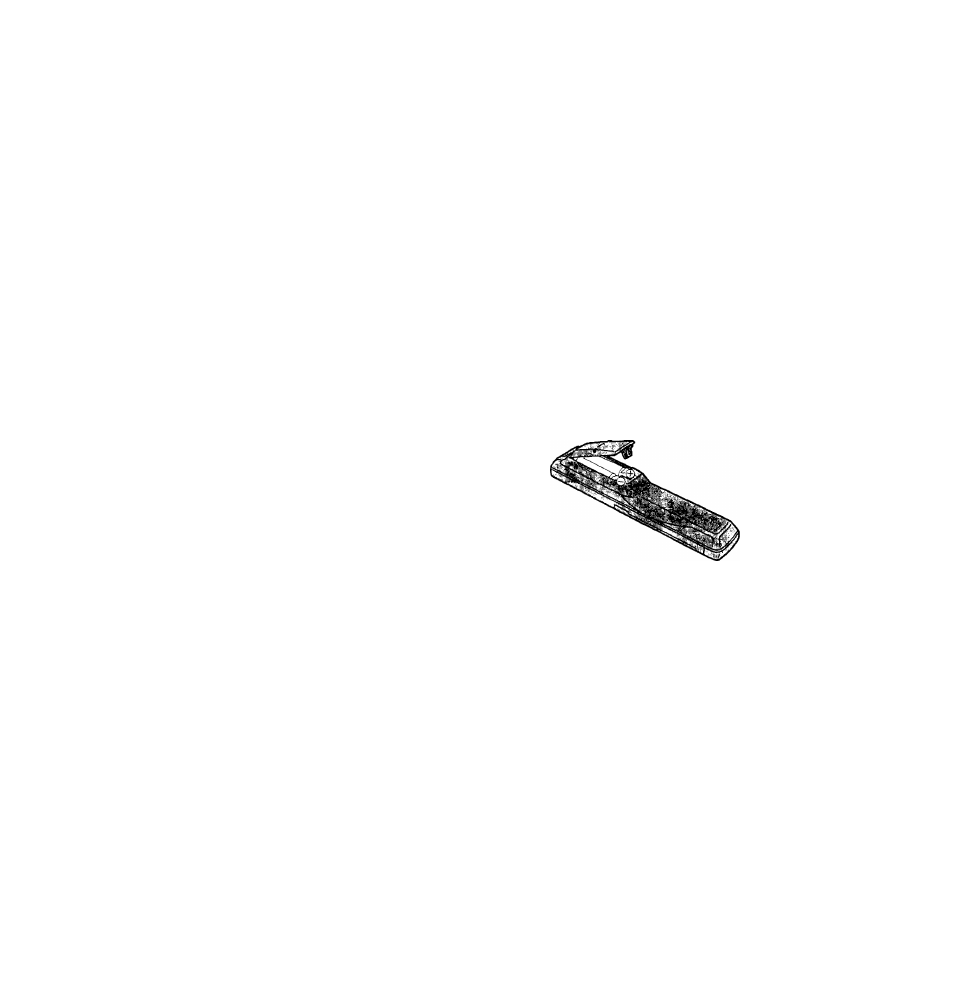
Infra-red Remote Controller
14
TAPE SELECT
To set the cassette tape length in order to obtain
correct indication of the remaining tape time.
E195; For E30, -60, -80, -120, -180 and -195 tapes.
E240: For E240 tape.
E260: For E260 tape.
15
SKIP
To start cue playback in 30 seconds interval during
playback.
• Each press gives a 30 seconds time span up to
4 minutes.
16 TRACKING/V-LOCK
For manual tracking adjustment
The -t- and - buttons are used to adjust the tracking
when, for example, noise bars on the picture are better
removed manually than by the automatic digital
tracking control. After making a manual adjustment,
press both buttons together to return to automatic
digital tracking control.
For slow tracking adjustment
When noise bars appear during Still, Still Advance or
Slow playback, switch over to slow playback and adjust
with the “ + ” or
Button to reduce the noise bars.
For vertical locking adjustment
Use the + and - buttons to minimize any vertical jitter
during still-picture playback.
17
INPUT SELECT
To select the “A1" external recording source.
18 ZERO STOP
For the zero stop function.
19 FF (FAST FORWARD)
In the stop mode:
To fast forward the tape.
In the playback mode:
To search forward.
In the fast fonward mode; To obtain high speed picture.
“I»” is lit.
20
STILL ADV
To advance a still picture during still playback.
21
TRANSMIT
To transmit the data that has been set on the remote
controller to the VTR.
22
SCANNER ON/OFF
To turn the Bar Code Reader on and off.
23
Display
24
Infra-red Transmitter
The programming data are transmitted from here to the
VTR.
Power source for the remote controller
The remote controller is powered by 2 “AA", “UM3" or
“R6” size batteries. The life of the batteries is about one
year, although this depends on the frequency of use.
• If the display flickers when a button on the remote
controller is pressed, please replace the batteries with
new ones.
Precautions for battery replacement
•Load the new batteries with their polarity (+ and -}
aligned correctly.
• Do not apply heat to the batteries, or an internal
short-circuit may occur.
• If you do not intend to use the remote controller for a long
period of time, remove the batteries and store them in a
cool and dry place.
• Remove spent batteries immediately and dispose of them.
•Do not use an old and a new battery together, and never
use an alkaline battery with a manganese battery.
Loading the batteries
I
IМ