Satellite Maxim 2000 User Manual
Page 2
PN 16186/REV F
Page 2
Satellite portable restrooms must be assembled according to approved assembly procedures. Avoid variations in
assembly procedures which could adversely affect product life and warranty.
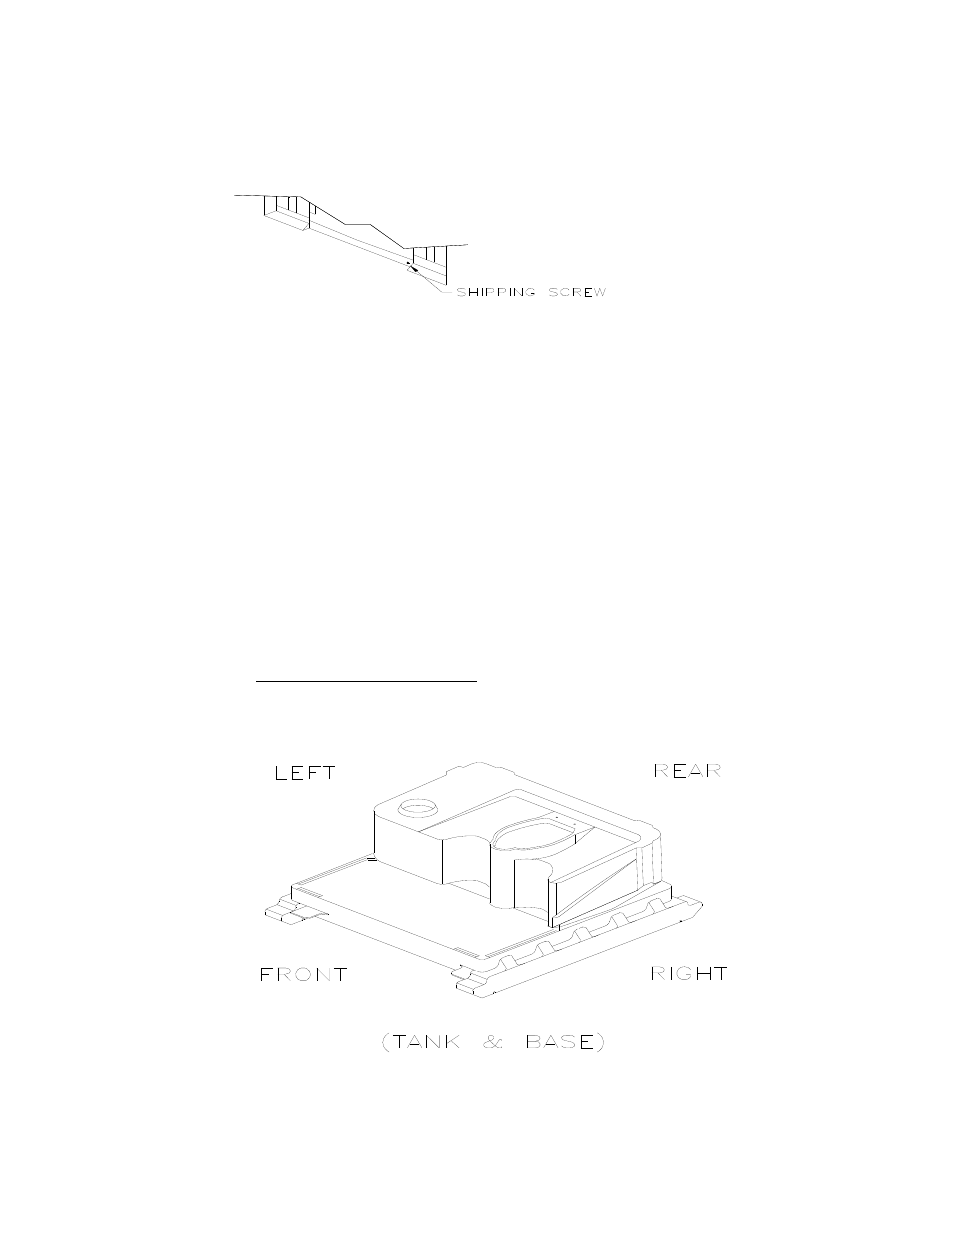
IMPORTANT: Do not remove shipping screw from door until instructed to in the “Install the Front Assembly” step.
• The assembly procedures are written for assembly of single units. If assembling multiple units, considerable
efficiency can be gained by having a crew working in assembly line fashion.
TOOLS:
1. 3/8” HEX SOCKET
2. #10 (3/16”) DRILL BIT
3. 1/4 DRILL BIT
4. POP RIVET GUN
5. #2 PHILLIPS SCREWDRIVER
6. FLAT SCREWDRIVER
HELPFUL HINTS:
• Keep panels out of direct sunlight
• Have an apron with at least two large pockets, easy to get parts out of
• Don’t open up all your kit boxes. Open up only enough kit boxes to assemble the number of toilets you are
currently working on. KEEP PARTS ORGANIZED.
• Use toilet paper holders for parts bins on multiple unit assembly
The door latch can be put on at any time. It may be more efficient to have someone do this early on multiple unit
assembly.
All references to left, right, front and rear correspond to this illustration.